
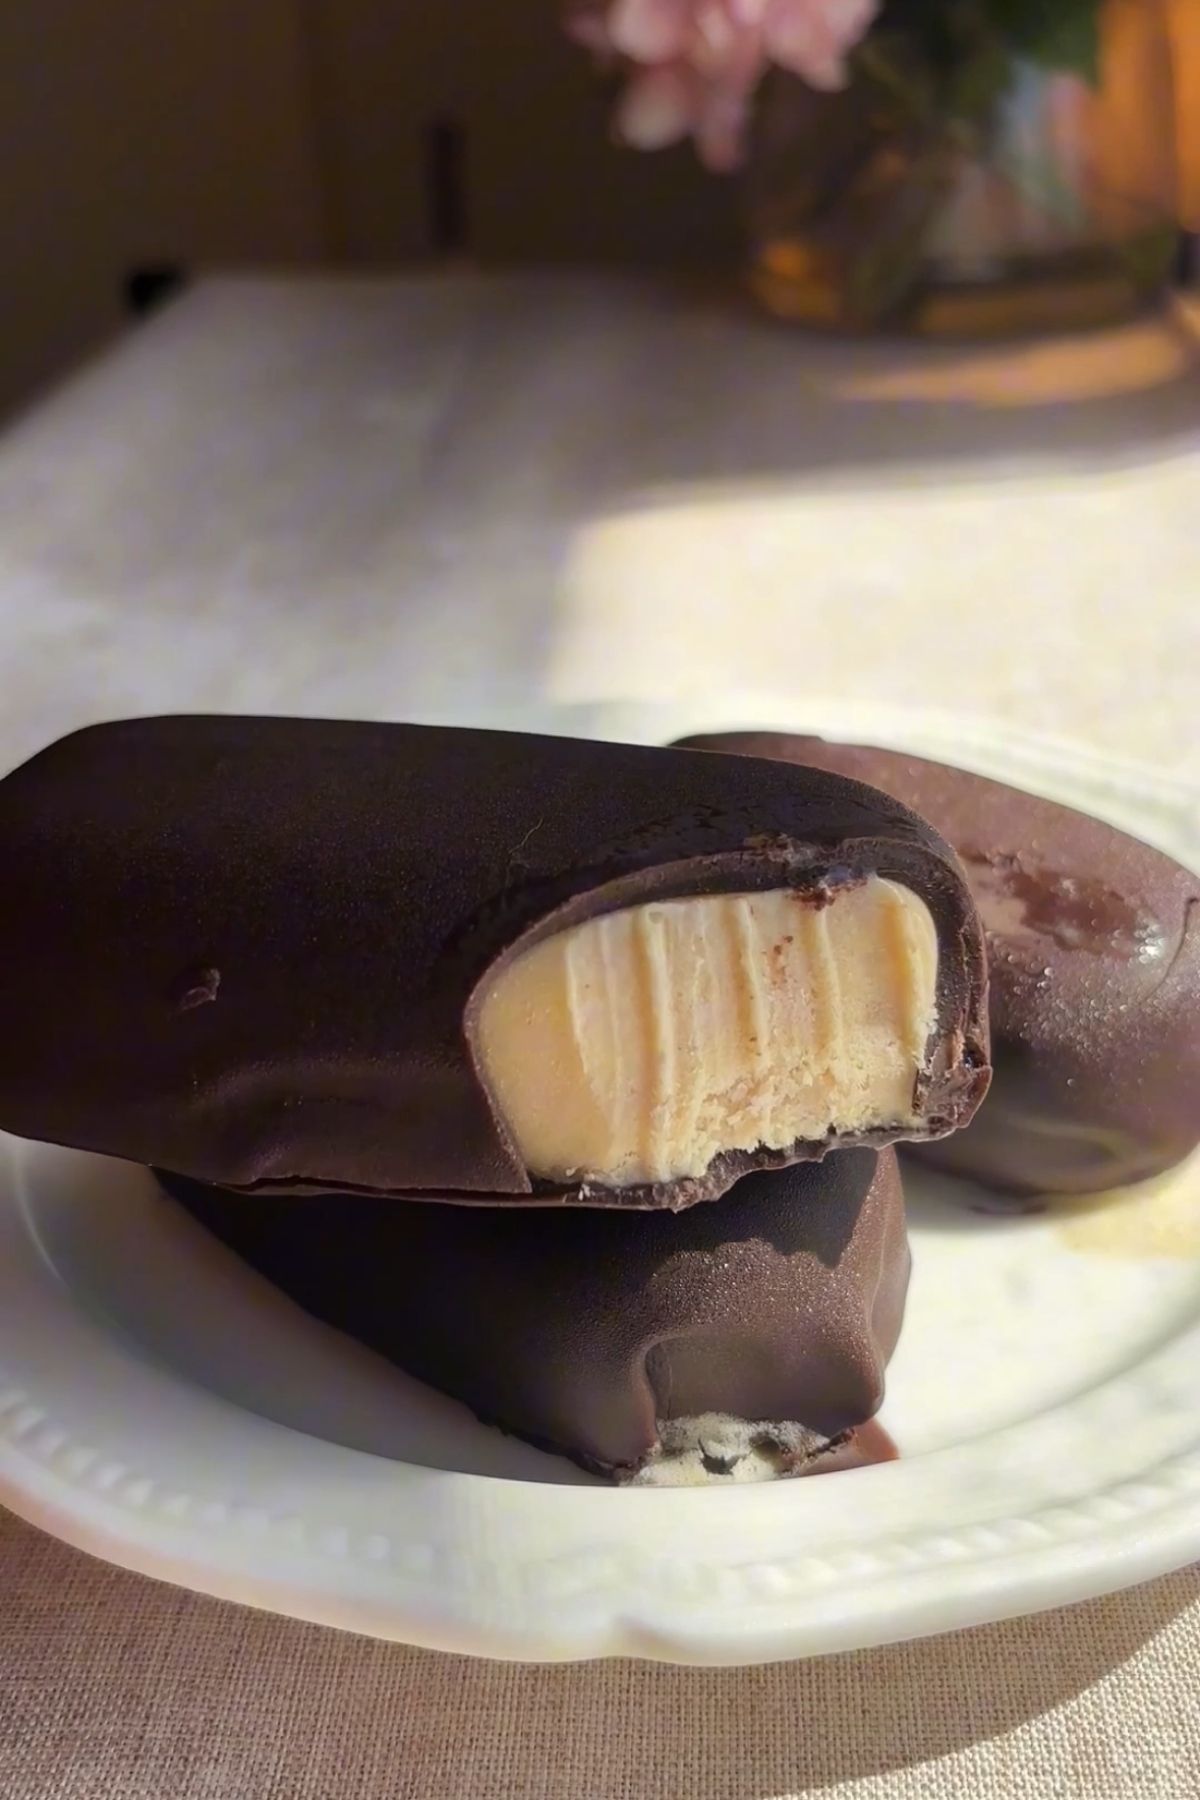
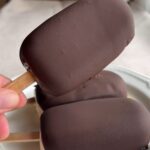
Super easy 6 ingredient homemade ice cream bars that taste just like a Magnum ice cream! Made with a blender, no ice-cream maker needed. This recipe uses coconut milk, so it’s dairy-free and vegan.

Jump to:
For the Love of Ice Cream
Ice cream is one of my true loves in this life. When I first went vegan, I bought myself a Cuisinart Ice Cream Maker almost immediately because I knew I’d save money long term. Vegan options were not cheap at that time, and there weren’t many flavors to choose from… plus when I realised how easy it was to make your own at home, it seemed like a no-brainer.
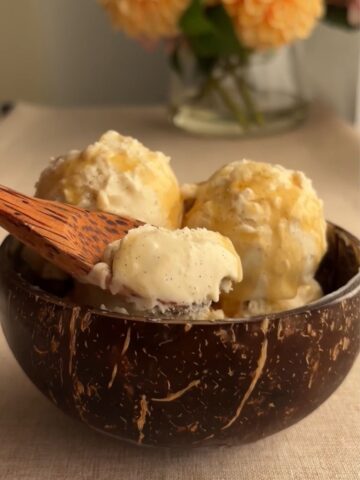
One of my very first recipes ever published on this blog was my simple Vanilla Coconut Ice Cream. I also made chocolate and salted caramel (but never wrote them down, I was new to this whole blogging thing ha). At some point though I think my attention was pulled onto some sort of other fun vegan substitute like cheese… then a bunch of new ice creams landed in supermarkets in Australia. Somewhere along the way, I forgot about the joy of making ice cream from scratch.
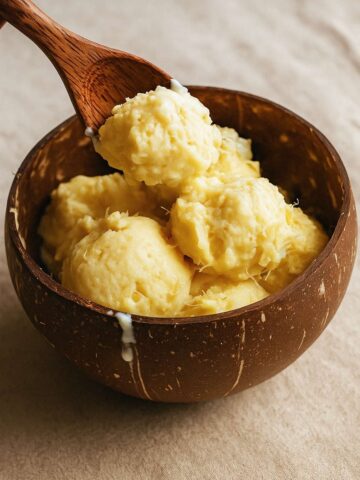
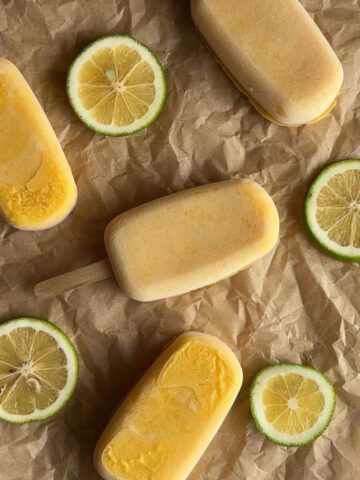
This summer though, I’ve got right back into it. I have a toddler now who loves a sweet treat, and I remembered I could make lots of sorbets and nice-creams easily. I started with 3-Ingredient Mango Sorbet, Pineapple Ice Cream, Mango Popsicles and tangy Kiwi Sorbet.
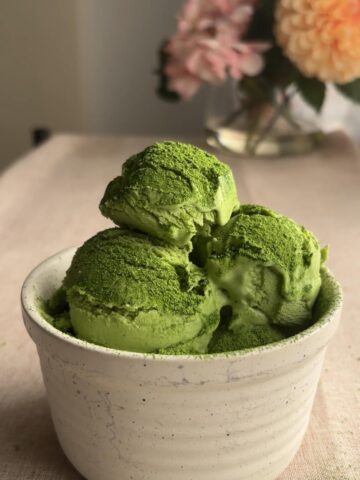
Some recipes, like this one and my Matcha Ice Cream, are really just pure and simple indulgence. Even if you’re not vegan, you’ll love how creamy, rich and smooth they are. It’s great to be able to customize the level of sweetness to your taste, and once you’ve made it once, it really demystifies the whole process and you’ll see how easy (and cheap) it is to make your own ice cream from scratch.
Key Ingredients
- Unsweetened canned coconut cream. Originally I made this recipe with coconut milk (if you look closely at the first instruction image below you can see how runny it is). It will still work with coconut milk but on my second round of testing I decided coconut cream was the way to go. It gives a richer, smoother result because it has higher fat and less water. This is a dessert recipe after all! So let’s lean into the creaminess and use coconut cream if you can. If you can’t get coconut cream, try it with coconut milk instead – but if it’s separated and there’s clear coconut water at the bottom, leave that part out (it’ll make the bars more icey).
- Smooth unsalted nut butter – cashew or almond are the most flavor neutral and work best but I’ve also made it with peanut butter and it’s delicious (but you will taste the peanut).
- Coconut oil – this is mixed with the melted chocolate and is important for the coating. It softens the chocolate so it sets into a thin shell instead of a rock-hard layer. Without it, the dark chocolate coating freezes very firm and is difficult to bite into straight from the freezer.
Equipment
You do not need an ice-cream maker for this recipe. But you will need:
- A blender – I love my Nutribullet because it is so powerful and combines the nut butter and coconut cream perfectly – so creamy and silky.
- Silicone popsicle molds – I prefer silicone rather than hard molds because they’re soft and malleable. Makes it so much easier to remove the ice creams once set… and they look like the shape of a real Magnum ice cream.
Instructions
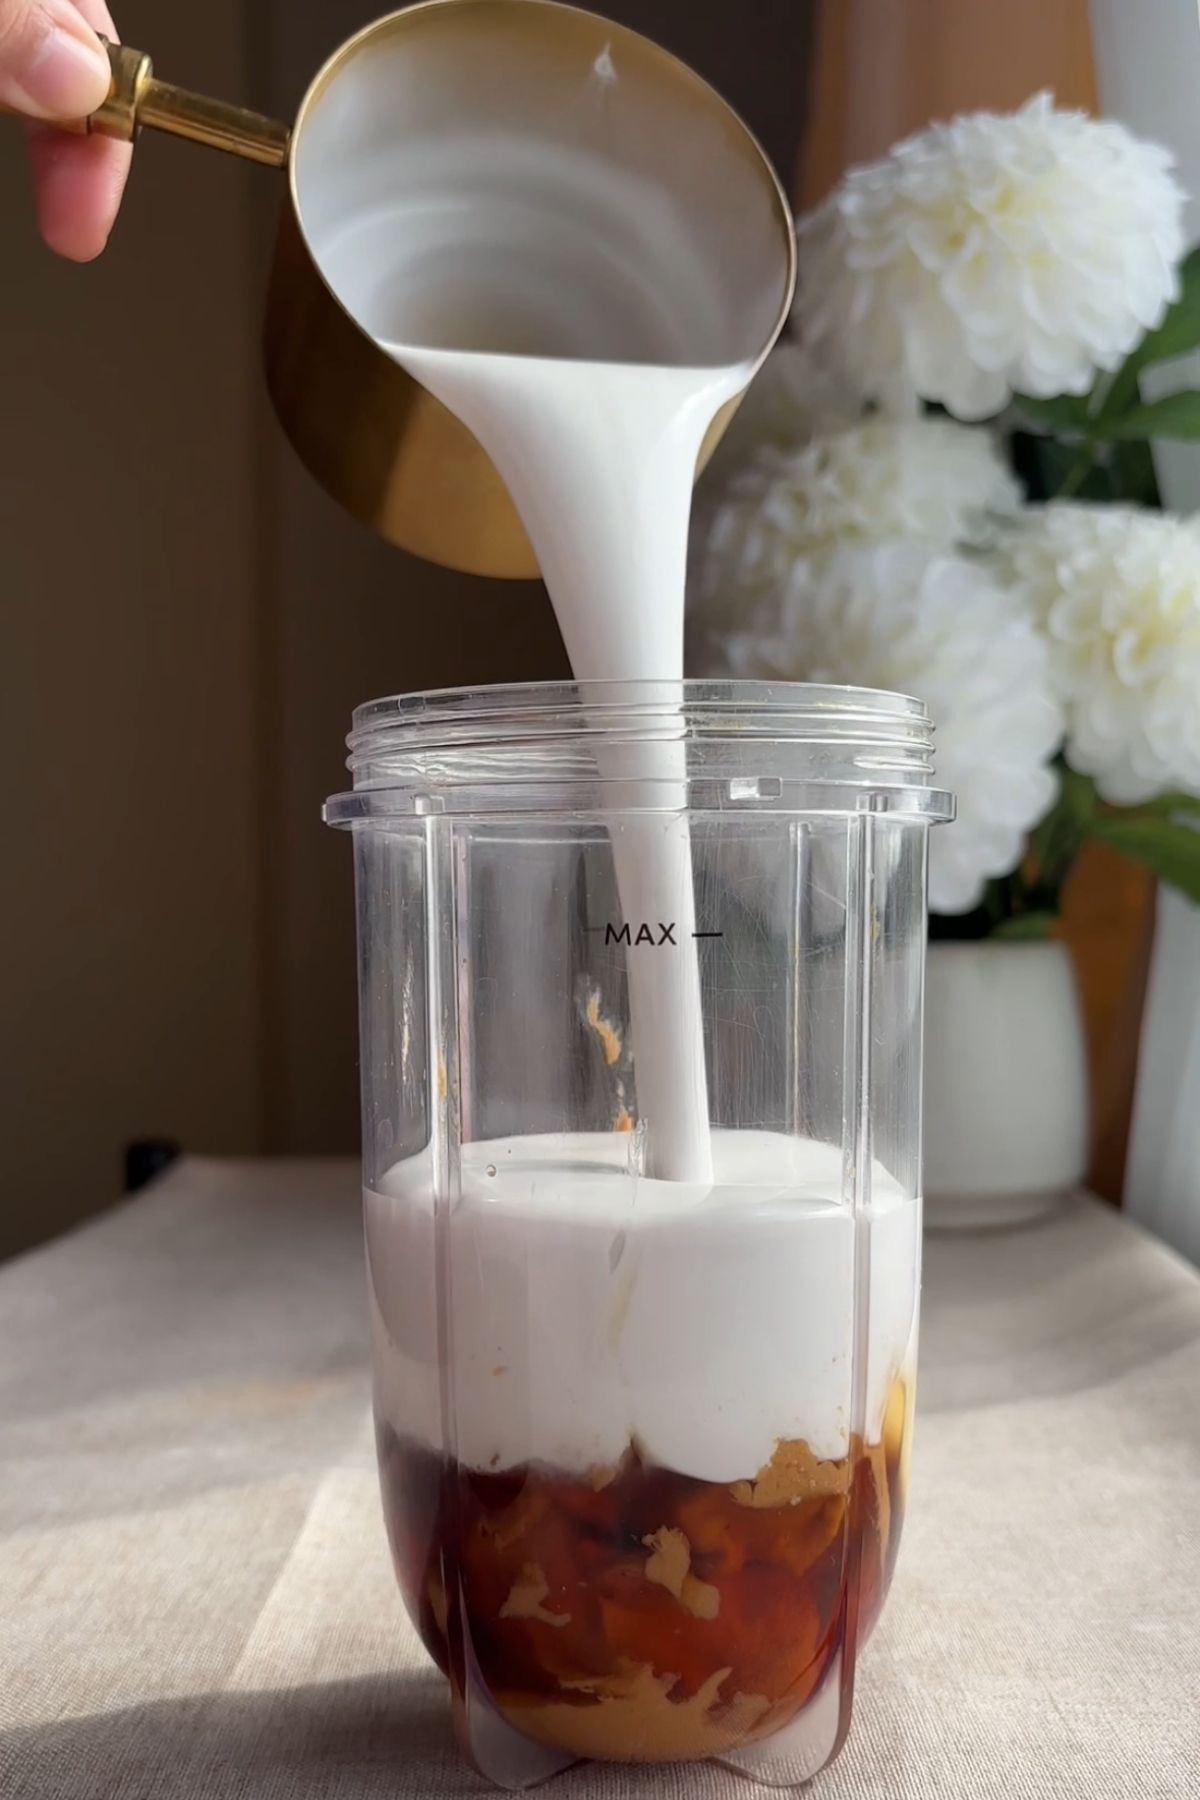
Step One: Add the coconut cream, nut butter, maple syrup, vanilla, and salt to a blender. Blend until completely smooth.
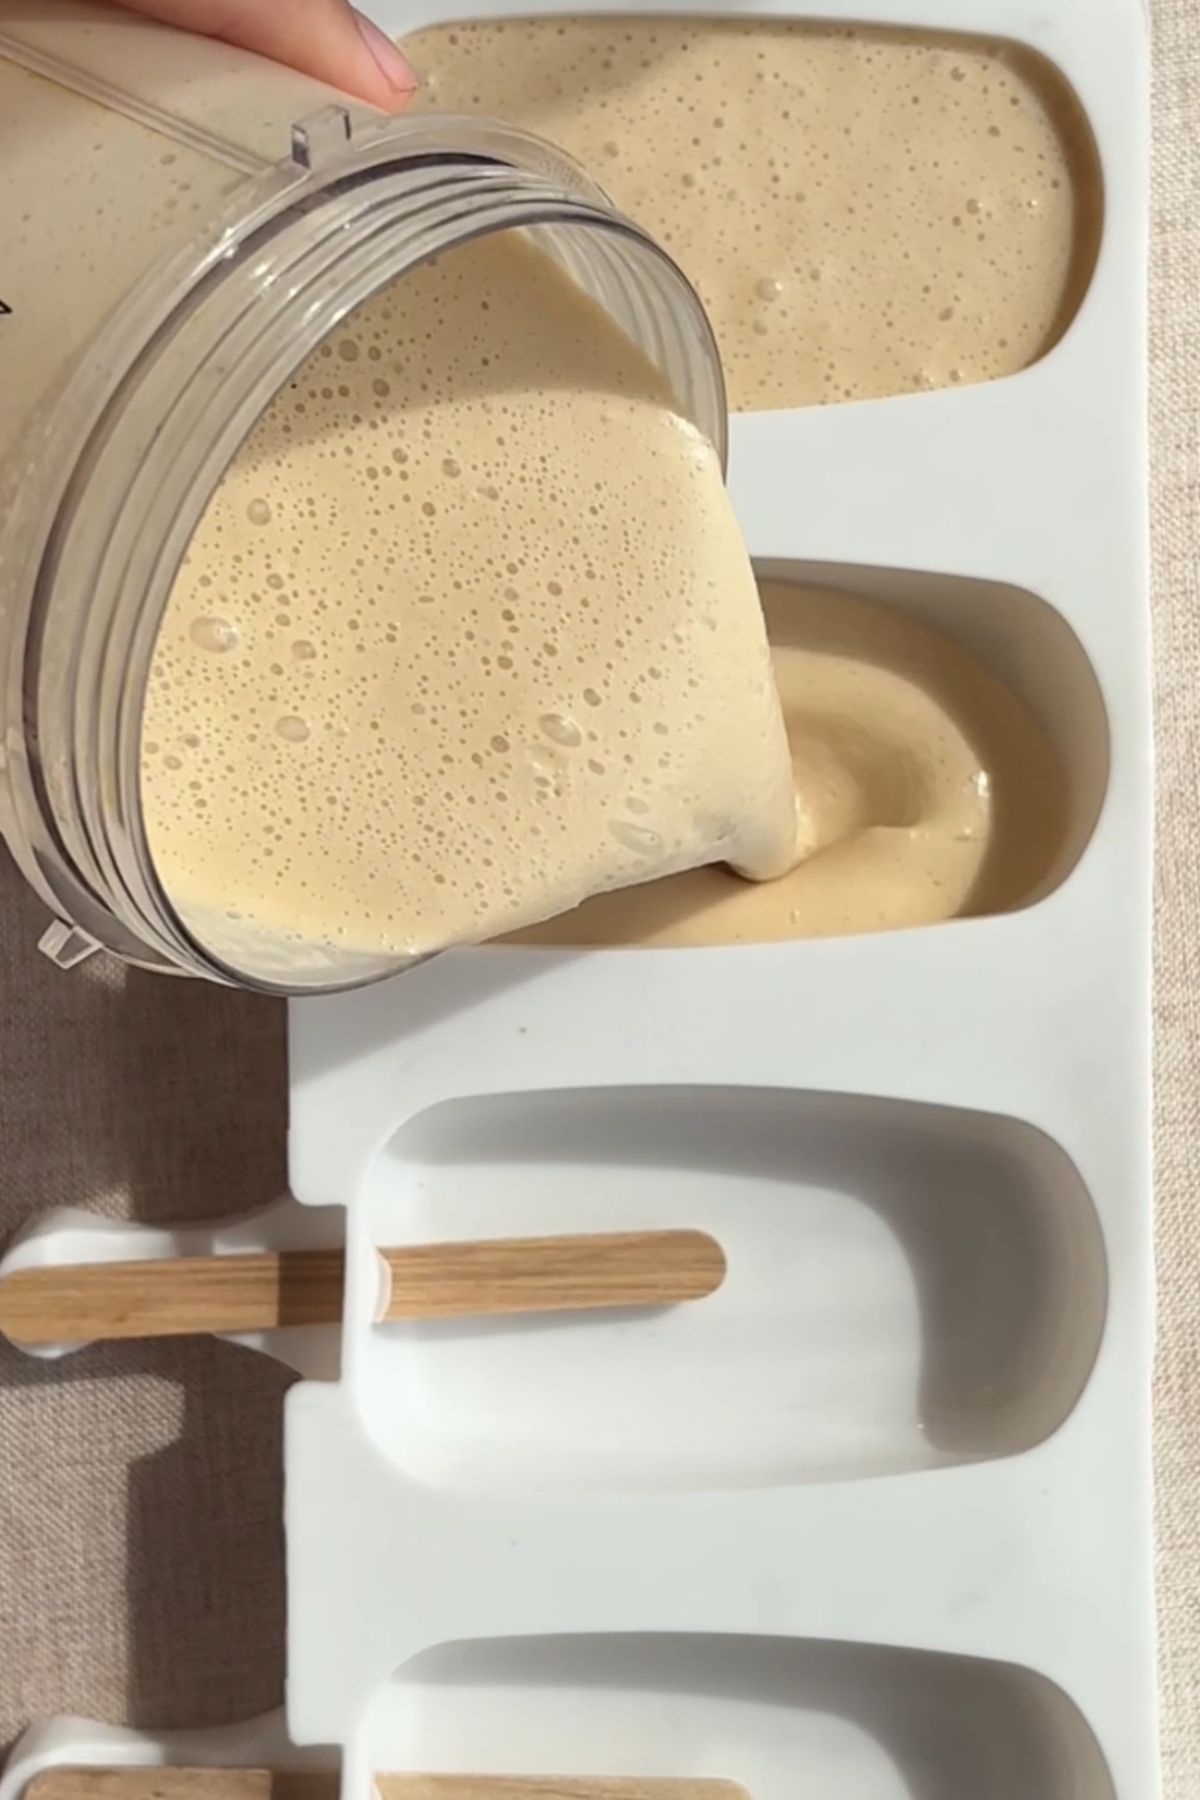
Step Two: Place your silicone popsicle mold on a flat board. Insert the sticks, pour in the mixture, and freeze until fully solid.
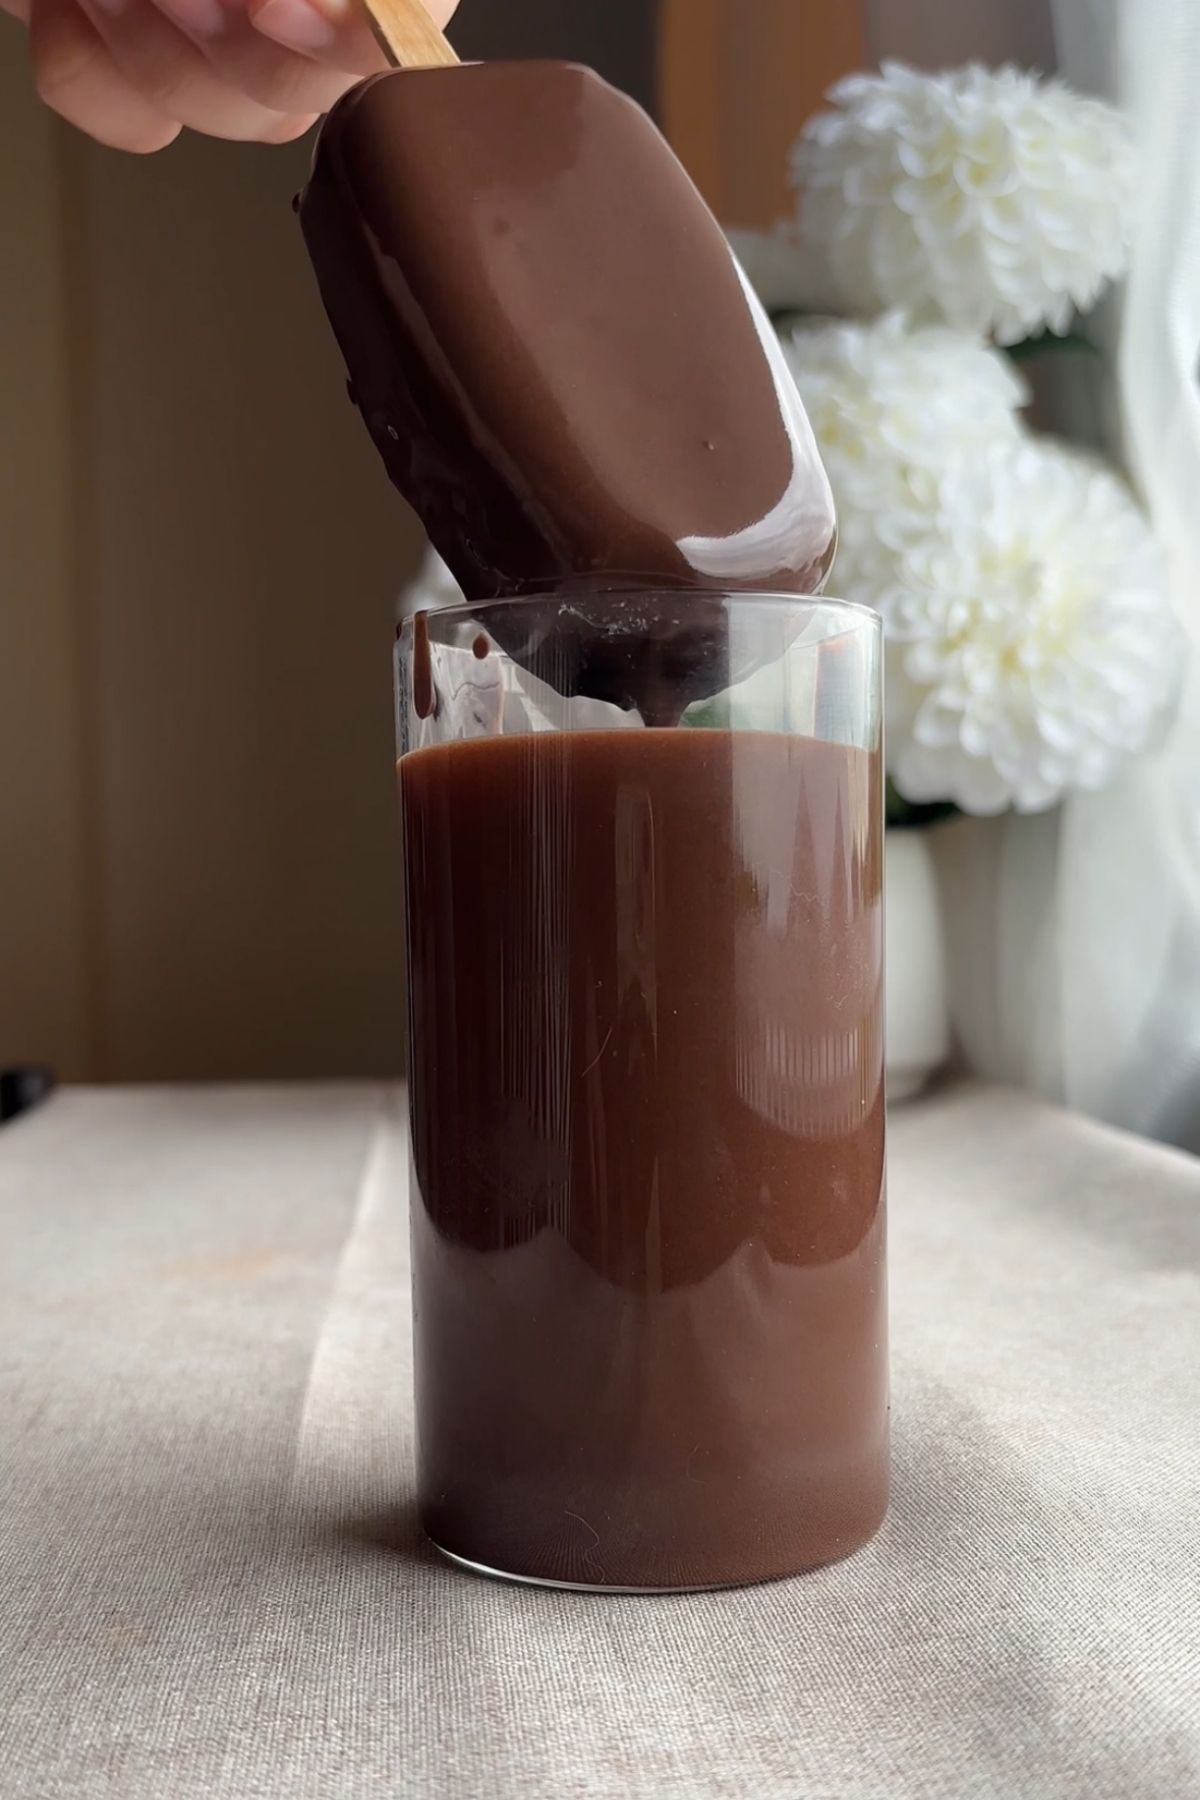
Step Three: Pour the melted chocolate into a tall jar. Remove each frozen bar from the mold and dip to fully coat.
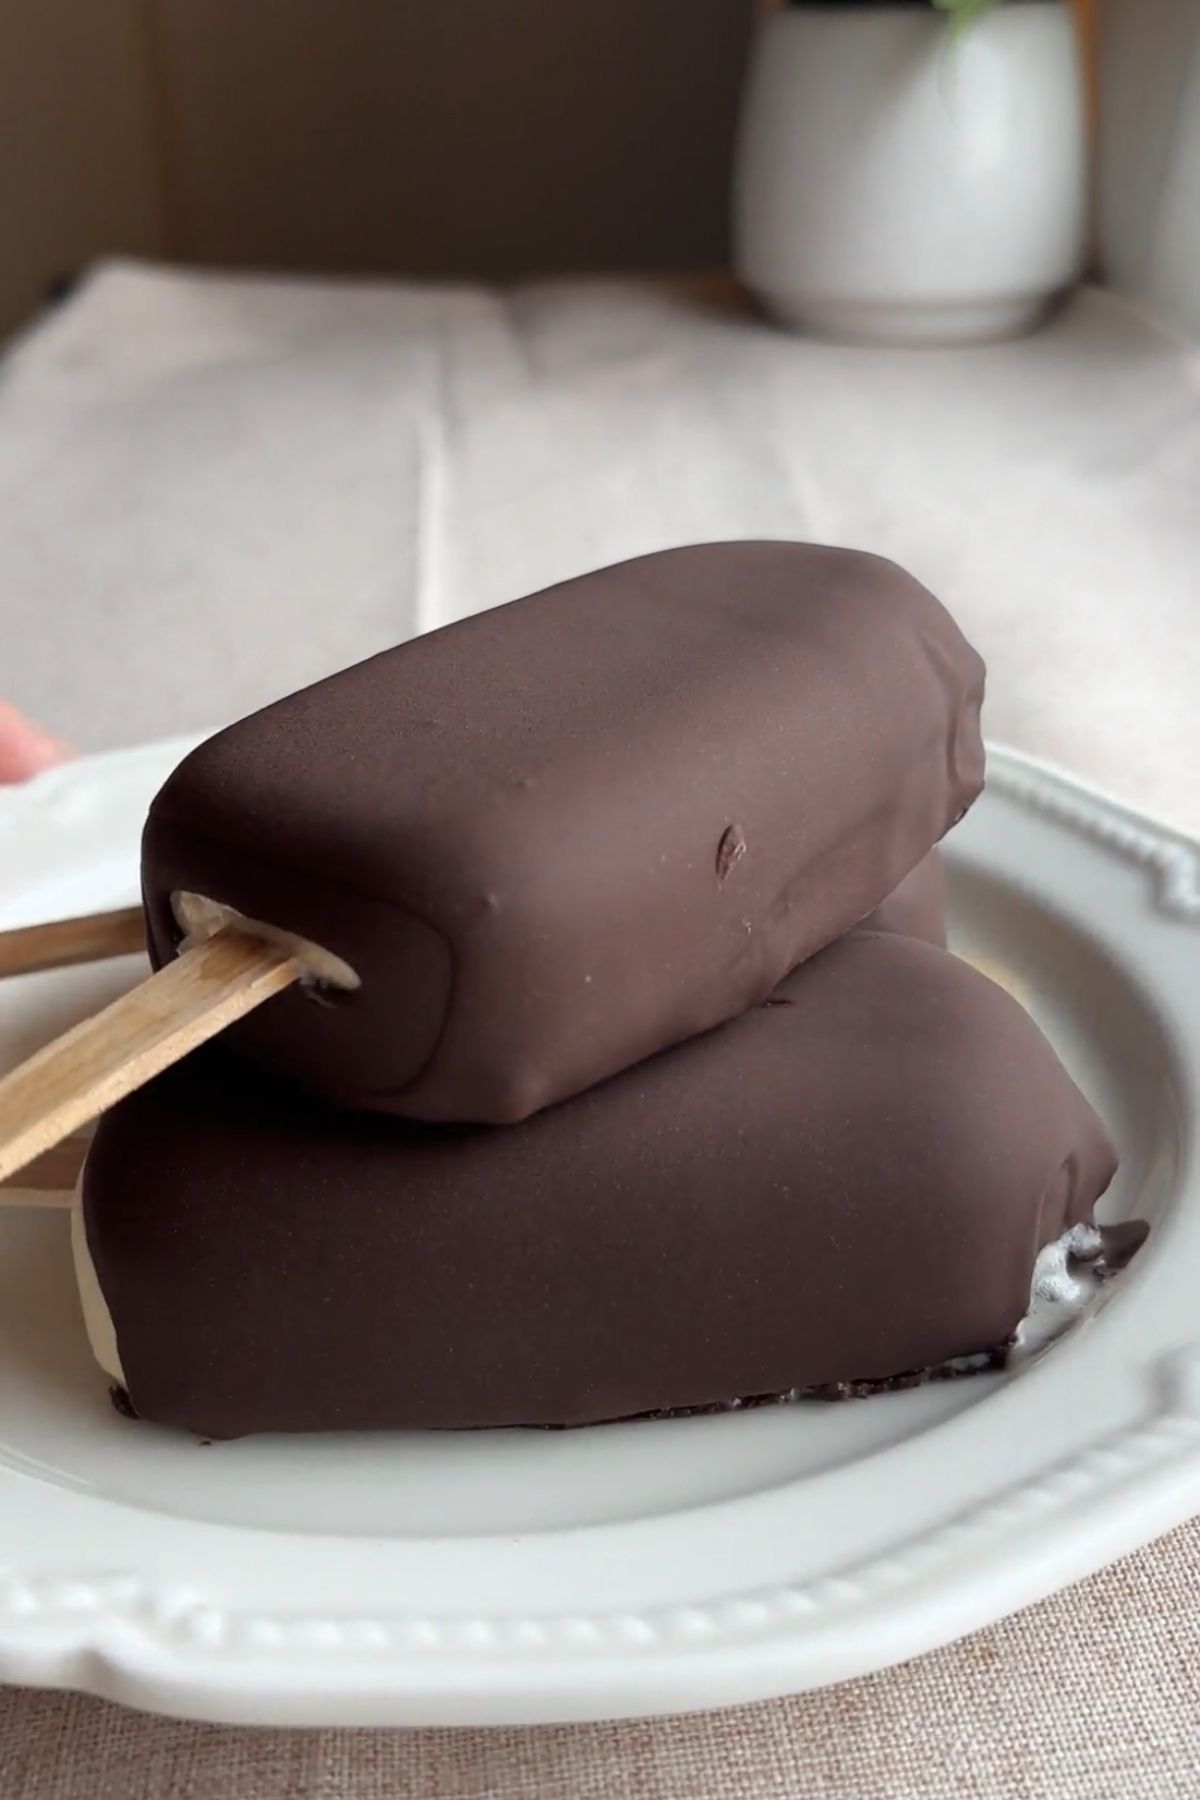
Step Four: Place the coated bars on the lined board and return to the freezer until the chocolate sets. Let sit briefly at room temperature before serving.
Storage
Store the ice cream bars in an airtight container in the freezer for up to 2–3 months. I like to layer them with parchment so they don’t stick together. If they’re rock solid straight from the freezer, let them sit at room temperature for a minute or two – that’s when the center turns perfectly creamy and the shell snaps just right.
Expert Tips

Before filling the popsicle molds with the mixture – you must:
- Insert the popsicle sticks into the mold first.
- Place the mold onto a flat board to keep it stable when transferring to the freezer.
These two steps will help you avoid spills and mess 🙂
FAQ
If the chocolate is too cool or too thick, it’ll coat unevenly. Make sure it’s smooth and fluid before dipping, and work quickly while the bars are fully frozen.
They’ll keep well for a couple of months in an airtight container. Just let them sit out for a minute before eating so the center gets perfectly creamy.
More Homemade Ice Cream & Sorbet Recipes
Homemade Ice Cream Bars
Ingredients
- 13.5 oz can full-fat unsweetened coconut cream 400 ml
- 1/3 cup smooth unsalted nut butter 85 g – cashew, almond, or peanut
- 1/3 cup maple syrup 80 ml
- 1 1/2 teaspoon vanilla extract 7 ml
- Pinch salt
- 1 1/2 cups vegan dark or semi-sweet chocolate chips or chopped chocolate 255 g
- 3 tablespoons coconut oil 42 g
Instructions
- Add the coconut cream, nut butter, maple syrup, vanilla and salt to a blender. Blend until smooth.
- Place a silicone popsicle mold onto a flat chopping board that will fit in your freezer and insert the popsicle sticks first. Pour the mixture into the mold and freeze overnight or until completely solid.
- Line a plate or board with parchment paper. Melt the chocolate and mix with the coconut oil. Pour it into a tall jar or cup so you can fully submerge the ice creams. Place each ice cream onto the lined board and return to the freezer for the chocolate to set (about 30 minutes).
- Allow to sit at room temperature for 1-2 minutes before eating for the creamiest texture. Enjoy!


Leave a Reply