
This Homemade Sunflower Seed Butter is a smooth, runny and delicious nut-free alternative to peanut butter. Super easy to make, it takes 15 minutes with just 3 ingredients, for a fraction of the price of store-bought. It has a rich, toasted flavor that tastes incredible straight from the food processor. It spreads easily, with no sandy or gritty texture. It’s nutritious, allergen-free and school-safe for lunchboxes.

Jump to:
- Why Homemade Sunflower Seed Butter?
- Why You’ll Love This Recipe
- Ingredients You’ll Need
- Equipment Needed to Make Sunflower Seed Butter
- Instructions
- How Long to Blend Sunflower Seed Butter & Troubleshooting
- Substitutions & Variations
- Storage
- Expert Tips
- FAQ
- Serving Suggestions and More Recipes
- Homemade Sunflower Seed Butter
- Author
Why Homemade Sunflower Seed Butter?
I started working on this recipe because I needed more lunchbox-safe options for my son, Ollie. Since he is vegetarian I rely on spreads as an easy source of protein and healthy fats. We go through a lot of peanut and almond butter at home but the meals I pack for his daycare have to be mostly allergen free (no eggs, no sesame, and no nuts). My first experiment was Pumpkin Seed Butter which was a hit – fun green tinge, mild nutty flavor and the bonus of containing all nine essential amino acids (read more about benefits of pumpkin seeds on Medical News Today). I wanted a second option that looked a bit closer to peanut butter for baking, and I was curious about sunflower seed butter (aka sunbutter) because I’d heard it had a toastier, more nutty flavor.
So I started researching and testing a bunch of recipes before finalizing this one. It’s very simple and unlike some others, my version uses a small amount of oil which gives a smoother, more reliable texture and avoids the gritty result people run into. It works beautifully as a peanut butter swap in most recipes, and if you want to try baking with it, my Sunflower Butter Cookies are a great place to start.
Why You’ll Love This Recipe
- Nut-free and allergy-friendly. Perfect for anyone avoiding peanuts or needing a school-safe option.
- Super affordable. Sunflower seeds are one of the cheapest seeds you can buy in bulk.
- Tastier than store-bought. Roasting the seeds yourself gives it a rich, toasty depth you just don’t get from the jarred kind.
- Beginner-friendly. If you’ve never made a seed or nut butter before, this is such an easy way to start. Make sure to read the recipe notes on blenders and food processors, and you can’t go wrong.
Ingredients You’ll Need
This recipe is incredibly simple – just a few basic pantry staples. Jump to the recipe card at the bottom of the page for all the exact measurements.
- Raw sunflower seeds (not roasted or salted)
- Neutral oil (optional but I recommend it for guaranteed runny consistency – you don’t need much)
- Salt
Equipment Needed to Make Sunflower Seed Butter
You’ll need a blender or a food processor to make homemade seed butters. A reliable food processor makes the biggest difference here. I’ve tested this recipe in three different machines. The one I recommend is a mid-size food processor like my KitchenAid 7 Cup Food Processor. It gives a smooth, glossy finish with very little effort and it’s easy to stop and scrape down the sides as you go.
I tested this recipe in my larger Breville 16 Cup Food Processor and it struggled a bit, it tossed the seeds around more, got stuck on the sides and I was constantly scraping down the edges. It didn’t get quite that really smooth final texture. If you’re using a large food processor like this, I recommend doubling the recipe so it has enough volume and weight to pull everything down into a vortex.
Then for the final gear test, I tried it in my Vitamix A3500 blender which is about 8 cups volume. It worked well too, but was bordering slightly too big a vessel for the recipe. A smaller model works even better. It took me about 5 minutes, and some testers got theirs smooth in as little as 3. The only drawback with a blender is that it’s harder to move the mixture around and scrape it out compared to a food processor.
Note: I did not test it in my Nutribullet (and you shouldn’t either) because closed cup-style blenders like this and the Ninja get very hot quickly. It’s dangerous as pressure can build inside and they can explode. They’re great for smoothies and cold recipes but not seed or nut butters. Don’t risk it! I also heard other people who blew their machines too, which would also be a shame.
Instructions
Here’s how to make homemade sunflower seed butter. It’s very easy and mostly hands off, just keep a close eye on your machine and look out for those stages: sandy crumbs, thick paste and then suddenly a smooth spread right at the end.
Check the recipe card below for all the specific timing and measurements.

Step One: Preheat your oven, then spread the sunflower seeds in a single layer on a baking tray and roast until lightly golden and fragrant, stirring once halfway through. Make sure not to under-roast, or the seeds will not release their oils, and will be bitter and grainy.
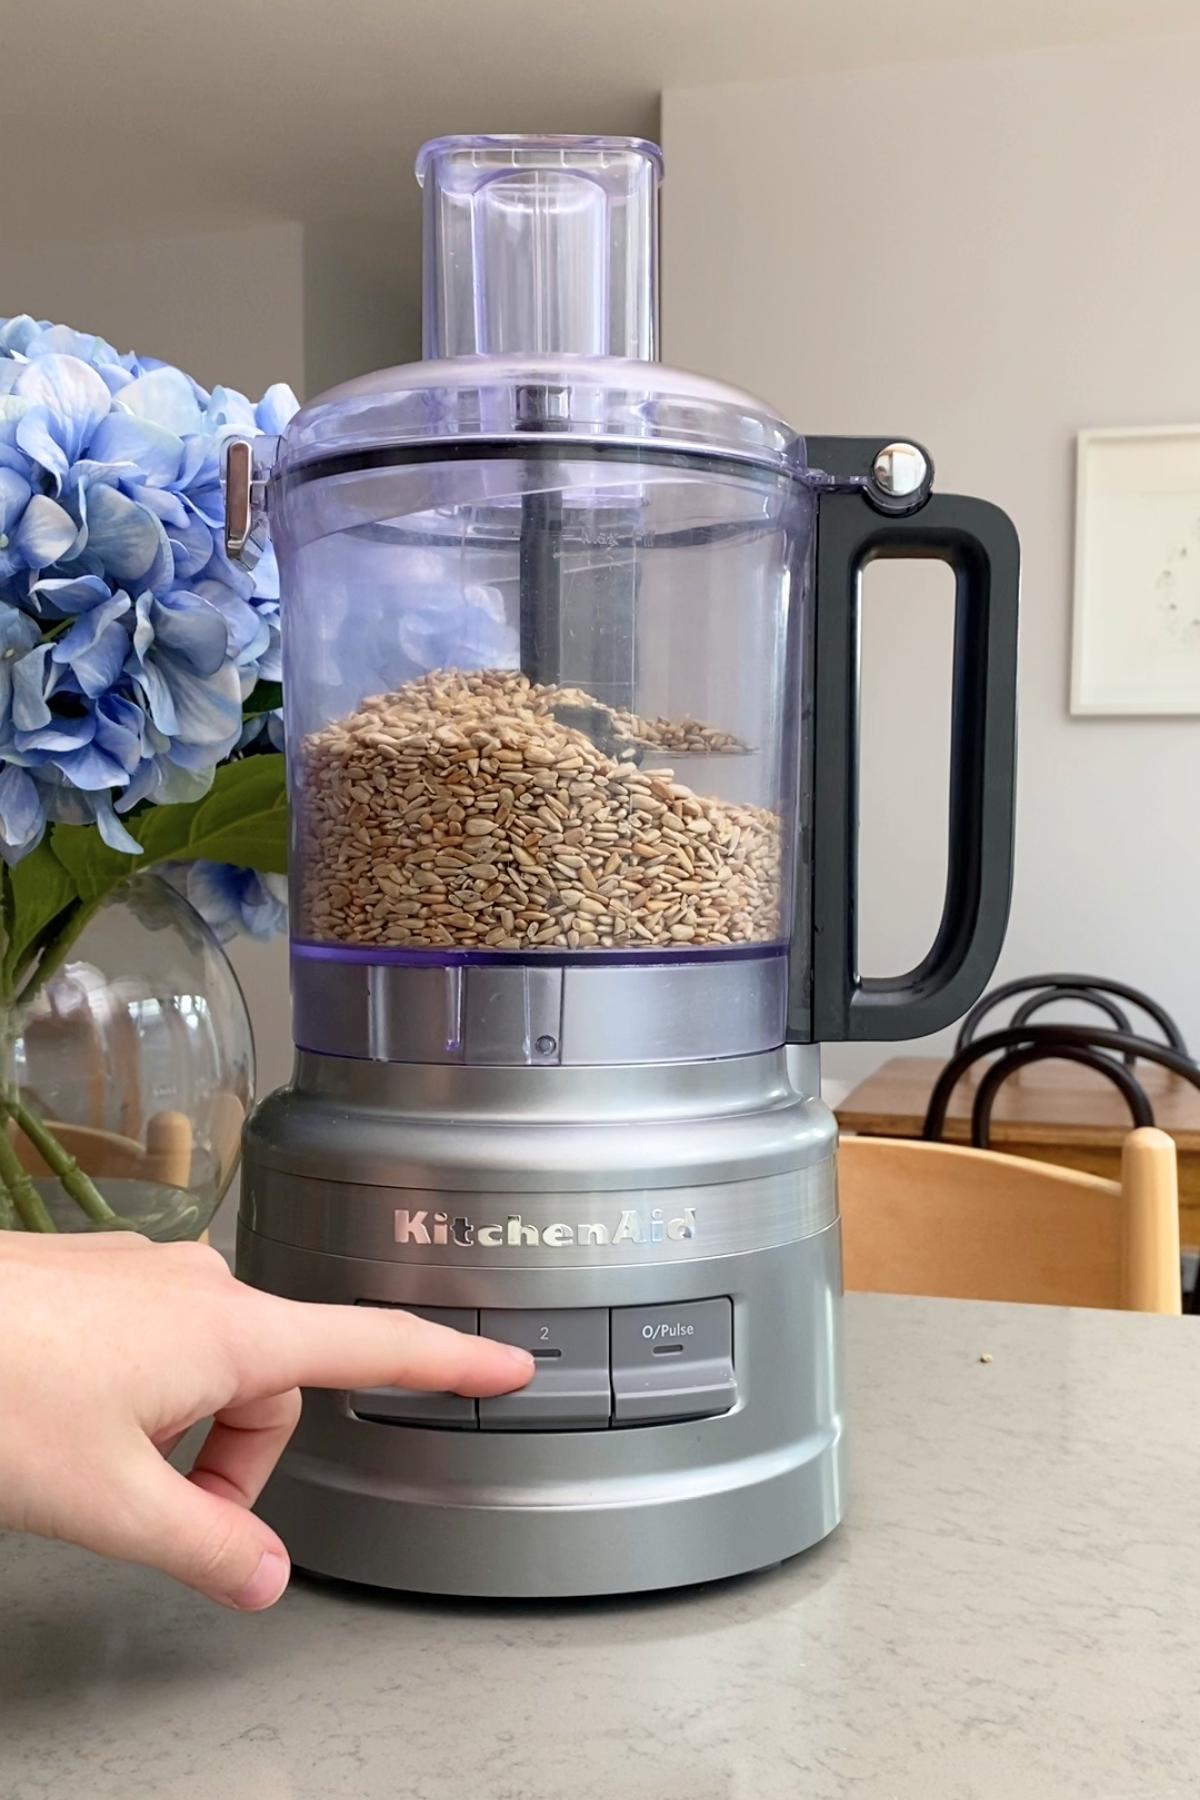
Step Two: Let the seeds cool slightly, then transfer to a food processor or blender.
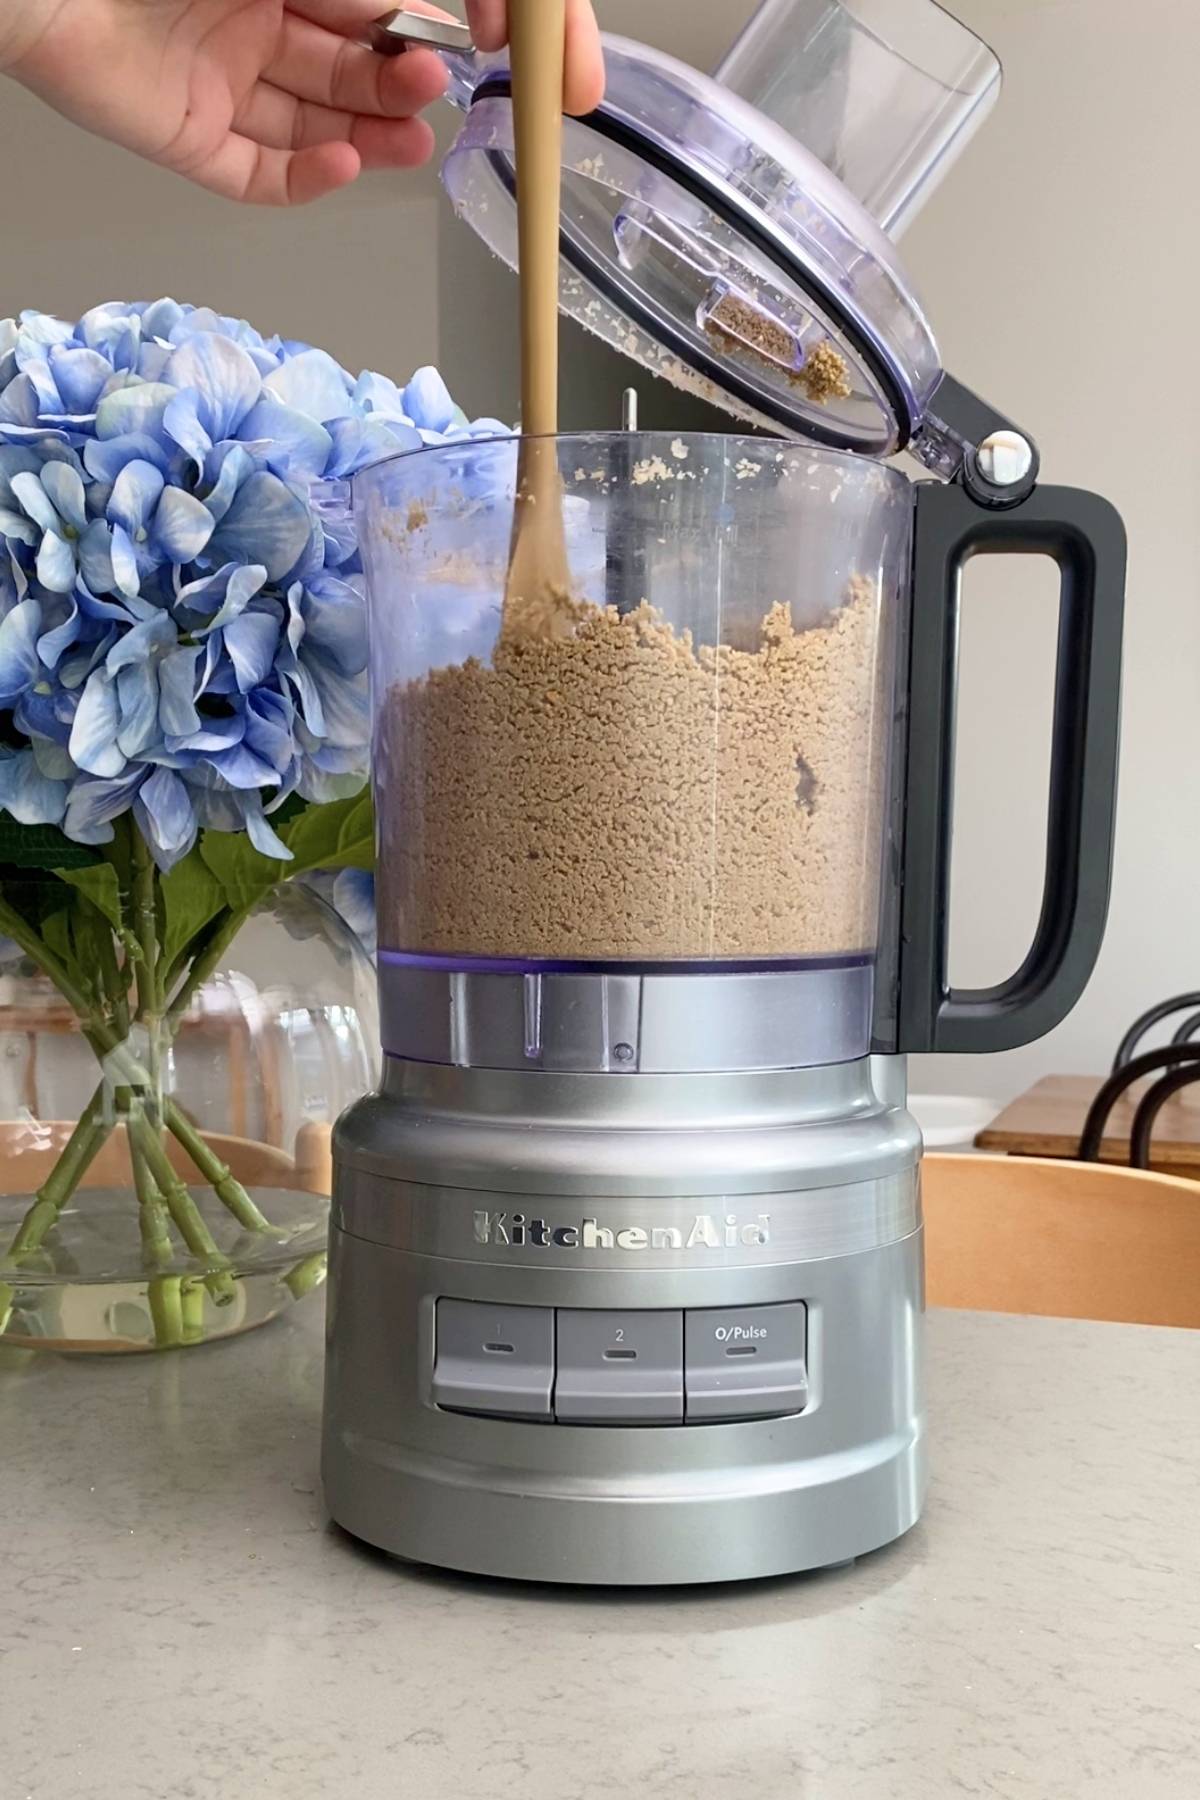
Step Three: Blend the seeds, scraping down the sides as needed. Once the mixture begins to smooth out, add salt and oil to adjust the texture, then continue blending until creamy and spreadable.
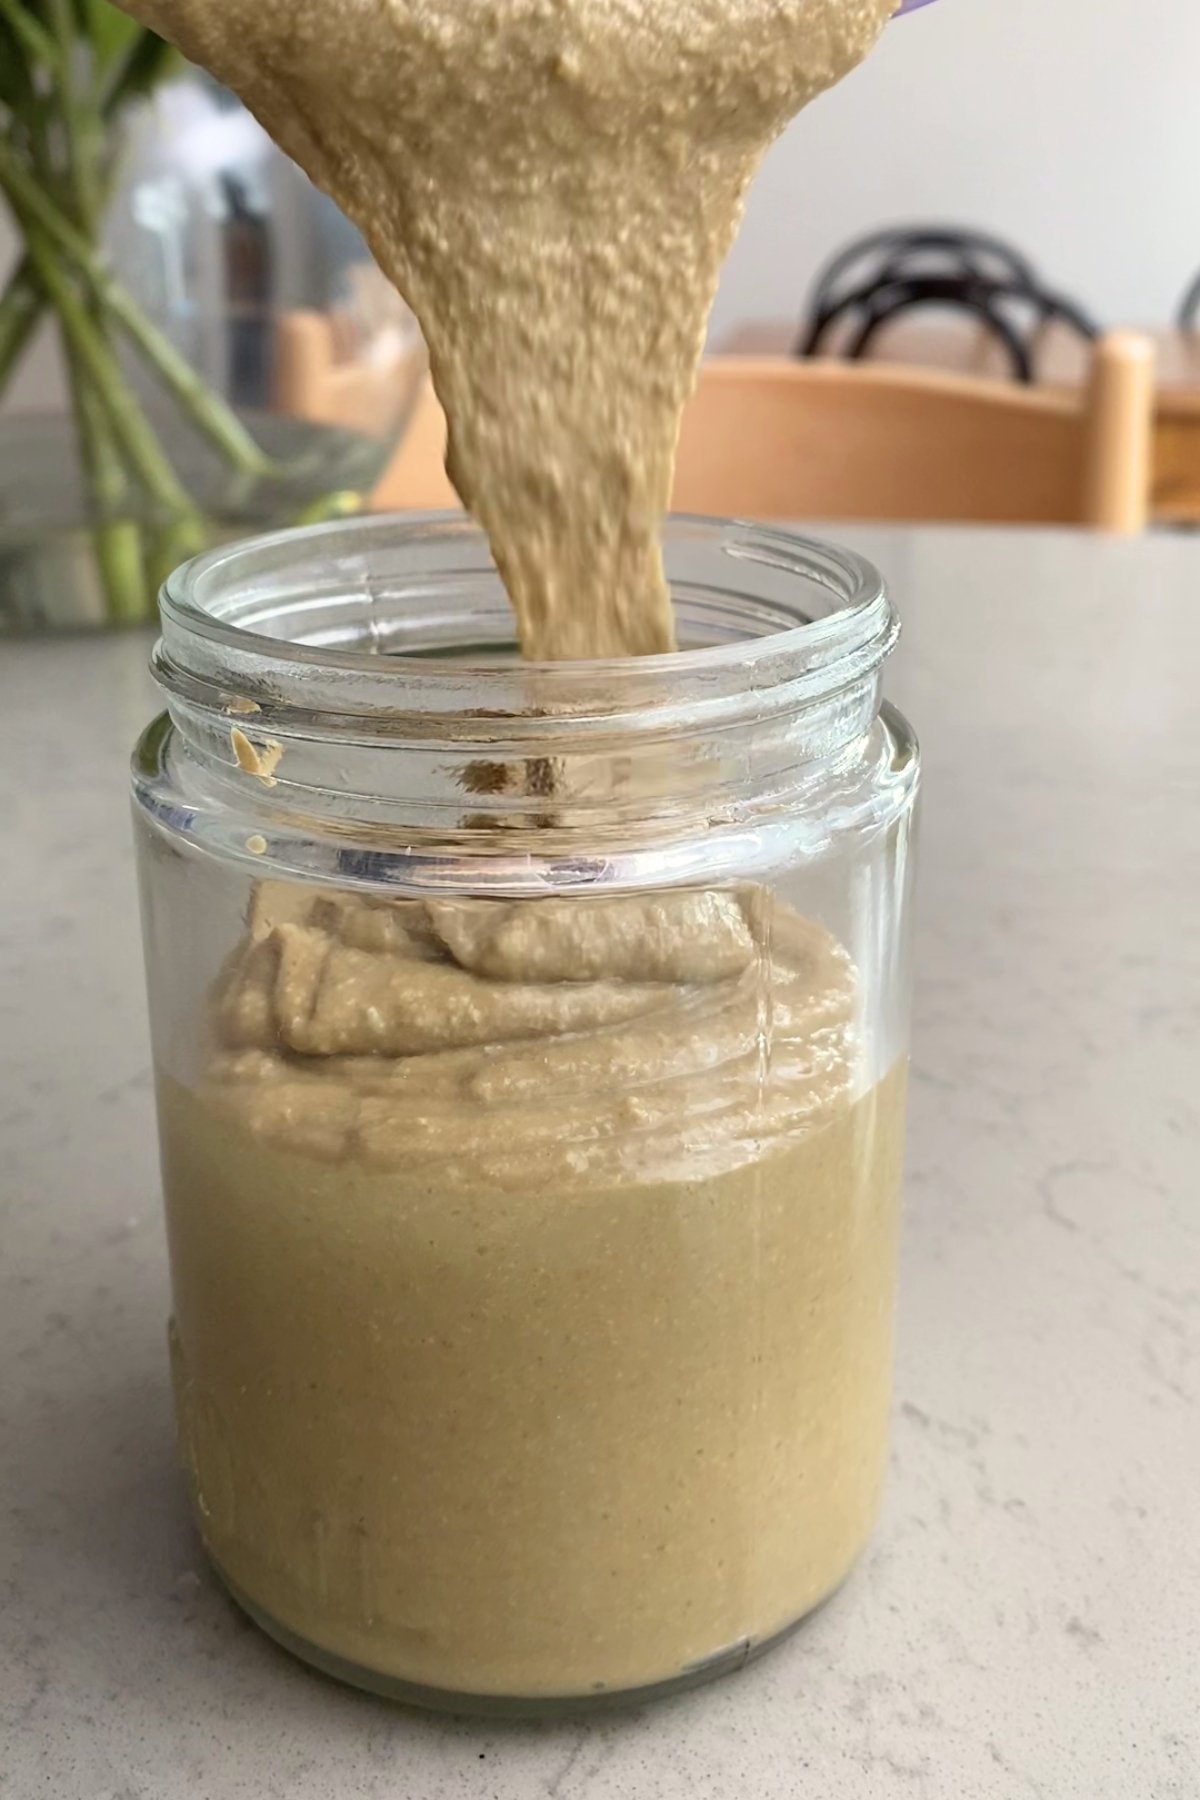
Step four: Spoon into a clean jar and let it cool completely before sealing and storing.
How Long to Blend Sunflower Seed Butter & Troubleshooting
Most machines take 4 – 15 minutes to turn sunflower seeds into a smooth butter. Stronger processors and blenders like Vitamix finish on the faster end; older models can take closer to 20 minutes with short rests. I recommend watching the texture closely instead of relying on timing. The seeds move through the same stages: crumbs → damp sand → thick paste → smooth butter. If it seems like nothing is changing, scrape the sides and keep going. The final change happens right near the end.
If the processor feels warm, stop for a minute to let it cool. Overheating leads to bitter flavours, and this happens more often with under-roasted seeds because they hold onto their oils. Roast the seeds until deep golden and blend in short bursts, scraping every 1–2 minutes. If the bowl ever feels hot, pause for a few minutes before continuing.
Another issue many recipe testers ran into was the mixture seizing when sweeteners were added, which is why I don’t recommend or include them in this recipe. Just drizzle on some maple syrup to your sandwich or toast instead and keep the recipe neutral.
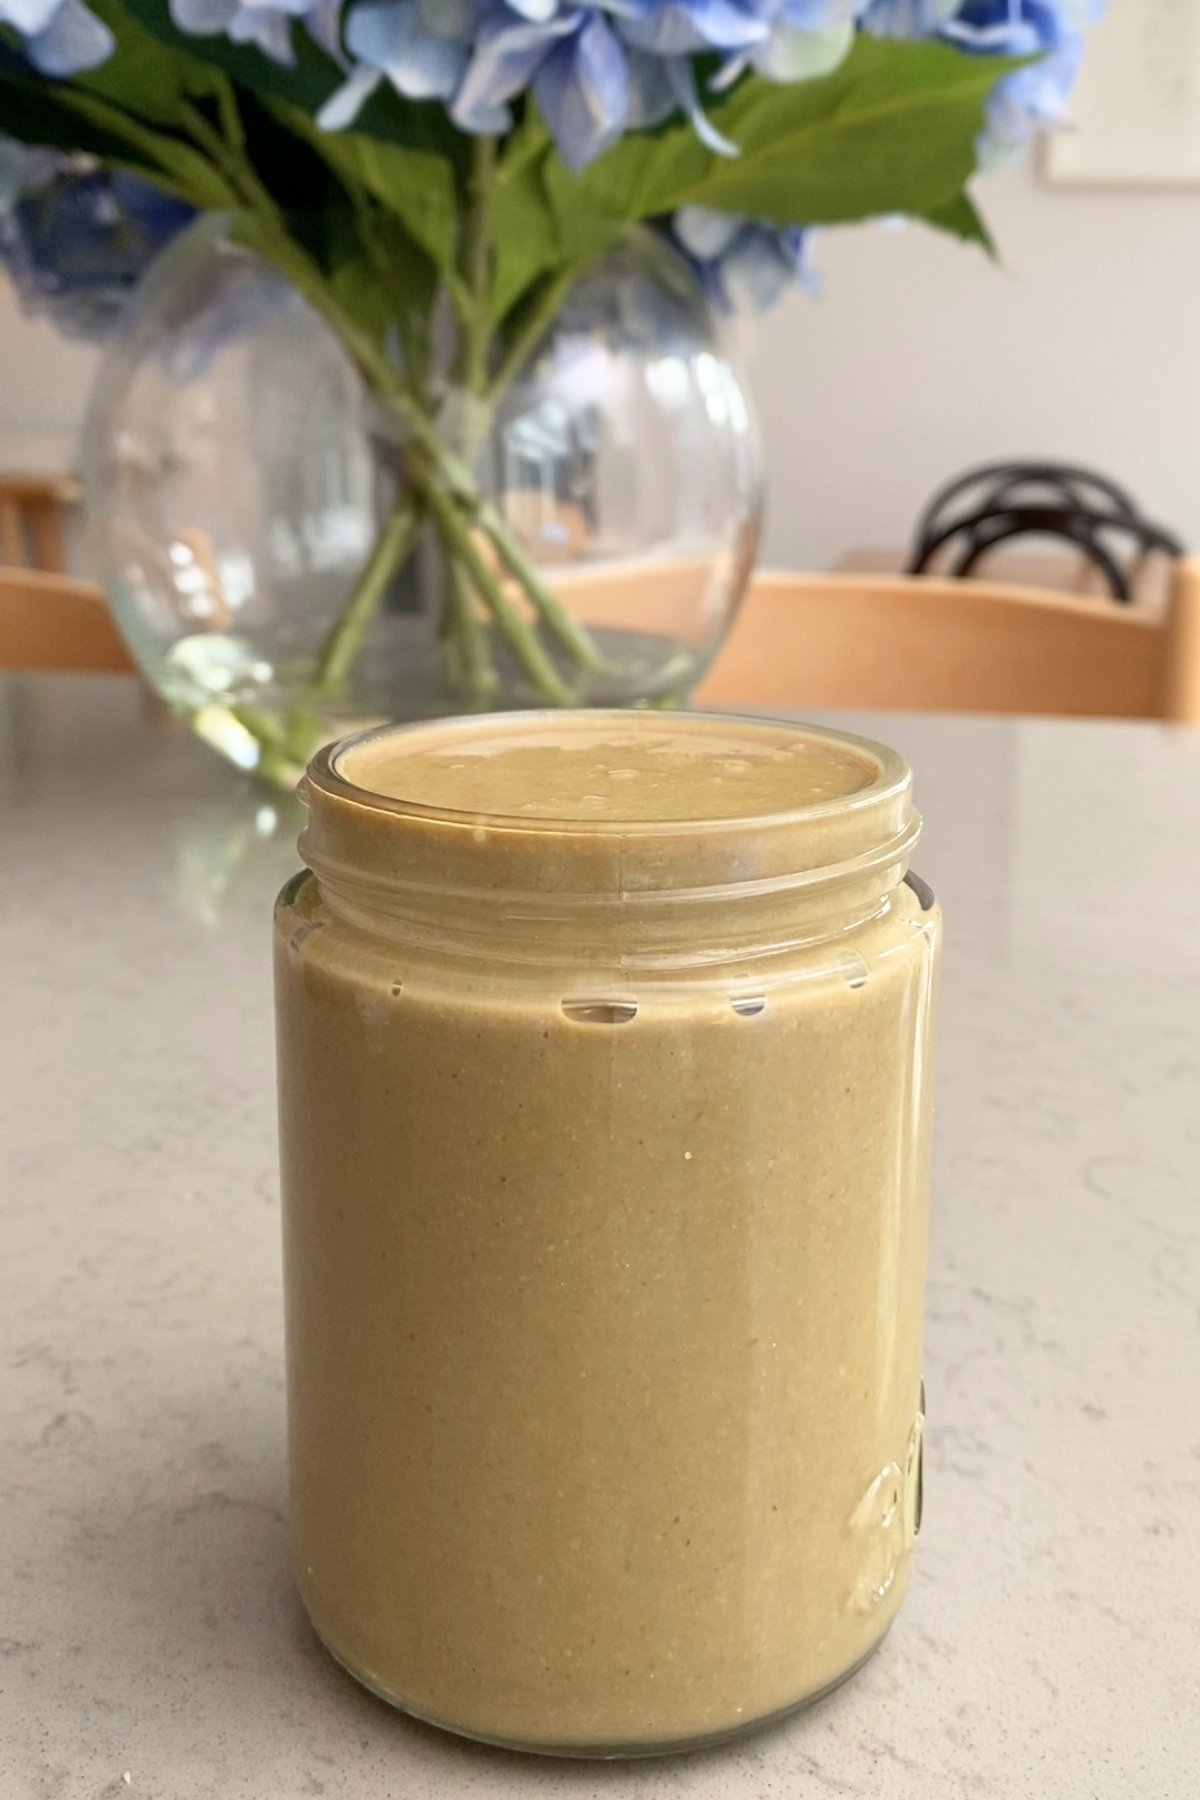
Also, a slightly gray or pale green tint is normal with sunflower seeds and doesn’t affect the taste. The color varies depending on the seed brand and how deep they’re roasted.
Substitutions & Variations
Don’t be tempted to make any additions to your sunbutter as most extras (like maple syrup) will cause it to split! Keep it simple and you will have guaranteed success.
If you don’t have sunflower oil, any light, neutral oil will work – avocado oil, grapeseed, or even a mild olive oil are all great substitutes. Don’t use olive oil, it’s too peppery.
Storage
Store your sunflower seed butter in a clean, airtight jar. It’ll keep for up to 2 weeks in the pantry or a month (or more) in the fridge. It will thicken and turn stiff in the fridge, just give it a stir and if you get to the end of the jar and it’s too dry, then add a tiny splash of oil to loosen.
Expert Tips

Perfectly smooth Sunflower Butter depends on two things: a deep roast and careful blending.
Roast the seeds until deep golden. Under-roasted seeds won’t release their oils and can cause bitterness.
Every machine works differently, so don’t rely on time, just watch closely for the the stages:
- Starts as crumbs
- Becomes damp sand
- Turns into a thick paste (add oil here if using)
- Suddenly shifts into a smooth, glossy butter
Stop every 1–2 minutes to scrape and release heat so the flavor stays clean and toasty.
FAQ
You can! The seeds will eventually release their own natural oils if you blend long enough. That said, adding a tiny amount of oil speeds things up and makes the texture a little creamier, especially if your machine struggles.
Yes, if it is a jug style blender like a Vitamix or Magimix, but they are trickier to scrape down. Do not use a closed cup blender (like a Nutribullet) as they can explode from the heat.
It probably hasn’t had enough time, or the seeds may have been under-roasted. Keep scraping down the sides as you go every 1-2 minutes. It might just need more time. In a pinch, you could try adding a tiny bit more oil (1 teaspoon or so) to nudge it along.
Serving Suggestions and More Recipes
There are so many ways to enjoy this sunflower seed butter. You can use it 1:1 for any recipes calling for peanut butter or almond butter. It’s great in all the normal ways – spread onto toast, swirled into oats or smoothies, sauces or in baking. My Sunflower Butter Cookies are the first dedicated recipe I’ve made with sunflower seed butter – they’re rich and melt in mouth, like peanut butter cookies. Plus, they have a surprise green color on the inside! It’s a natural reaction between the baking soda and a compound in sunflower seeds called chlorogenic acid (read more about this on Nordic Food Lab). It’s completely harmless and doesn’t affect the taste or safety at all and kids love it.
Try my Pumpkin Seed Butter next for another nut-free spread and see which you prefer. I like both, but I think Sunflower Seed Butter wins on flavor and Pumpkin Seed Butter wins on visual appeal. Let me know your thoughts in the comments section (below the recipe card).

Enjoy your spreadable sunflower seed butter! Leave a star rating and review to share your opinion and feel free to tag me @glowdiaries___ on Instagram so I can see how it turned out.
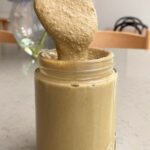
Homemade Sunflower Seed Butter
Ingredients
- 3 cups raw sunflower seeds (about 400g)
- 1-2 tablespoon neutral oil (sunflower, avocado, grapeseed or light vegetable oil)
- ½ teaspoon salt
Instructions
- Heat oven to 350°F (180°C). Spread sunflower seeds on a baking tray in a single layer. Roast 10–12 minutes, stirring once. The seeds should be deep golden and fragrant.
- Cool for 5 minutes, then transfer to a food processor or jug-style blender.
- Blend for 5–15 minutes, stopping every 1–2 minutes to scrape the sides and release heat. The mixture will move through stages: crumbs to damp sand, then a thick paste, then finally a smooth spread.
- When the paste begins to loosen, add salt and oil if using, then continue blending until glossy and runny.
- Transfer into a clean 12 oz (375 ml) jar. Let cool fully before sealing.
Notes
• crumbs
• damp sand
• thick paste (add oil here if needed)
• smooth, runny butter If it stalls or looks too thick, scrape the sides and keep going. Stop for short breaks if the bowl feels warm, otherwise your machine may break or the heat can make the mixture bitter. Oil or No Oil: You can make this without oil. A tiny amount speeds up blending and gives a smoother texture, especially in older machines. Color: A pale green or gray tint is normal and varies by seed brand and roast level. Storage: Keeps 2 weeks at room temp or 1 month or more in the fridge. It will firm up in the fridge; stir before using.

Ron says
i tried this recipe and surprisingly it turned out really great! the texture wasn’t off and I love how creamy and smooth it is thank you