These Oil-Free Chips (or crisps, if you’re in the UK!) are just as crispy as store-bought but contain NO OIL and only two ingredients: salt and potato. They are made in the microwave.

When I saw this trend, I was curious and wanted it to be real, but I was skeptical. Could chips really get that crispy in the microwave?! I always associated microwave food with soggy textures. But I’m here to tell you it WORKS! It’s probably not something you’ll be making every day because it takes a bit of time to microwave small batches of chips, BUT it is fun and worth trying at least once.
If you love this recipe – make sure to also try these out as Sweet Potato Oil Free chips – they’re so colorful and also yum!
Why You’ll Love This Recipe
1. Healthy: Enjoy an oil-free version of your favorite snack! With just two ingredients—potatoes and salt—these chips have that satisfying crunch but fewer calories and no added preservatives. You can also control the amount of salt if you’re trying to manage your intake.
2. Microwave Magic: Washing and microwaving potatoes is such a fun and easy cooking activity for kids. You’d be amazed at how many chips just a couple of potatoes can make and how they transform from raw to crispy. Just make sure that an adult uses the mandolin to avoid any nasty cuts.
3. Crispy Perfection: I was skeptical, but trust me, these chips are SERIOUSLY crispy. You get that satisfying crunch sound with every bite.

How to make chips in the microwave
Okay, so I know you’re wondering how this is even possible, and while I don’t know the exact science behind it, I can assure you that this recipe WORKS. I saw it on Instagram and had to give it a go myself. The great news is that it’s also super simple. There’s a detailed recipe card at the bottom of this post with quantities, but here’s a quick step-by-step overview of how to make Oil Free Chips in the microwave:
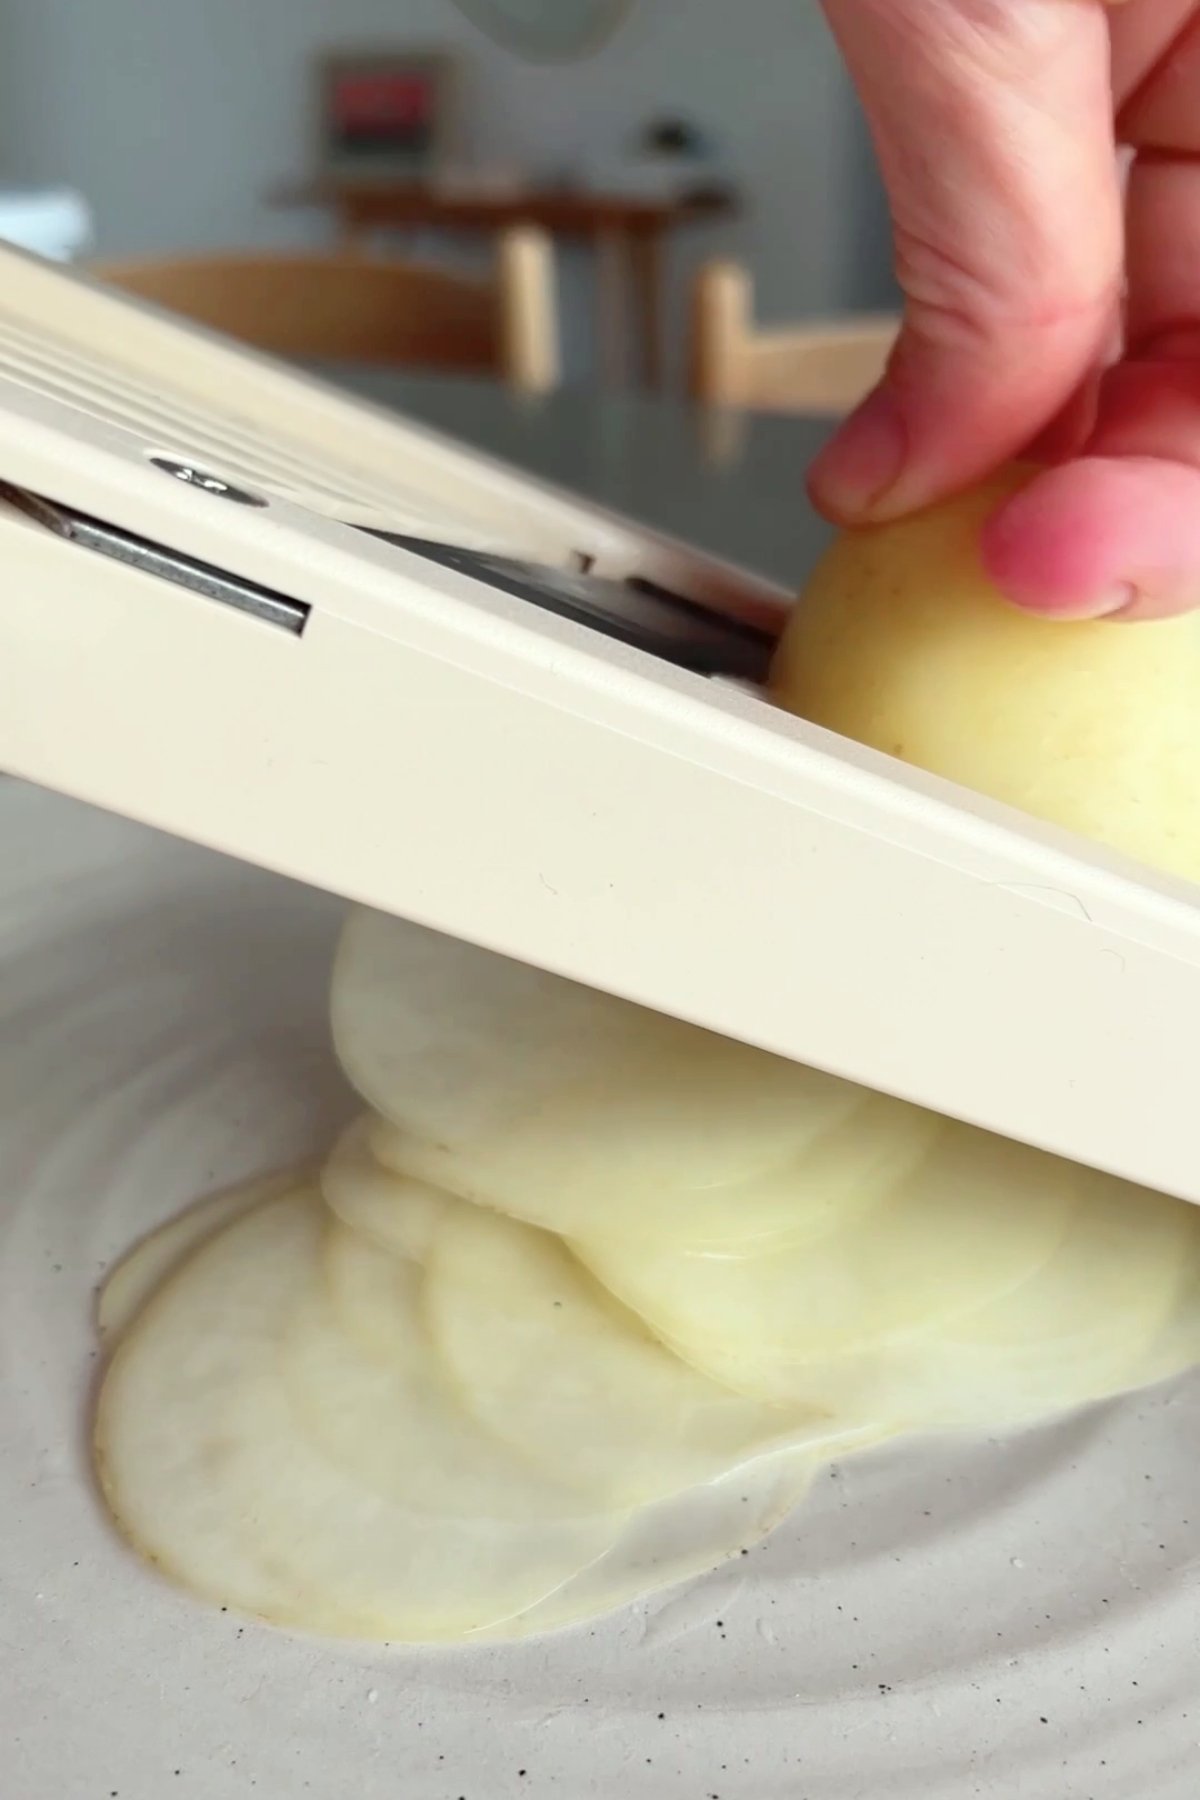
Step One: Slice potatoes are super fine on a mandolin. Seriously, make them as thin as you can without tearing them while still getting an even slice. Peeling isn’t necessary, but do make sure they are washed 🙂
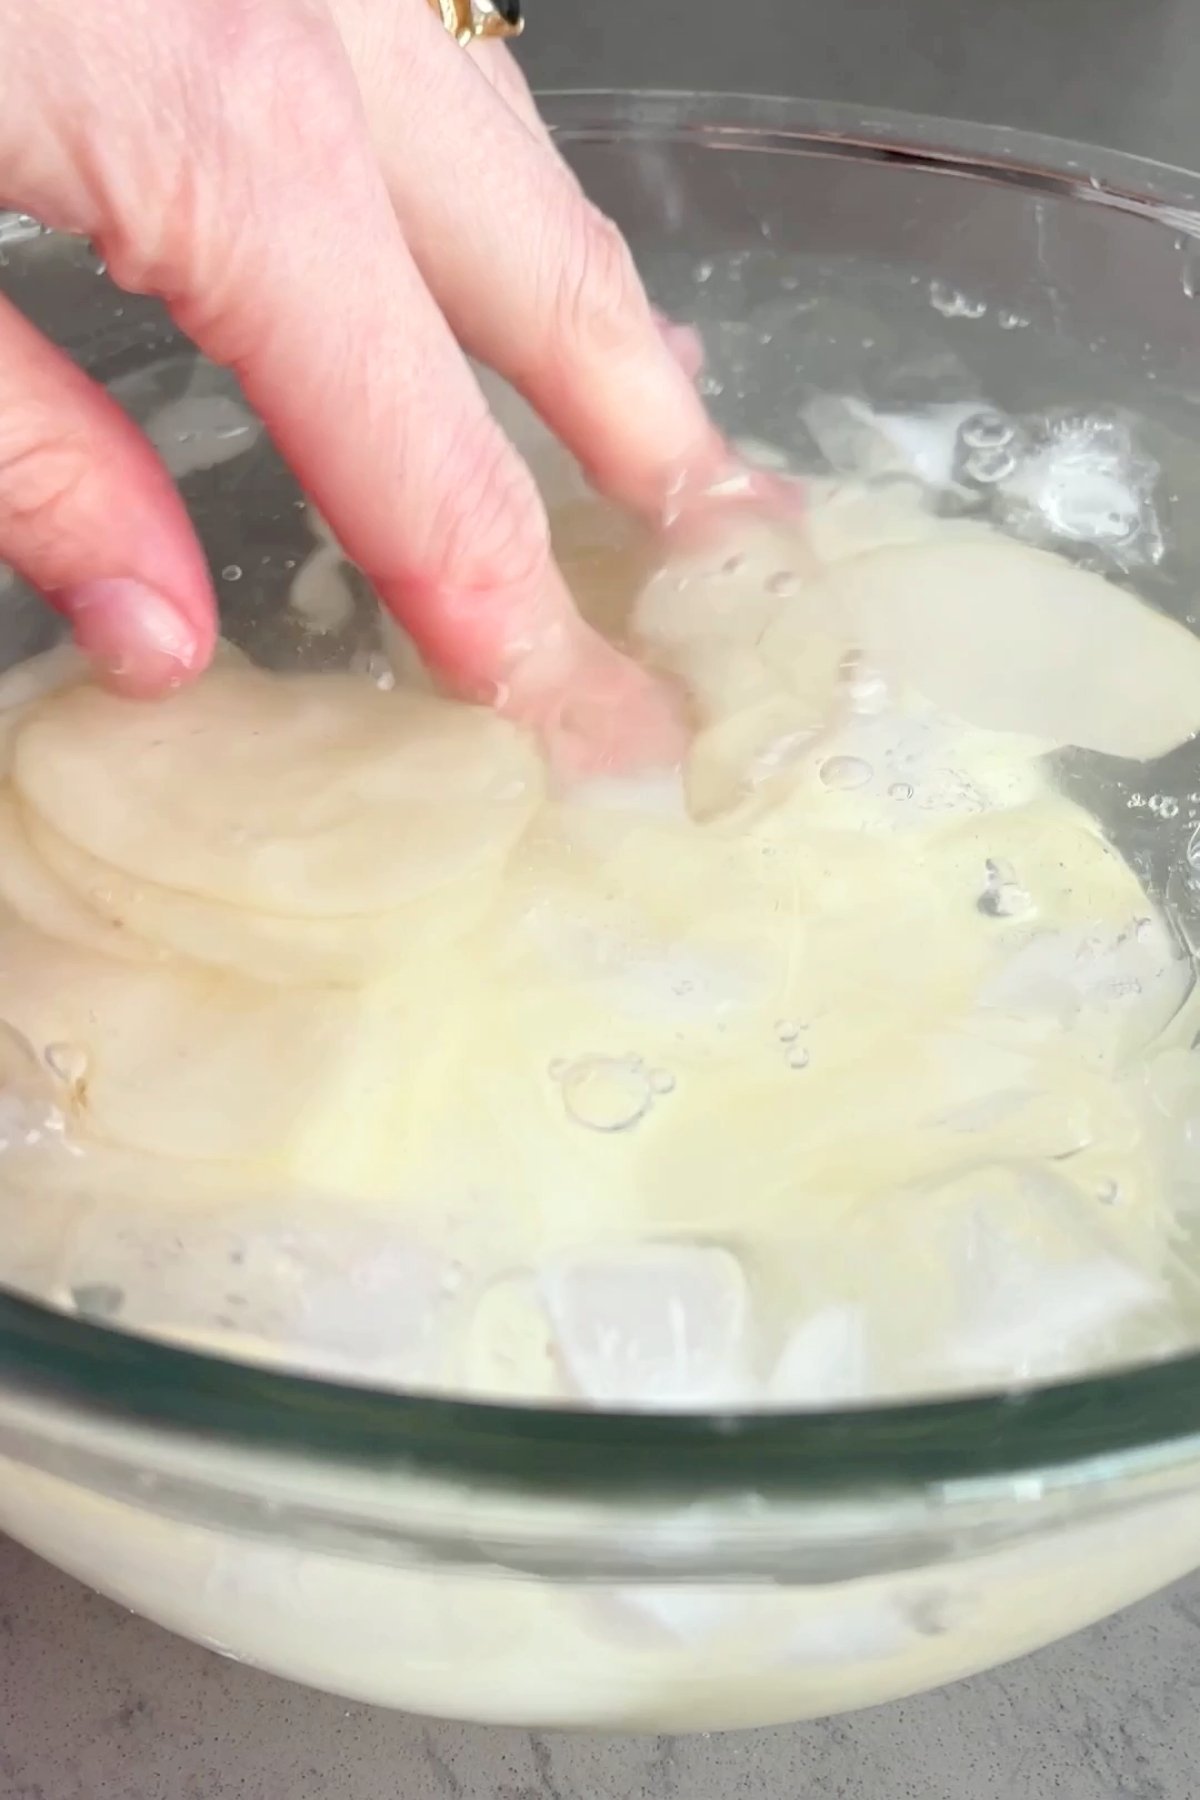
Step Two: Put the sliced potatoes into a large bowl of iced water and give them a little jiggle, then leave them to rest for 10 minutes. This helps remove excess starch and is going to get our chippies super crispy.
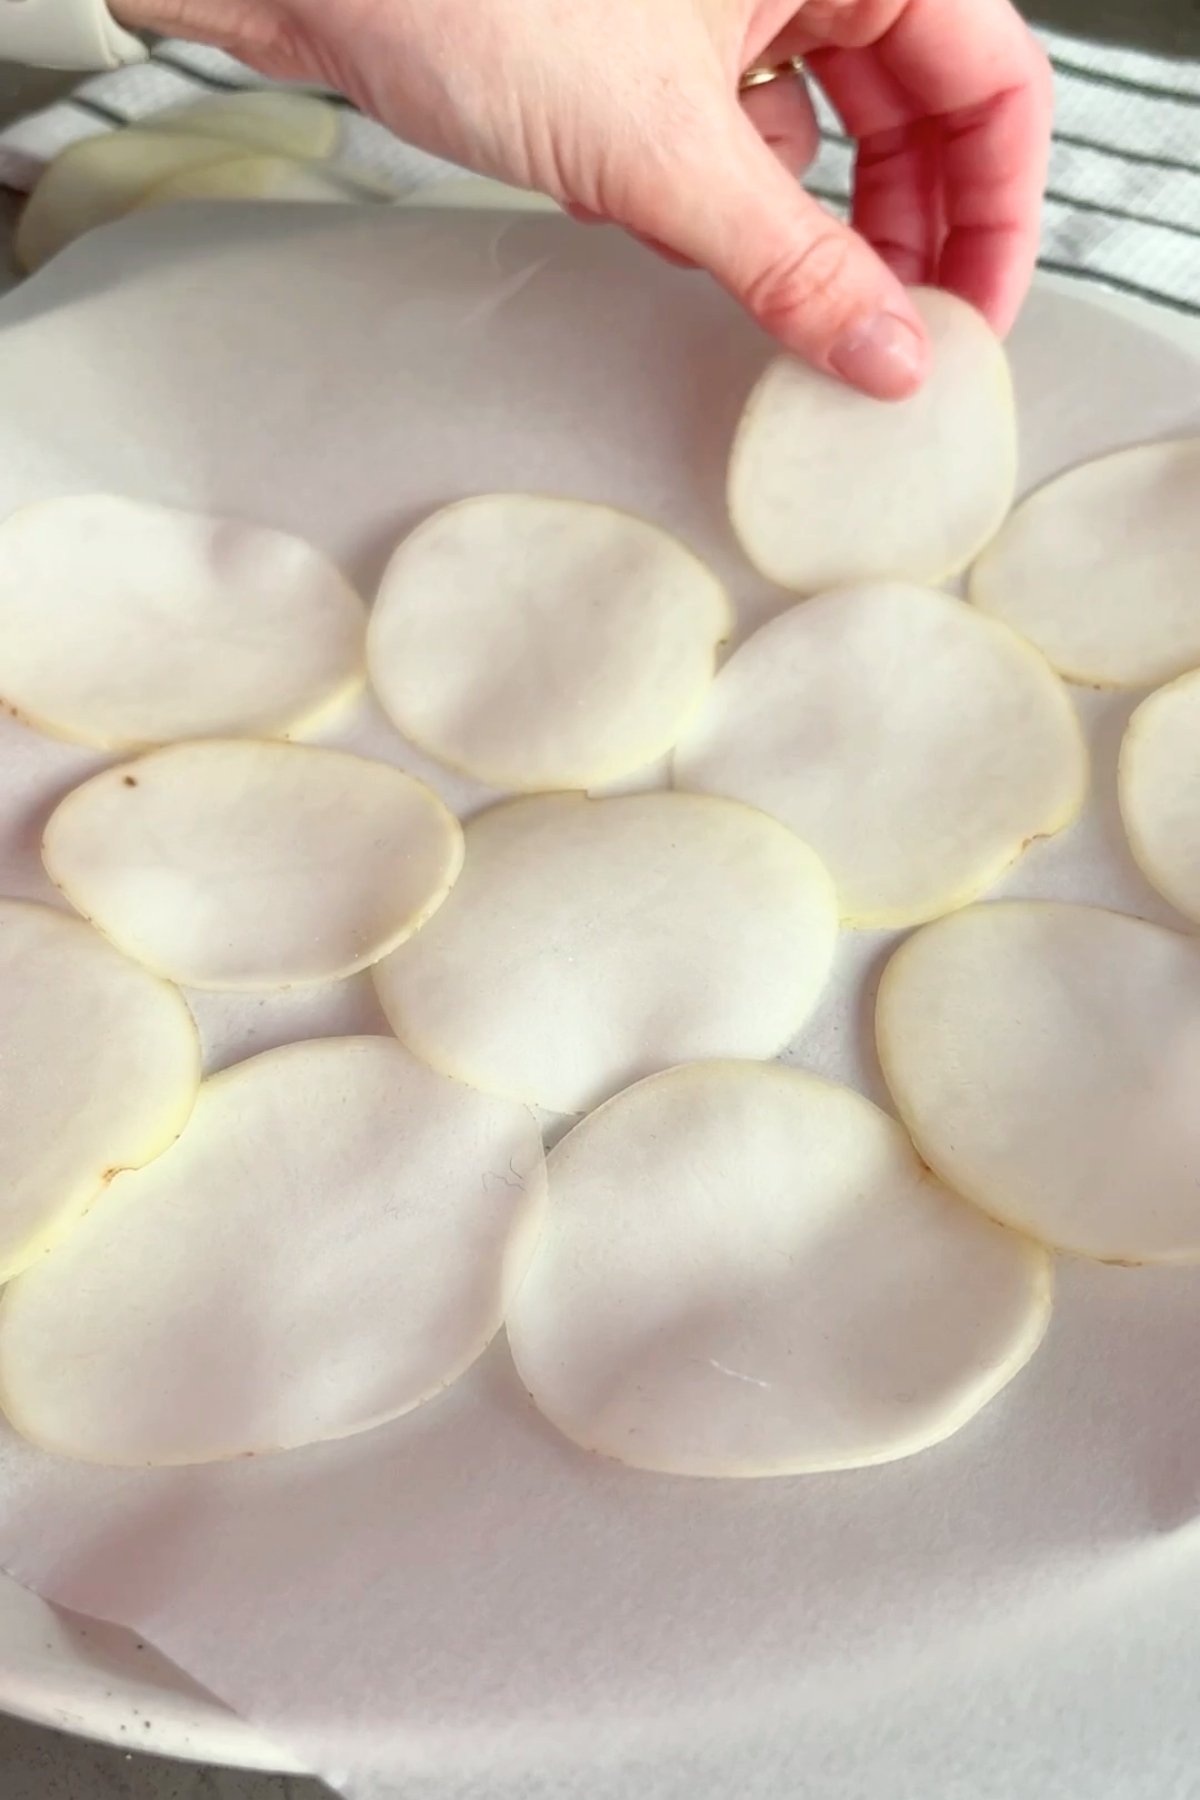
Step Three: Pat the slices dry using kitchen paper or a clean tea towel. Place slices onto a sheet of baking paper in a single layer with no edges overlapping. Make sure the baking paper is small enough to fit in your microwave. I prefer to put the baking paper directly into the microwave because it gets scalding hot when I use a plate underneath. Even microwave-safe plates will heat up A LOT in five minutes, so I recommend only going with baking paper.
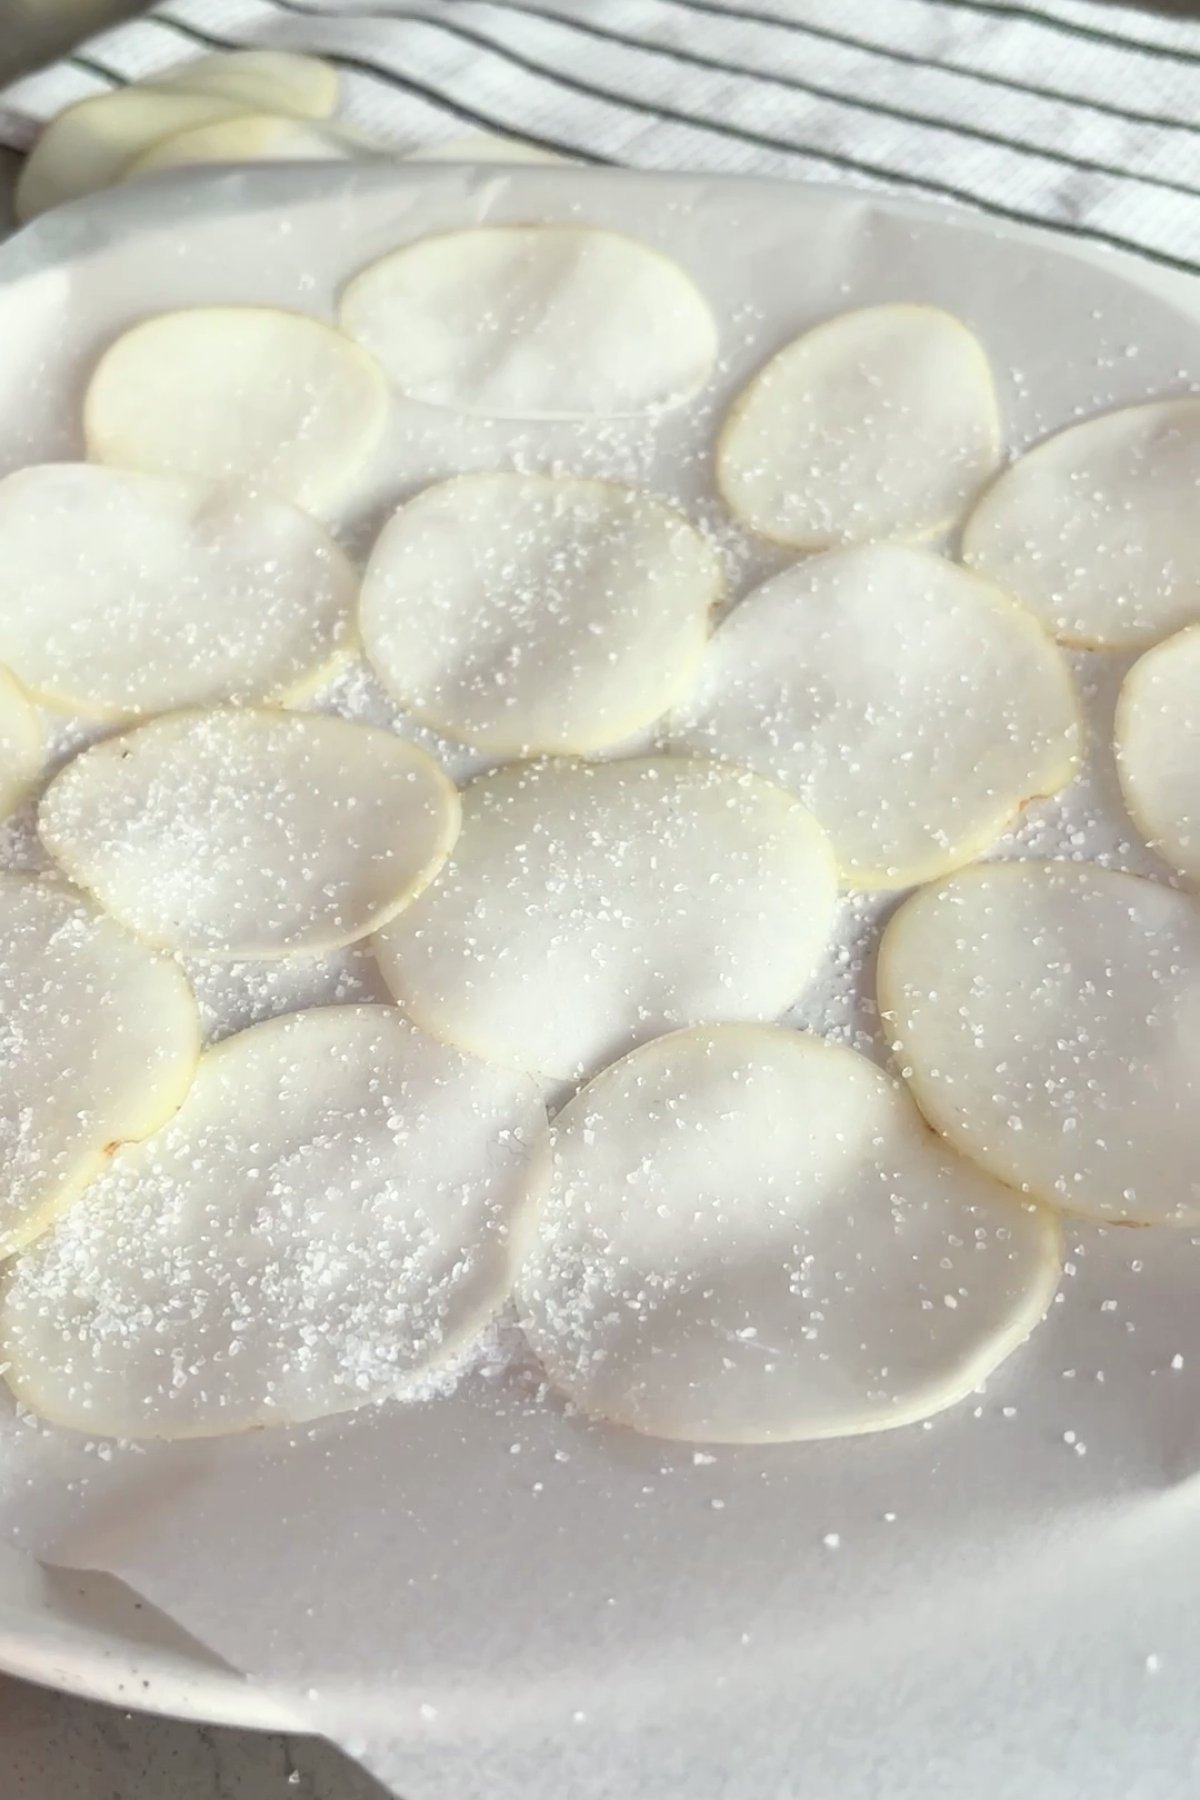
Step Four: Sprinkle a little pinch of fine salt over the chips and then transfer to the microwave. Now – with the salt. Don’t go overboard; a tiny pinch is enough, and you can always add more later if you have to. I used too much cooking salt the first time I made these, and they were inedible; they were too coarse, and even though they didn’t look like a lot at the time, they were super salty. It’ll stick very well, so it’s not easy to tap off after cooking. Lucky potatoes are cheap, so I made a fresh batch.
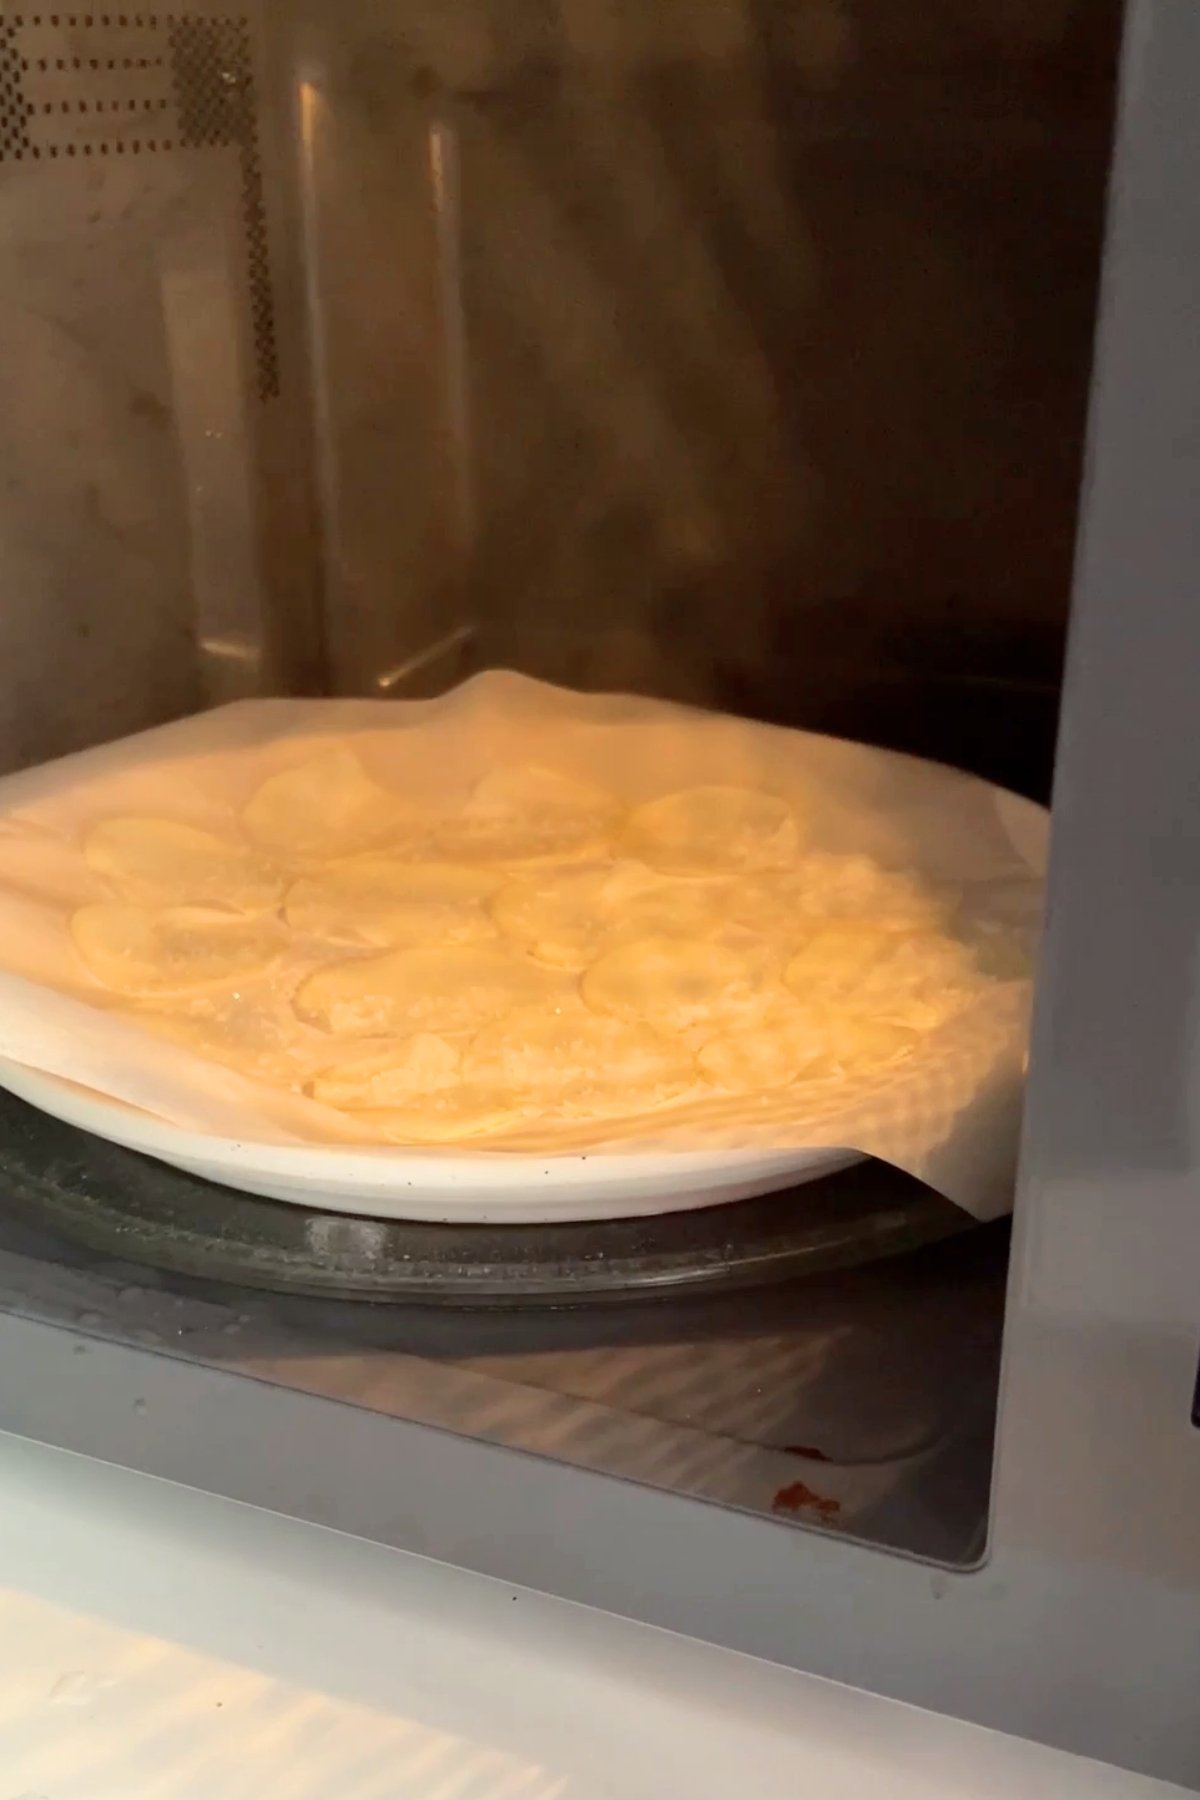
Step Five: Microwave time – blitz these babies on high for 5 minutes. They won’t go as golden as regular chips (because they’re oil-free). Depending on your microwave, you might need to add an extra 30 seconds here but proceed with caution as they burn very easily. Repeat this with the next batch of fresh potato slices until all chippies are cooked to perfection – mine took about 5 batches.

Step Six: That’s it! Enjoy your chippies at their peak crispiness by eating them immediately or popping them into an airtight container to save them for later.

What to serve homemade chips with
I served these with sriracha mayo as a dipping sauce, but honestly, they’re great on their own! You could serve them with hummus or another dip for a healthier option, too. They’d also make a great cracker alternative on a cheese board or tray of snacks for movie night.
Storage instructions
Eating these immediately is best to enjoy them at their maximum freshness and crunchiness. If you want to store them, pop them in an airtight container or resealable plastic bag with as little air as possible. They should stay crispy for a few days.

I hope you love these easy oil-free chips; let me know what you think in the comments below! And if you’re after more yummy snack ideas, don’t miss my other version of this recipe — Oil-Free Sweet Potato Chips — plus Buffalo Cauliflower Wings and Crispy Smashed Potatoes. All super tasty and perfect for snacking.
Watch me make this recipe.

Oil Free Microwave Potato Chips (Two Ingredients!)
Equipment
- Microwave
- mandolin
Ingredients
- 2 large potatoes washed
- salt fine
- large bowl of iced water
Instructions
- Slice potatoes with skin on as thinly as possible using a mandolin.
- Add the sliced potato to the bowl of iced water. Jiggle the slices with your fingers to separate then leave to sit for 10 minutes to wash away some of the starch. Pat dry using kitchen paper or a clean tea towel.
- Place the potato slices onto a piece of baking paper the size of a dinner plate and sprinkle with a small pinch of table salt. Make sure the slices do not overlap and the sheet of baking paper can fit in the microwave.
- Carefully transfer the baking paper with the potato slices into the microwave. Microwave on high for 5 minutes or until golden. Repeat until all slices are cooked.
- Eat immediately for the crispiest texture or store in an airtight container to save for later.
Video


Liz Douglas says
Such a fun experiment, couldn’t believe they got so crispy without oil
sarah says
Delightful flavors!
Hong Nguyen says
This is truly the best.