
Progress update on the kitchen renovation! We’re almost a month in now. The adrenaline I felt in those first couple of weeks has definitely started to wear off, but I’m also loving the process and seeing it take shape really is a dream come true.

If you’re new here, make sure to check out Part 1 where I talk about why we moved in the first place, Part 2 for the old kitchen review and demolition, and if you want to see what the final design is going to look like, it’s in Part 3 along with a bunch of the other designs I didn’t go ahead with.
Okay, here’s where we’re up to!
The floors
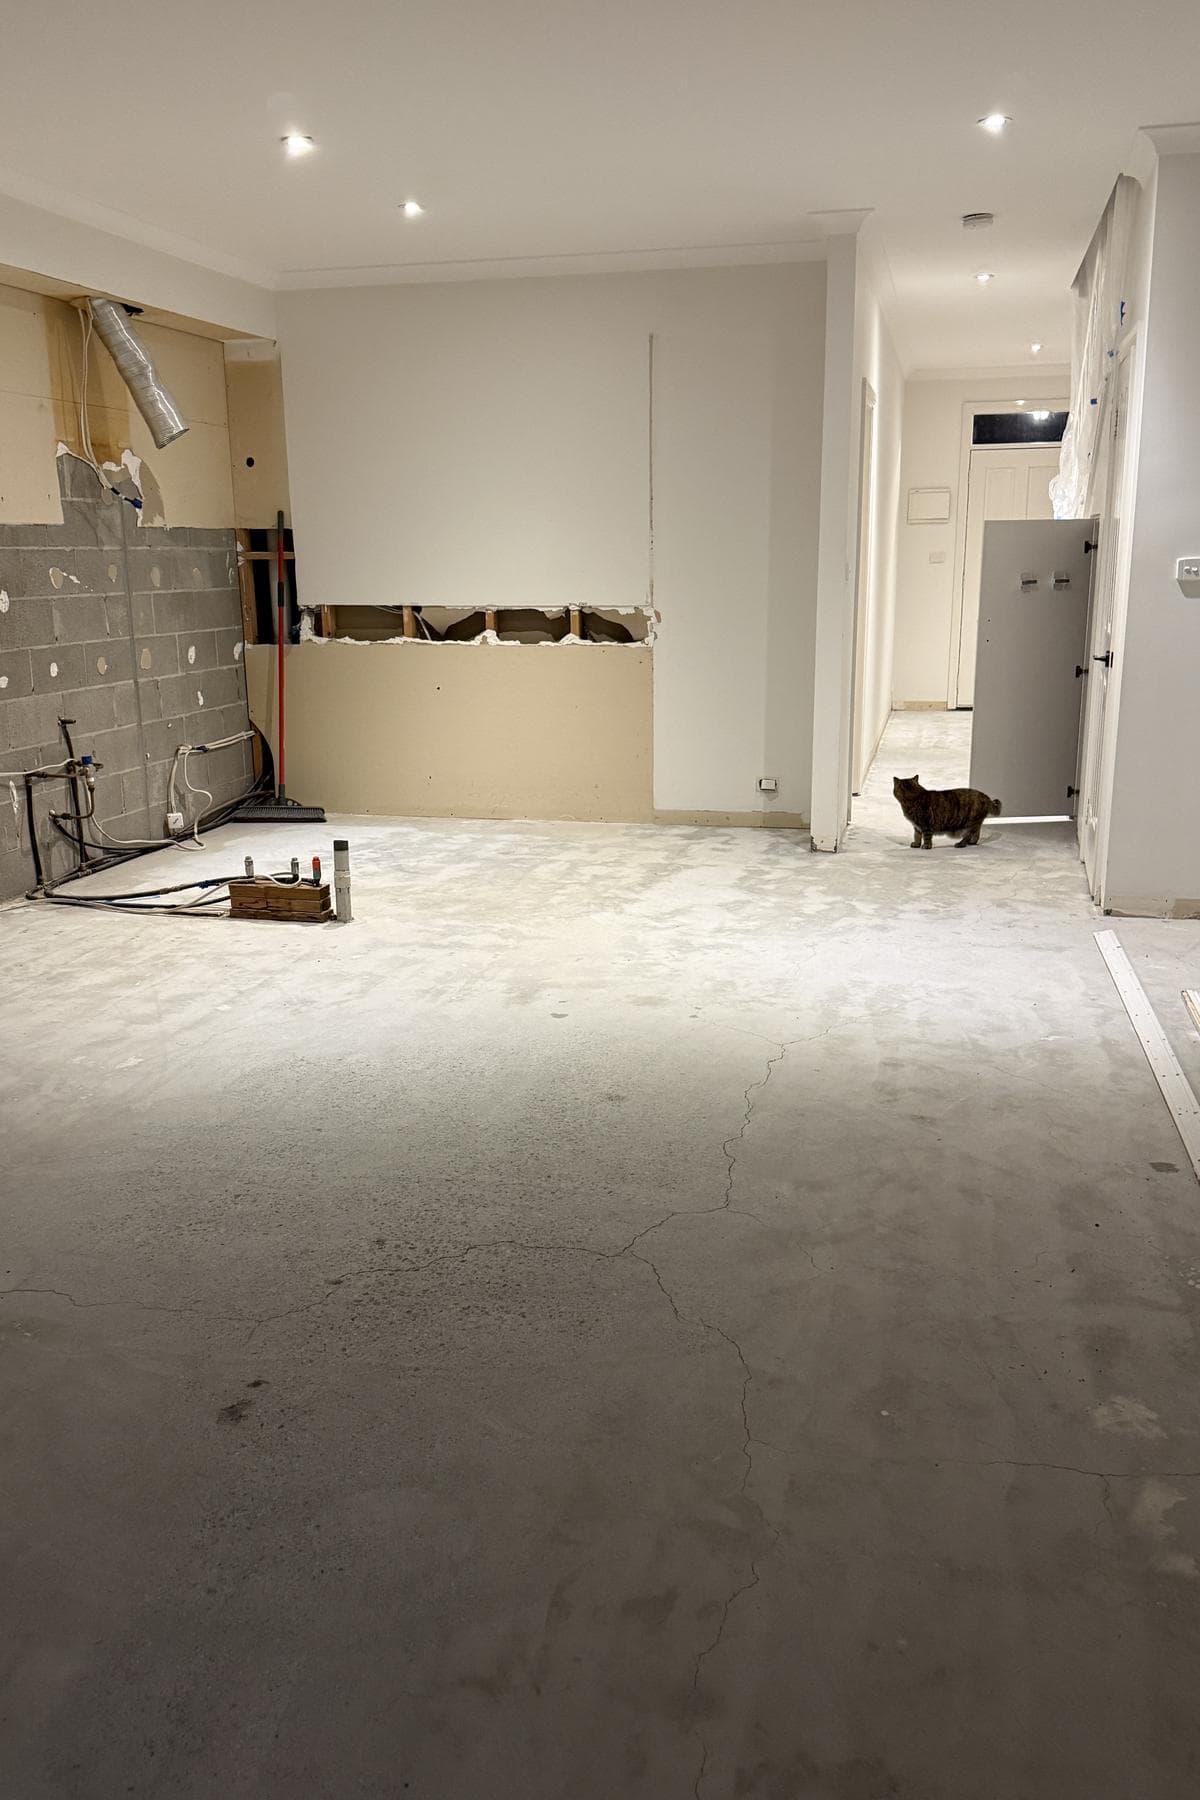
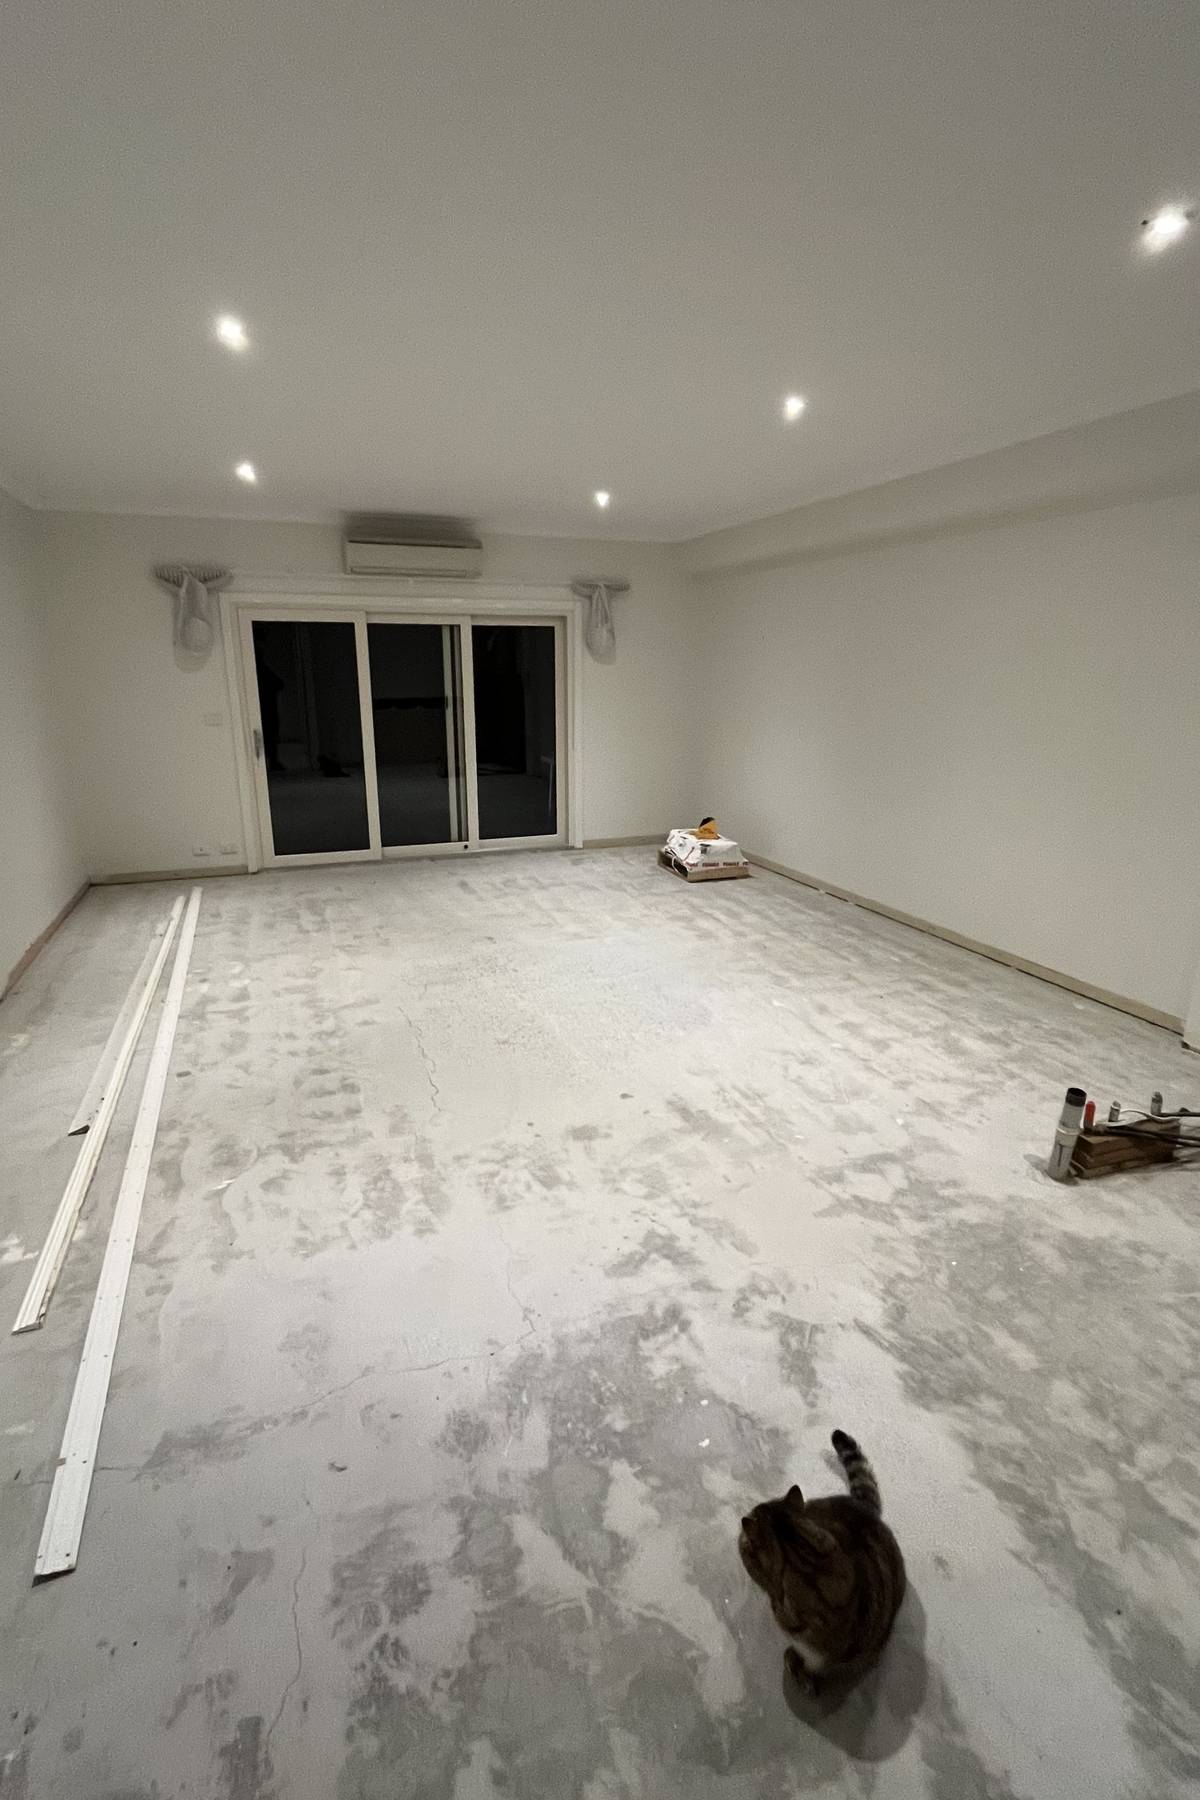
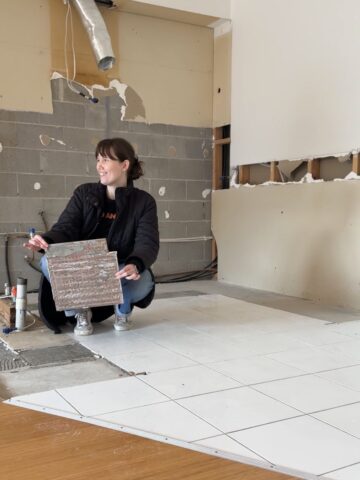
The next step was to pull up the old tiles and floorboards, and prep the slab for the new oak floors. Probably the most boring and one of the more expensive parts of the process, but sometimes you gotta put your big girl pants on and spend money on those invisible grown up things lol
The creative plumbing
Now you may remember from Part 2 that there were some creative plumbing issues we uncovered. Pipes running across the floor, and the temper valve that was sitting inside where the dishwasher is supposed to go, when it should have been outside lol
ANYWAY that has now been fixed and thankfully it wasn’t too painful. Our plumber is absolutely meticulous. This is probably the most mid 30s thing I’ve ever said, but just look at how tidy those pipes are – chef’s kiss 👌🏼
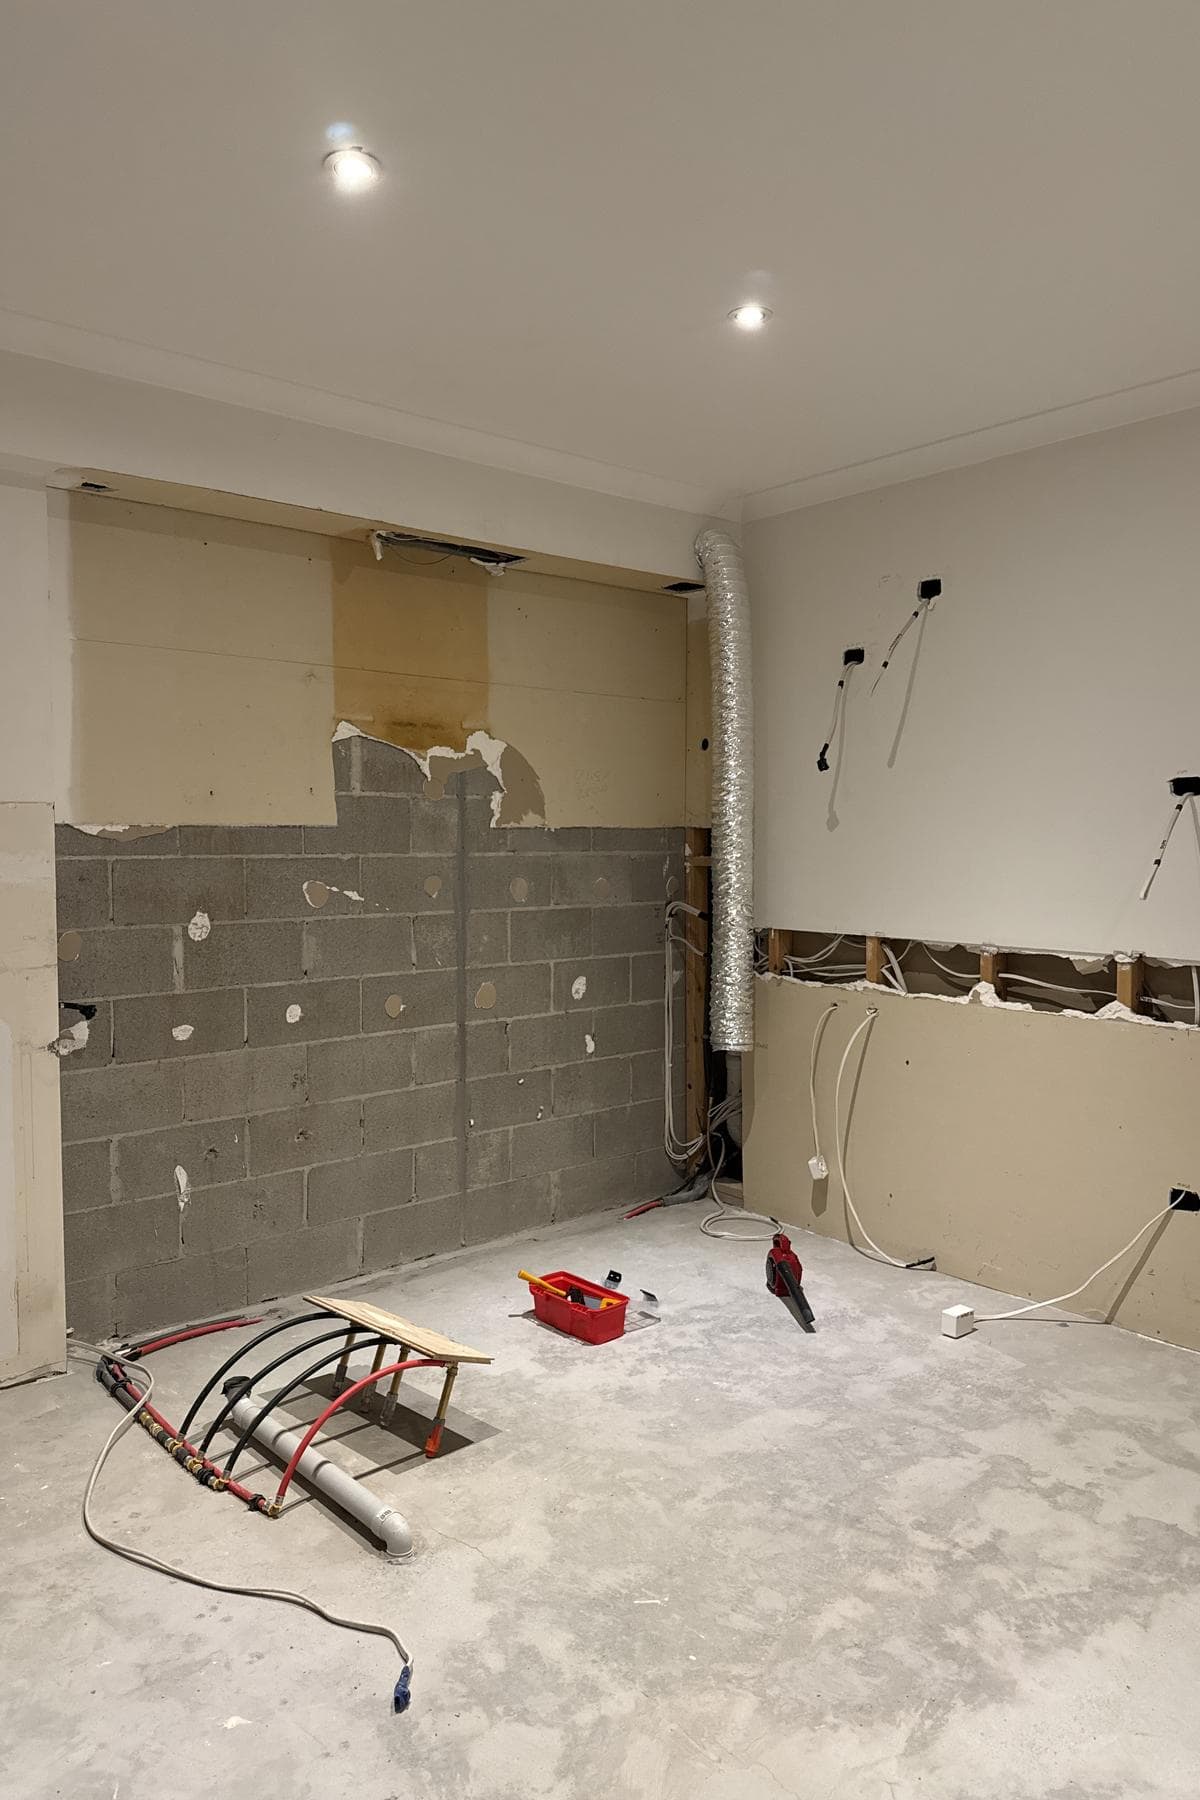
The electrical rough in happened at the same time. Poor sparky had to work around our garage, which is basically the power highway of the house. It backs onto the kitchen and has conduits all over the ceiling, so it was VERY tedious. It’s also jam packed at the moment, cat litter box in the corner, our temp kitchen and pantry, plus all the belongings that didn’t go into storage, so he had to scramble over all our stuff to get to anything. But he got there in the end!
The garage is also our kitchen right now
The garage is also home to our little temp kitchen, which is surprisingly functional. It’s kind of ironic to have this realisation mid renovation lol, but having such a small kitchen made me realise we don’t actually need that much space and gear, because we’ve managed to get away with an air fryer, a microwave and a toaster pretty easily!
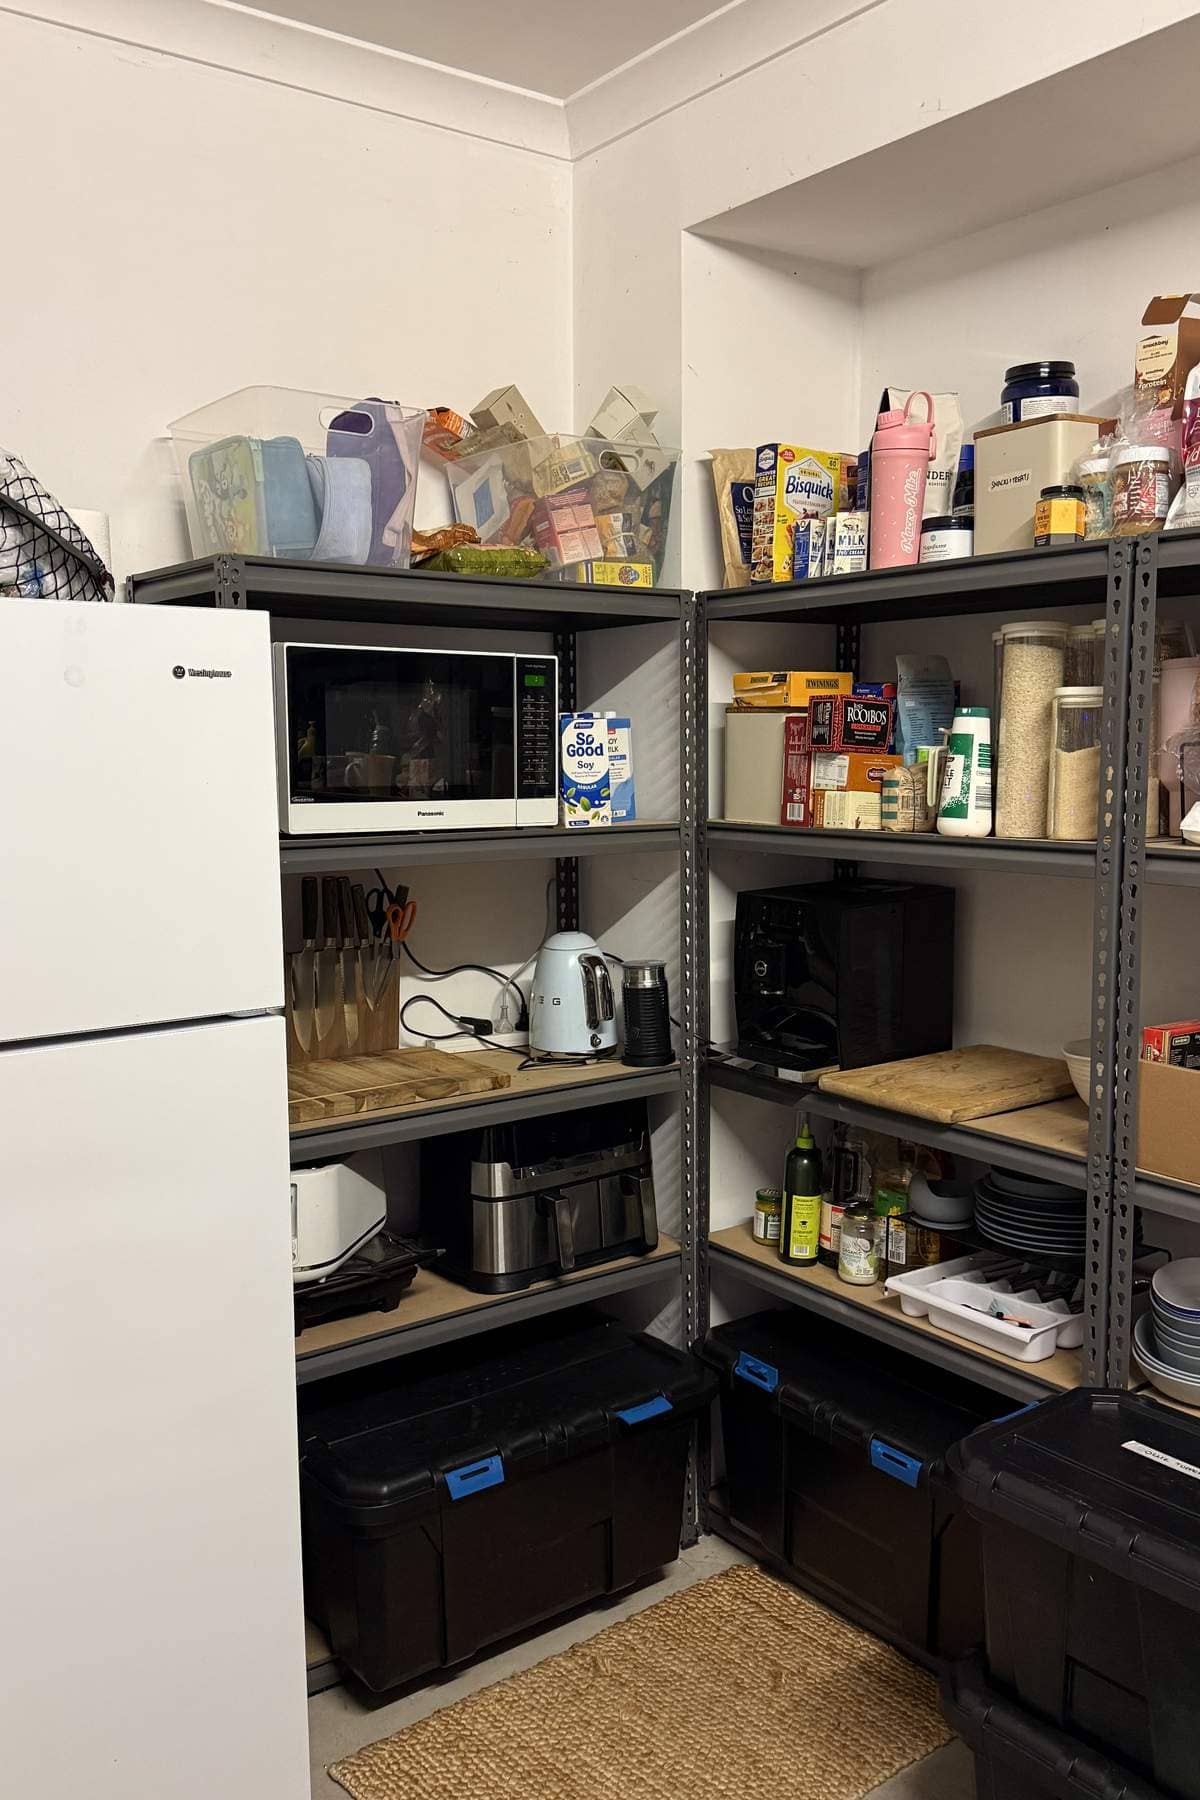
The only real drainer is not having a sink. Washing up in the laundry upstairs and in the bathrooms is a bit of a pain, and there have been some funny evenings of me filling up my kettle at the front porch tap in my dressing gown at 8pm ha.
The appliances arrive
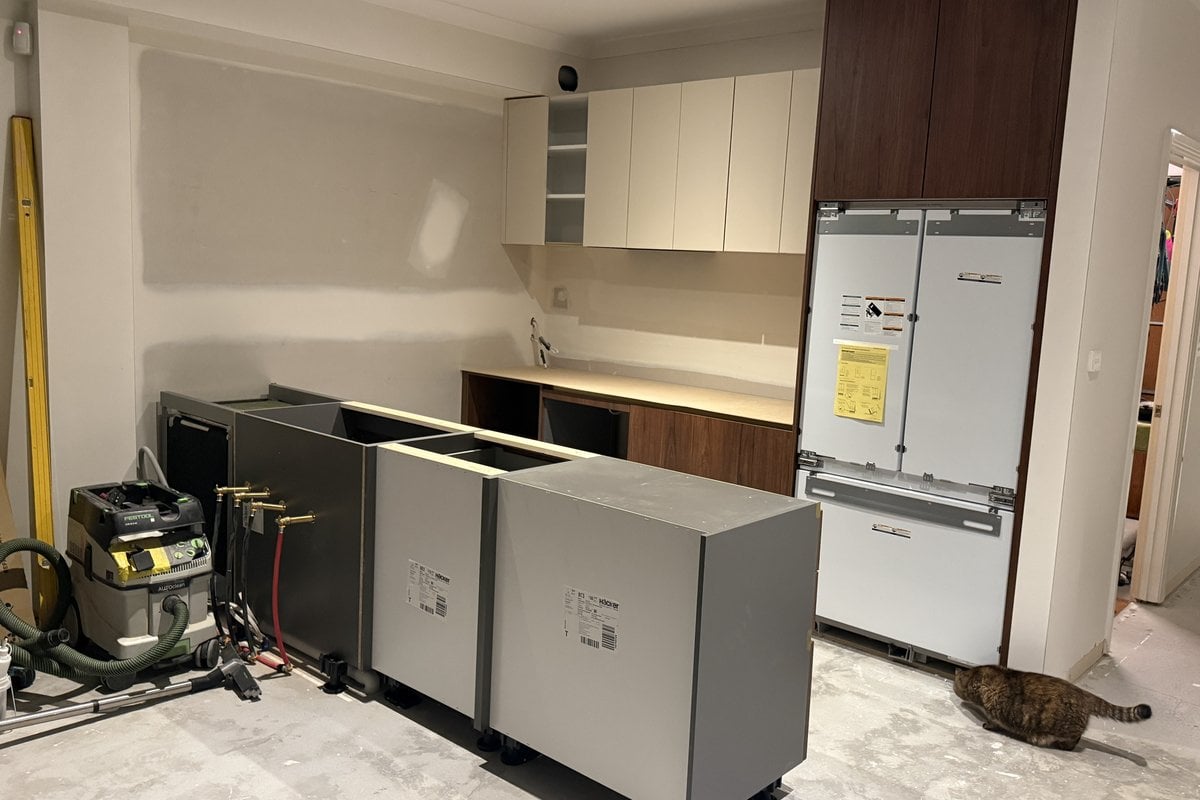
That monster of a box is my biggest splurge of the whole project, an integrated fridge!
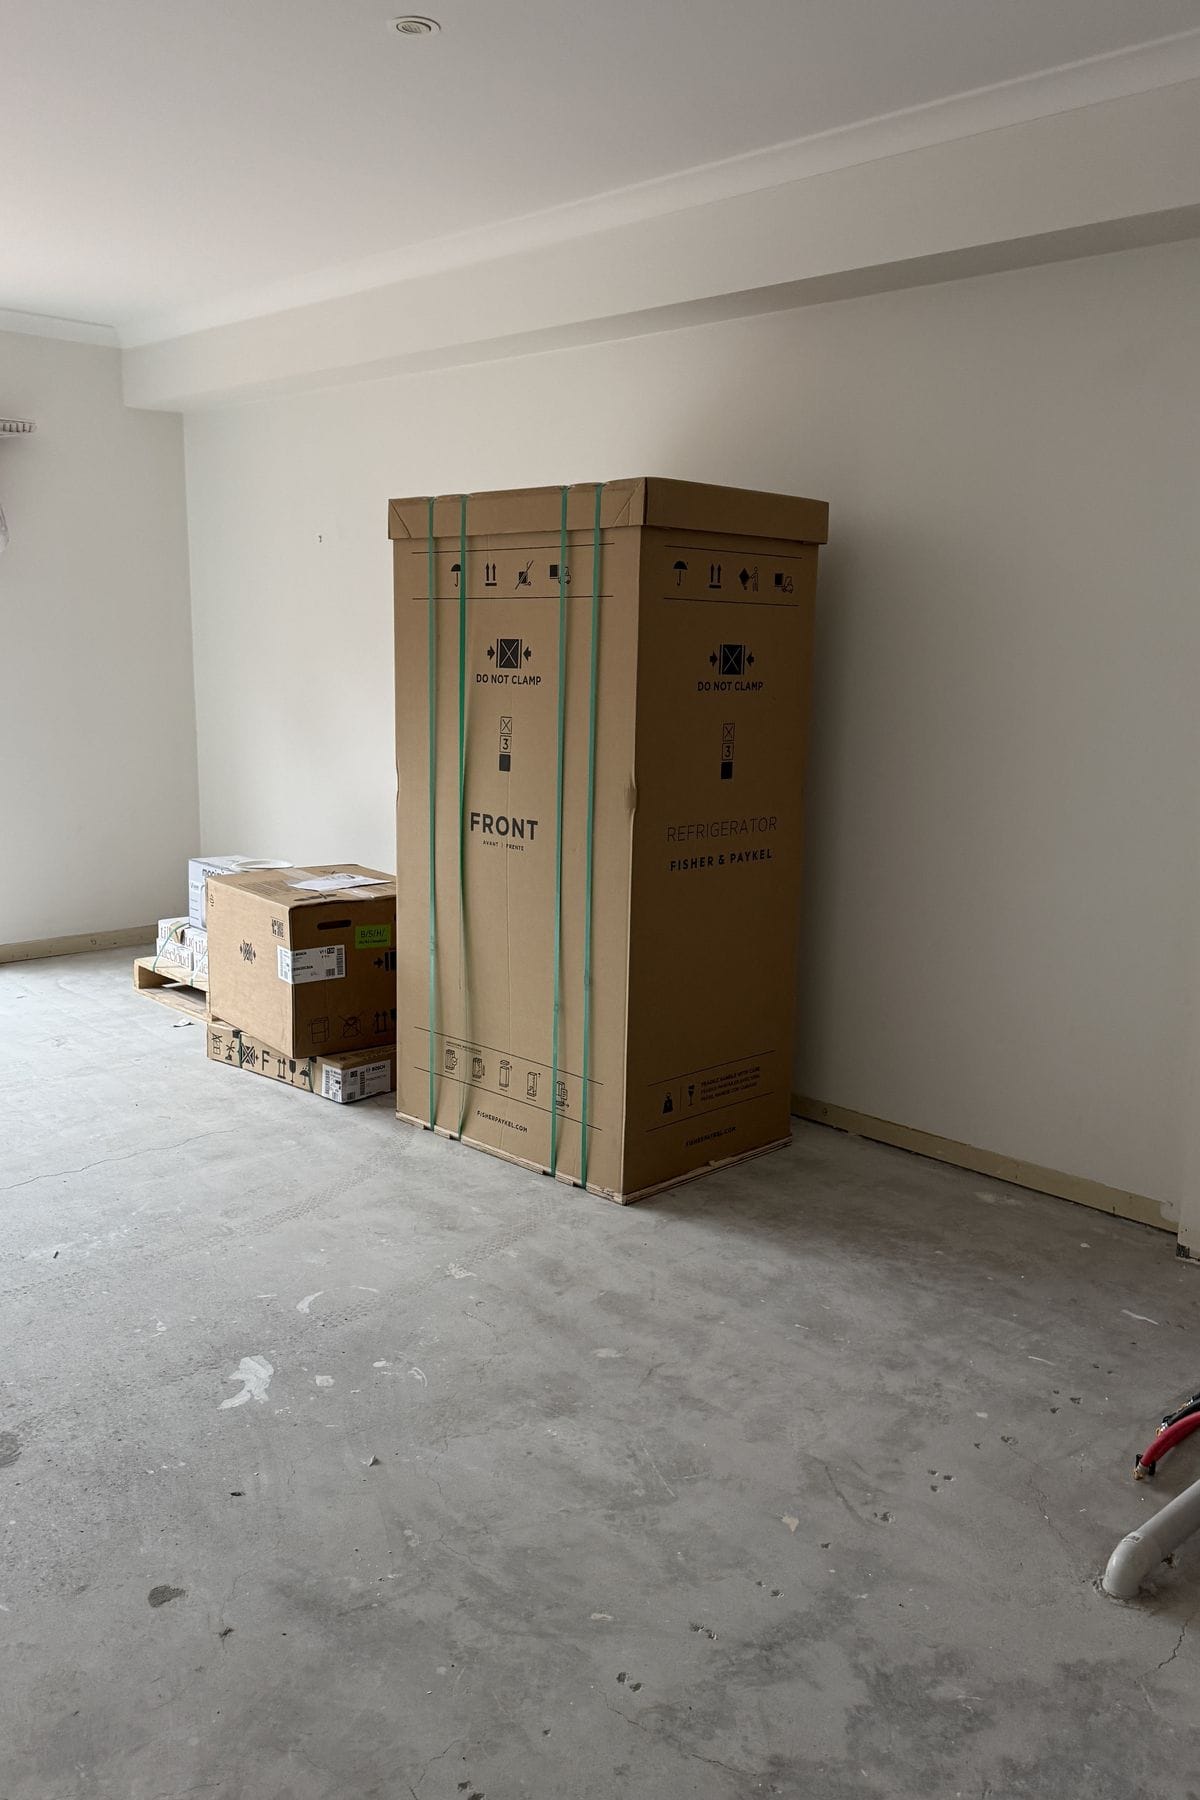
Given the space is basically our kitchen and living room in one, I think it’s going to be totally worth it. Instead of looking at white goods from the couch, we’ll be looking at a beautiful walnut cabinet.
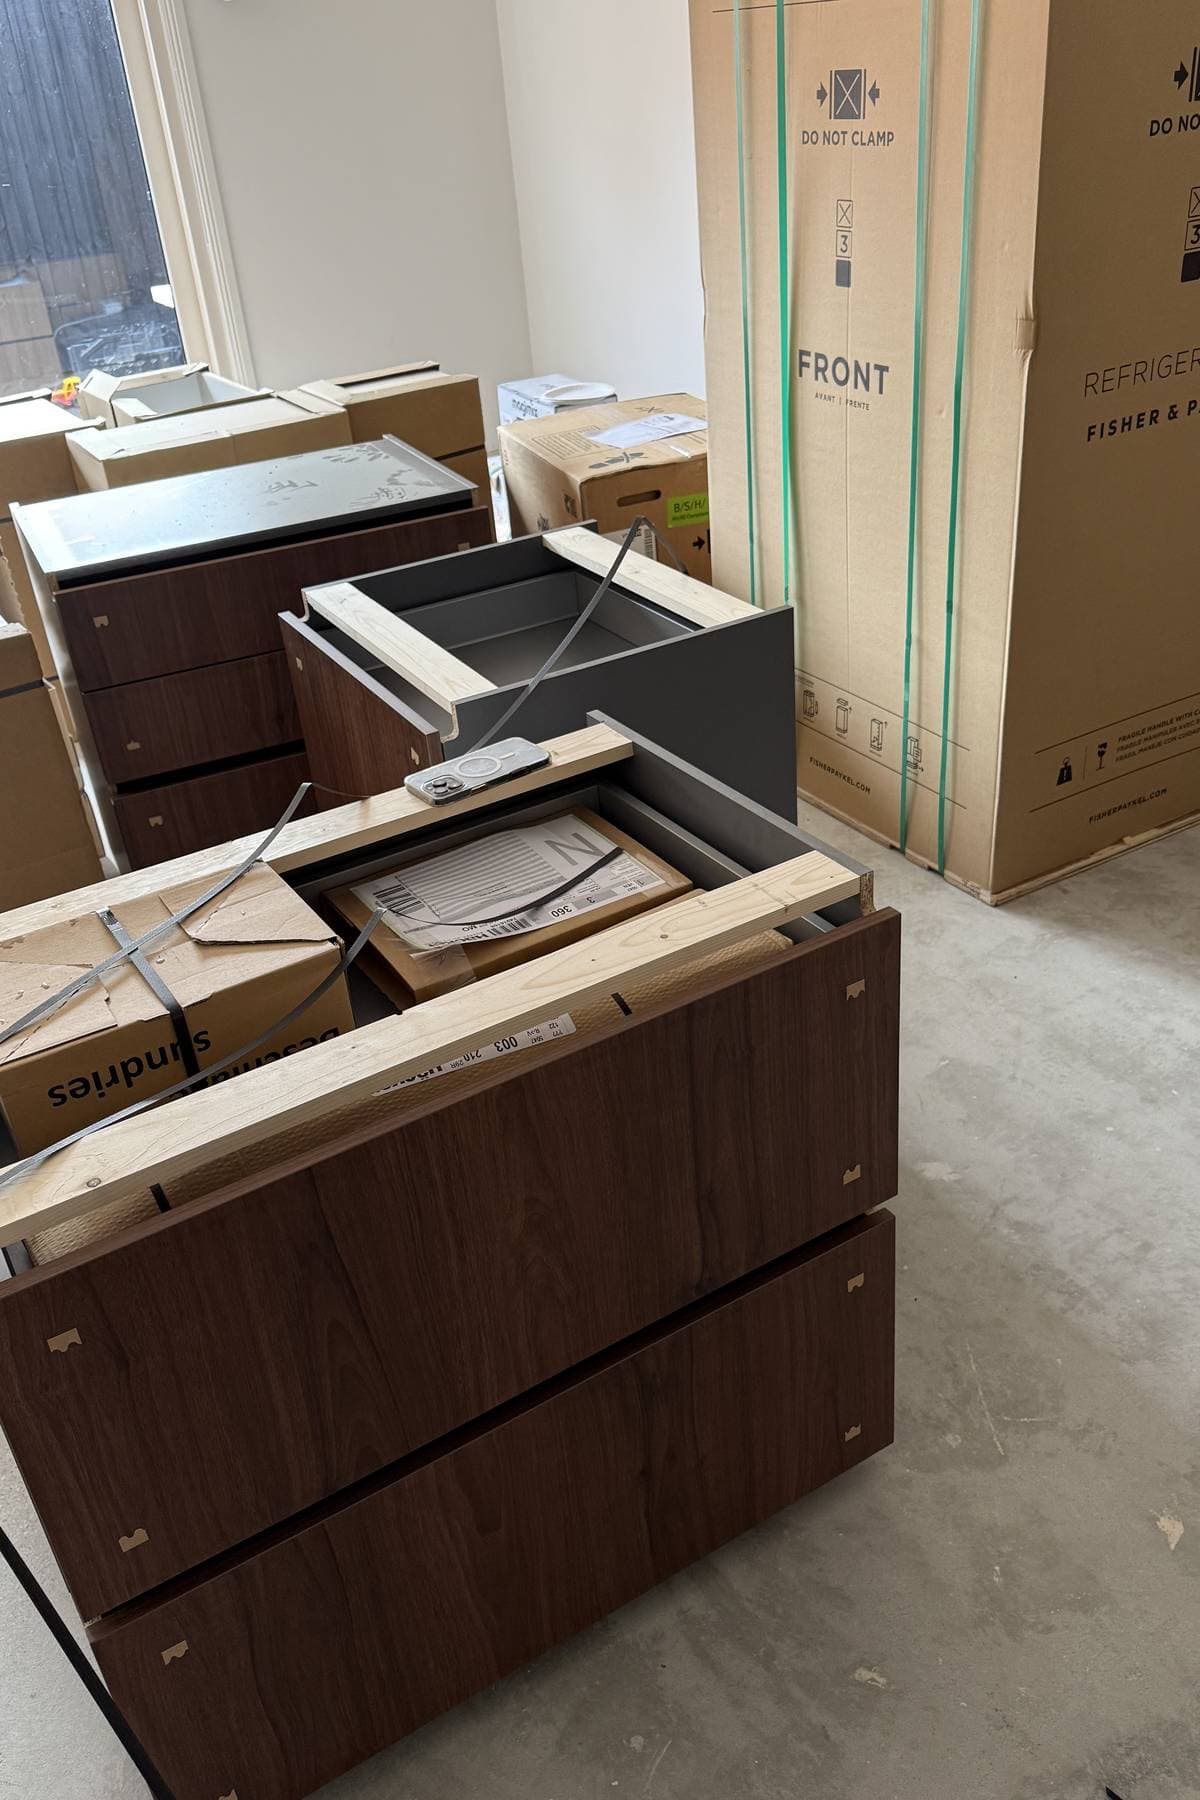
Cabinetry delivery day
Then the most exciting part. After months of staring at renders, the actual cabinetry arrived (look at that rich walnut!!). This was by far the biggest transformation, and when things really started to come together.
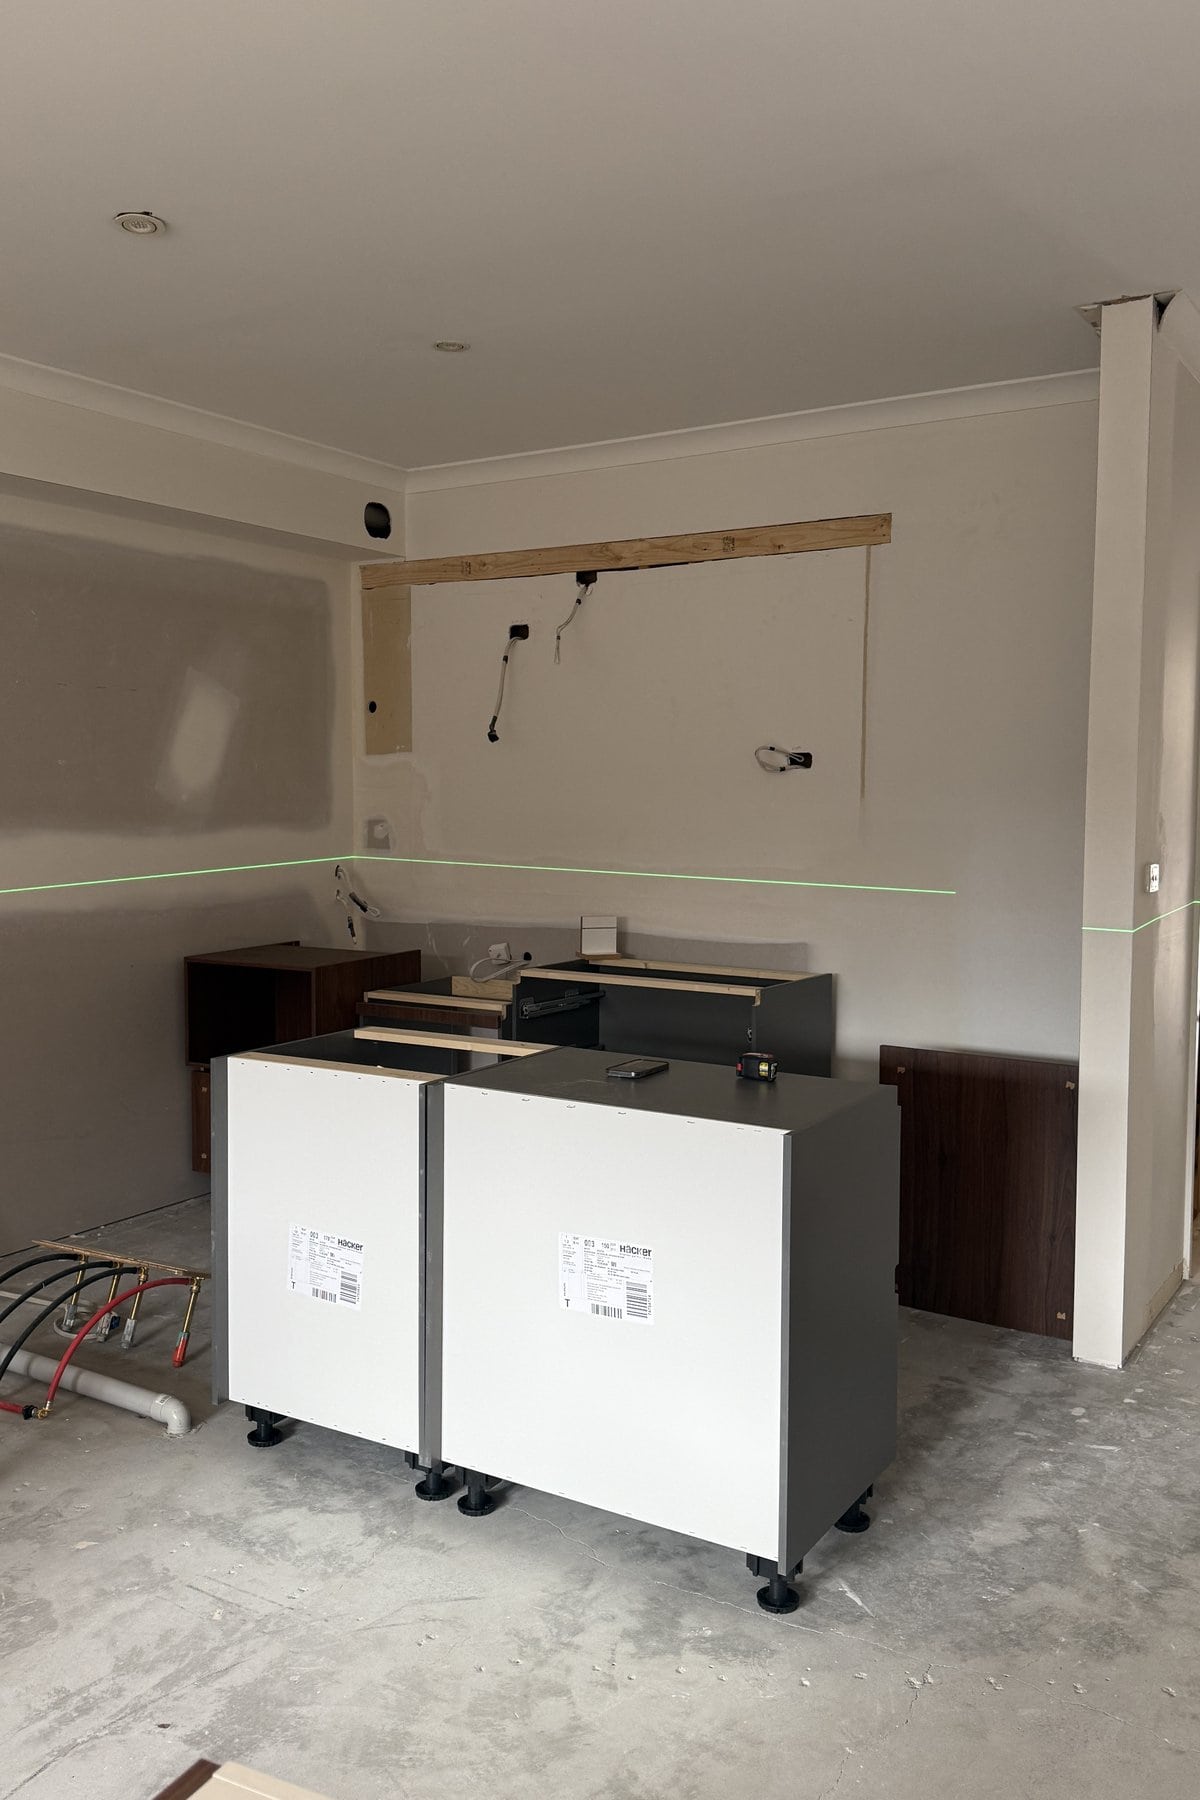
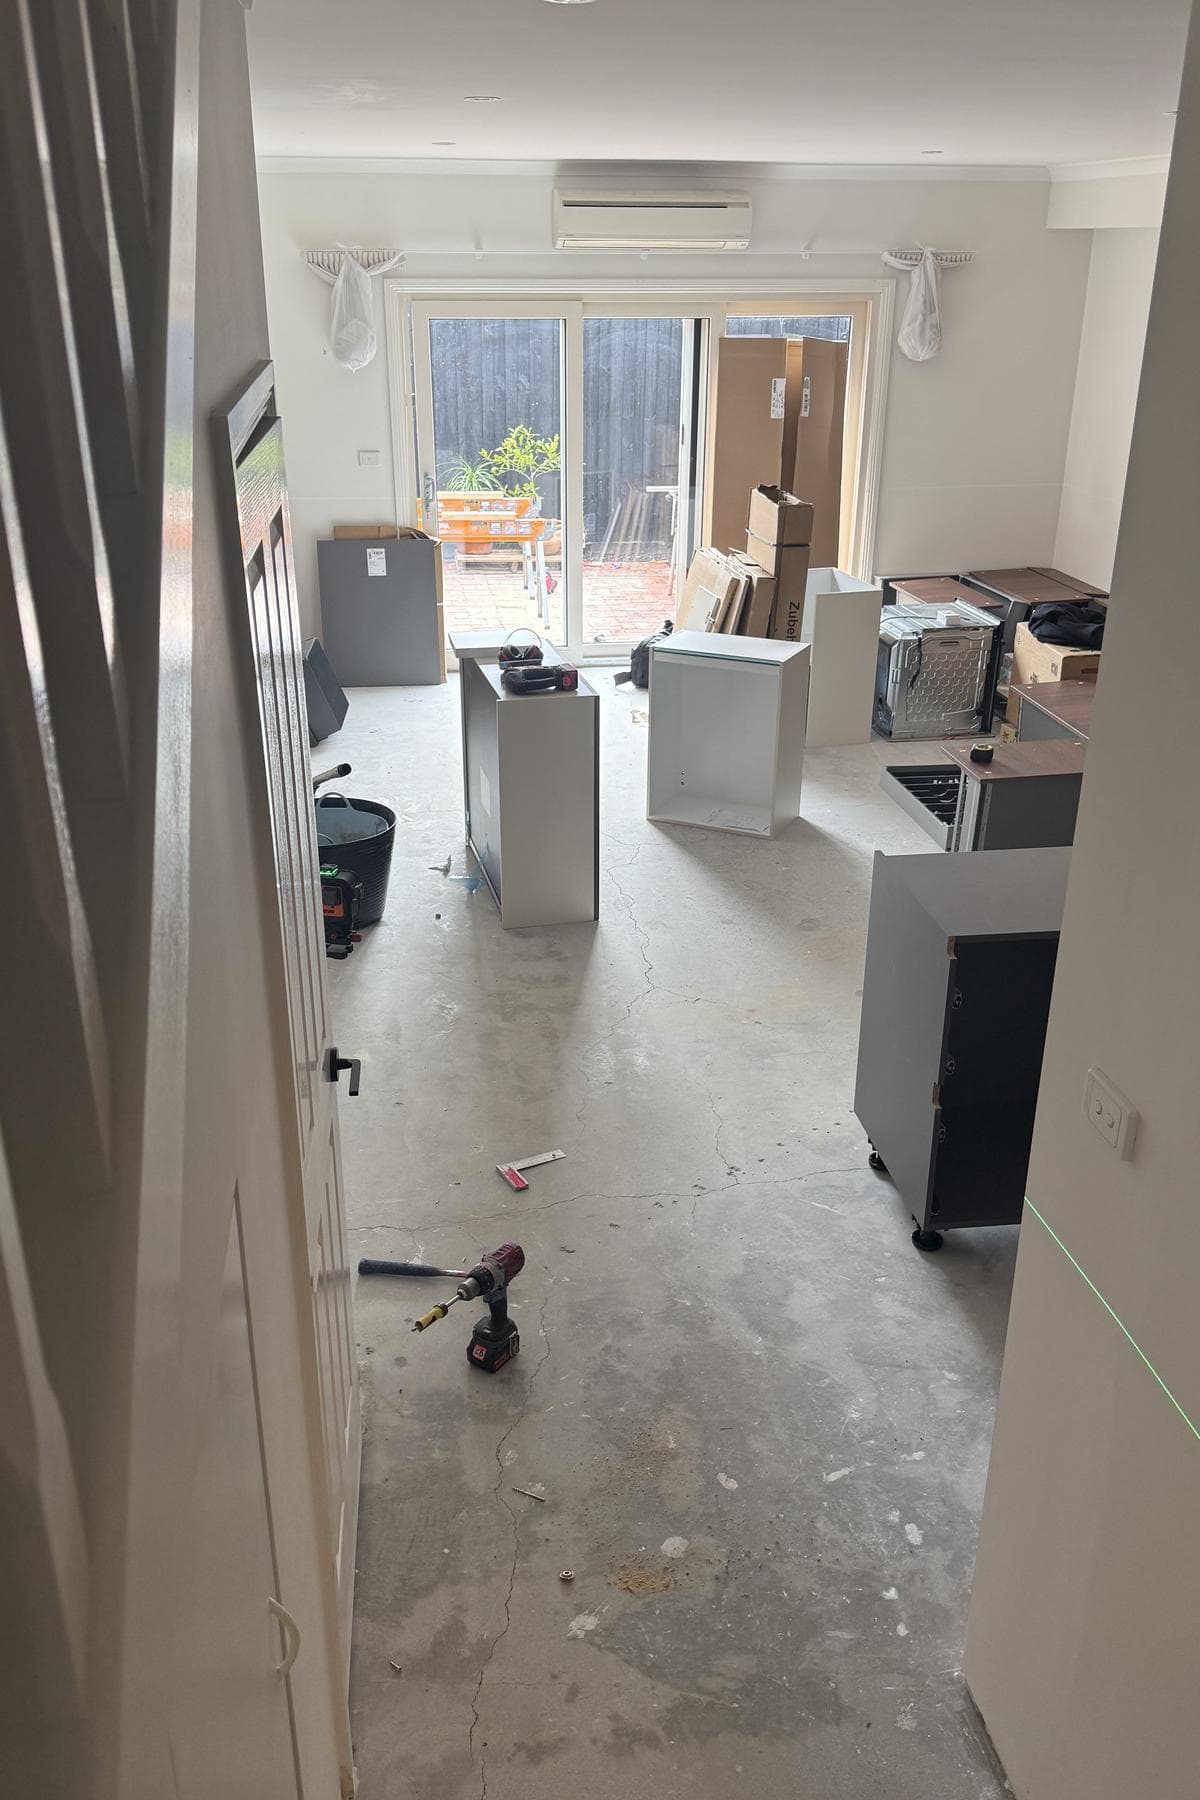
Install, day one
See that green line? That’s the laser they set up first thing and everything gets built off it. I’d assumed installing a kitchen was mostly screwing boxes together, but it’s mostly measuring and levelling.
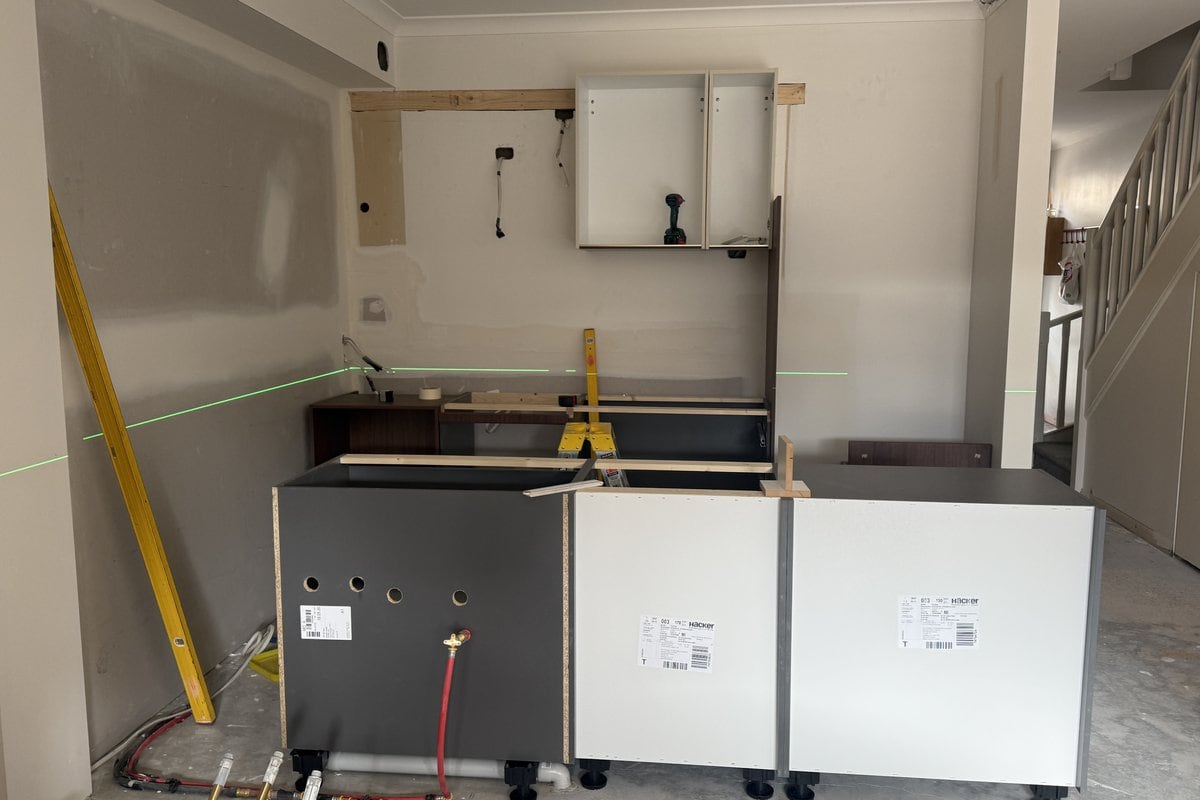
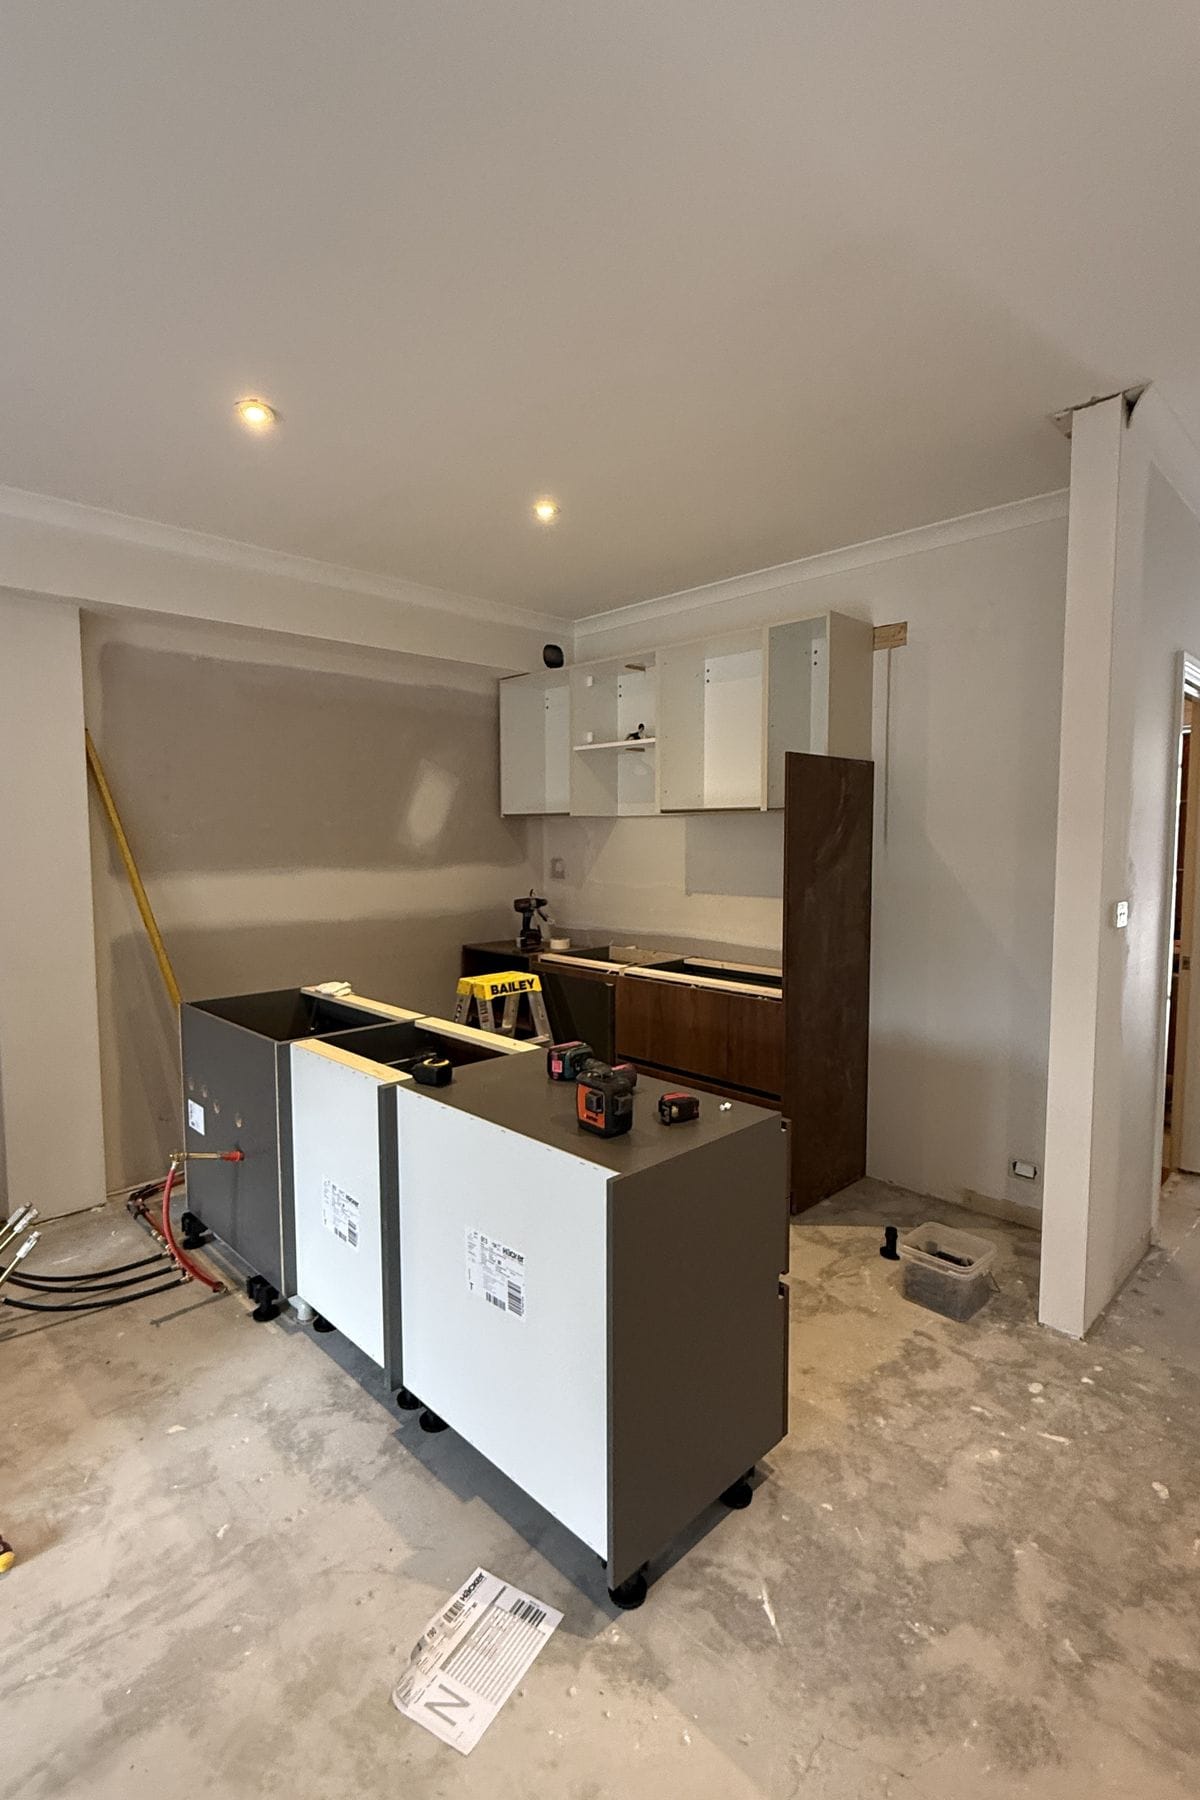
Day two, and the walnut column
On the plans this column looked enormous and I was sure it was going to swallow the whole space, but in real life it reads much more like a piece of furniture.
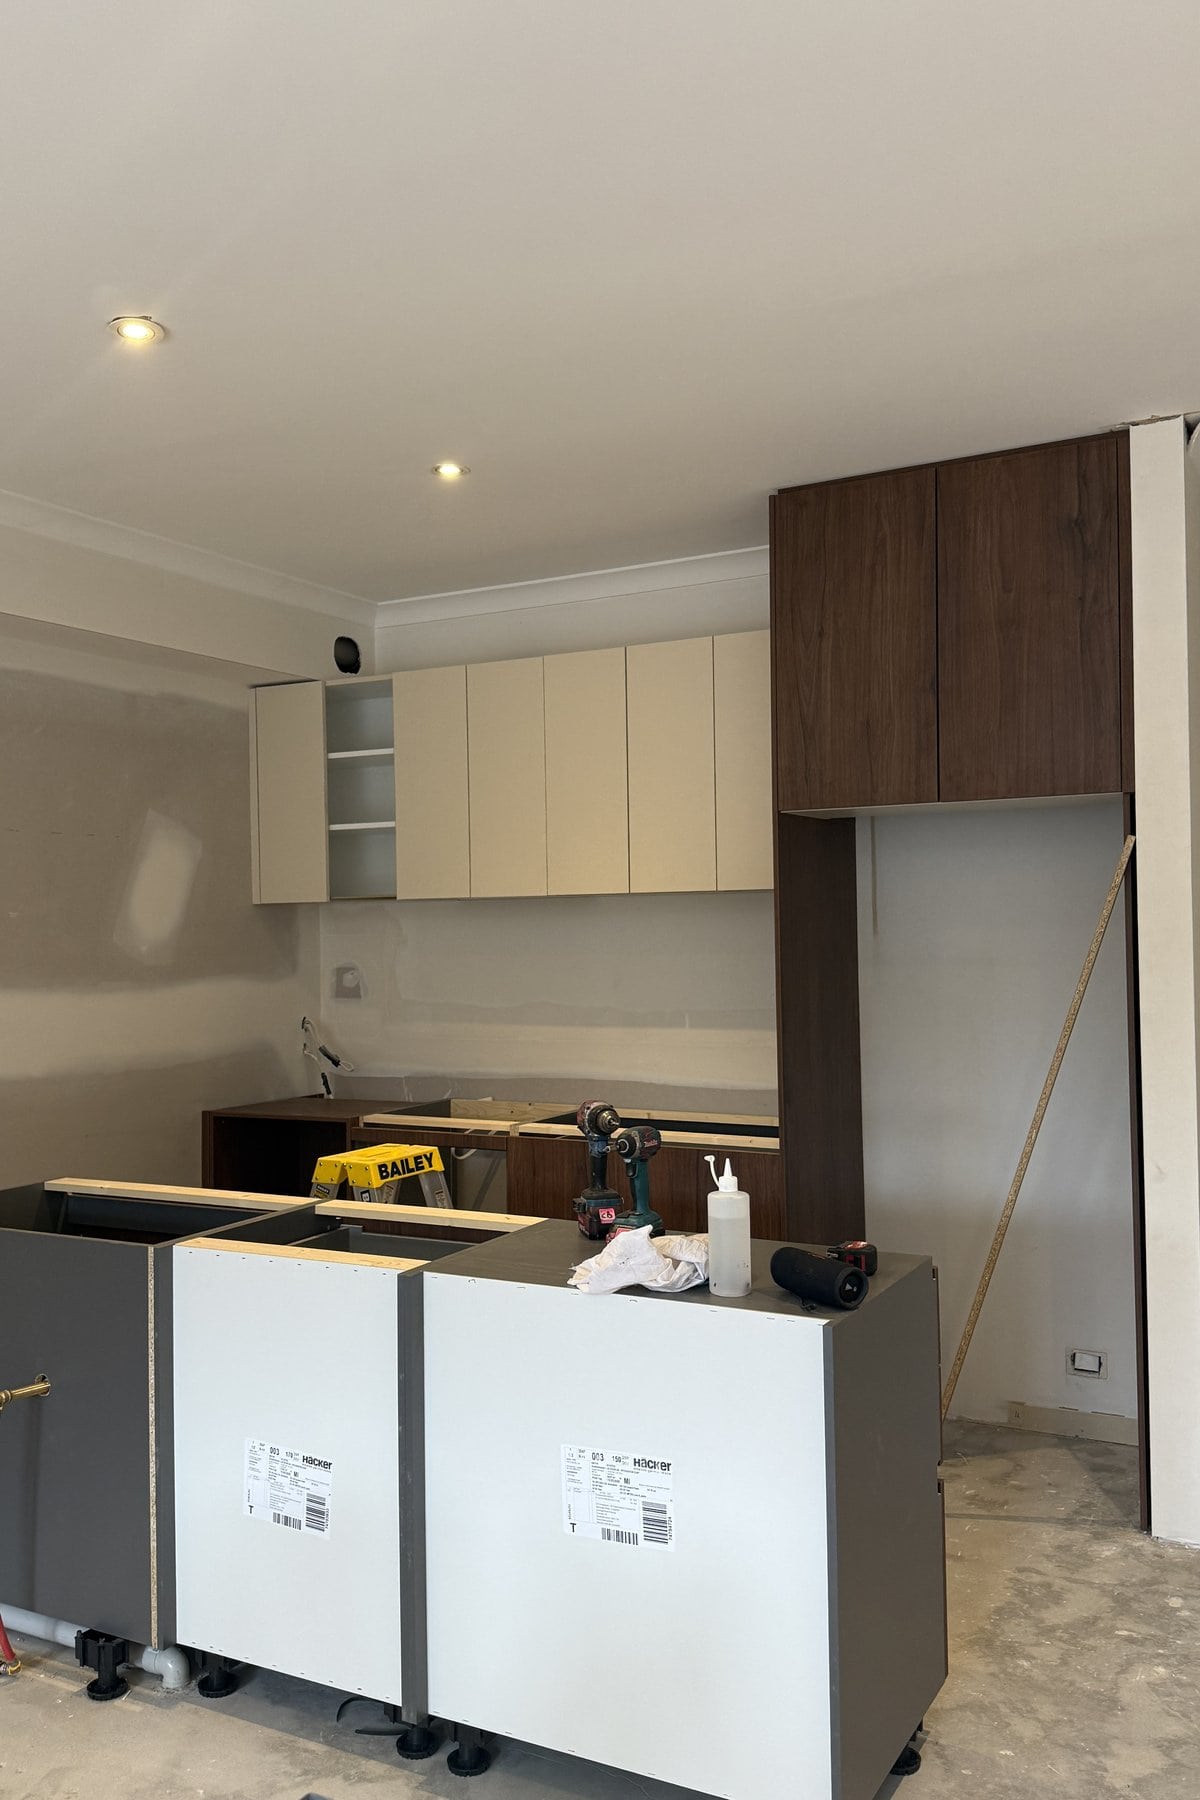
At this point the kitchen started to feel ENORMOUS compared to the old one, and I think we can mostly credit the walnut column for that. Our ceilings aren’t especially tall, but the full height column makes them feel dramatic. Between that and the generous 3m length of the island, this layout has so much more presence and wow factor than the old U shape. It feels like an optical illusion in some ways. Interior design is fascinating ha.
We were pacing up and down the galley a lot at this point, and it feels soooo spacious. It’s about 1.1 to 1.2m wide (I can’t remember exactly lol) and the previous kitchen was 1.4m, so I was slightly nervous it might feel cramped. It doesn’t at all, two people can comfortably be in the middle.
The new floors go down
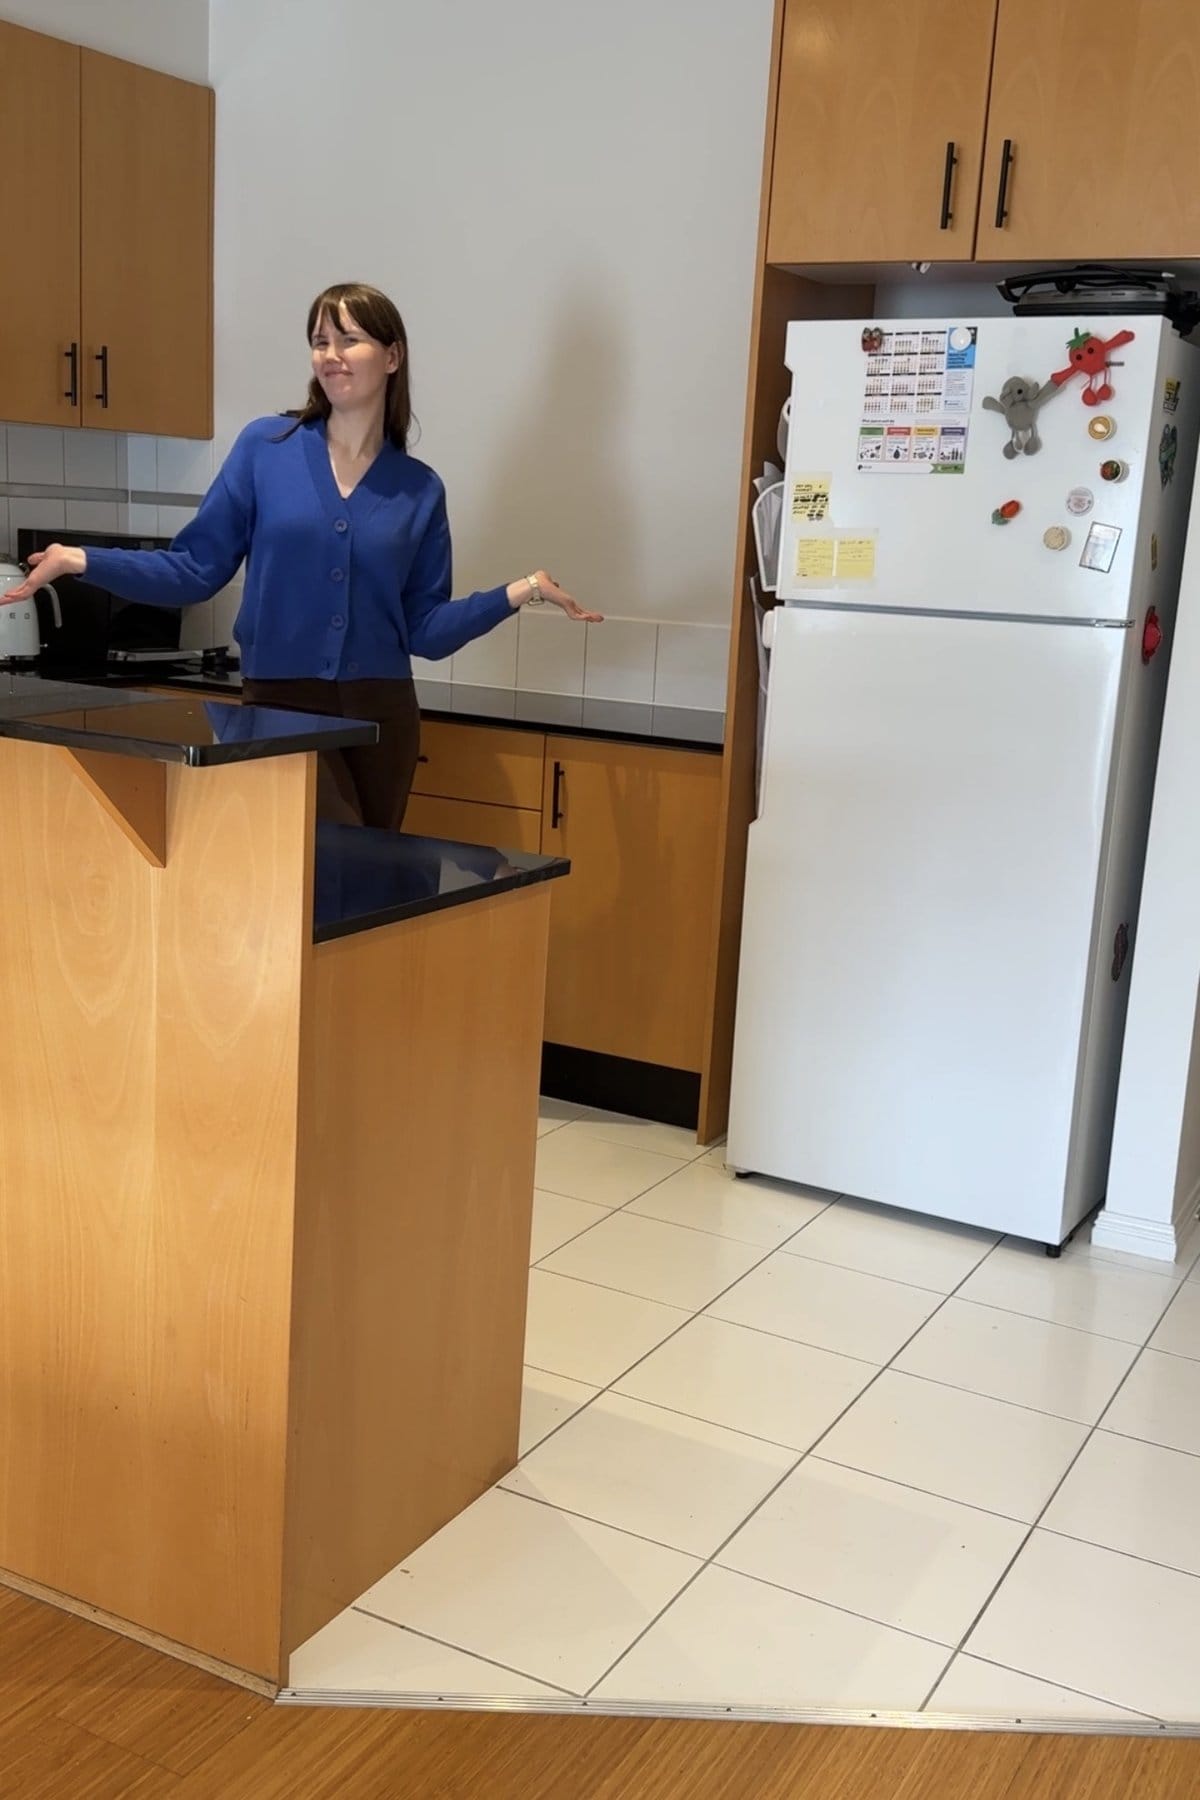
So if you’ve read the last posts you’ll know how much I HATED the tiles we had in the kitchen before. Aside from being ugly and cracked, they ran from the kitchen to the pantry door and it visually broke up the nice length of the hallway and that feeling of flow into the living room.
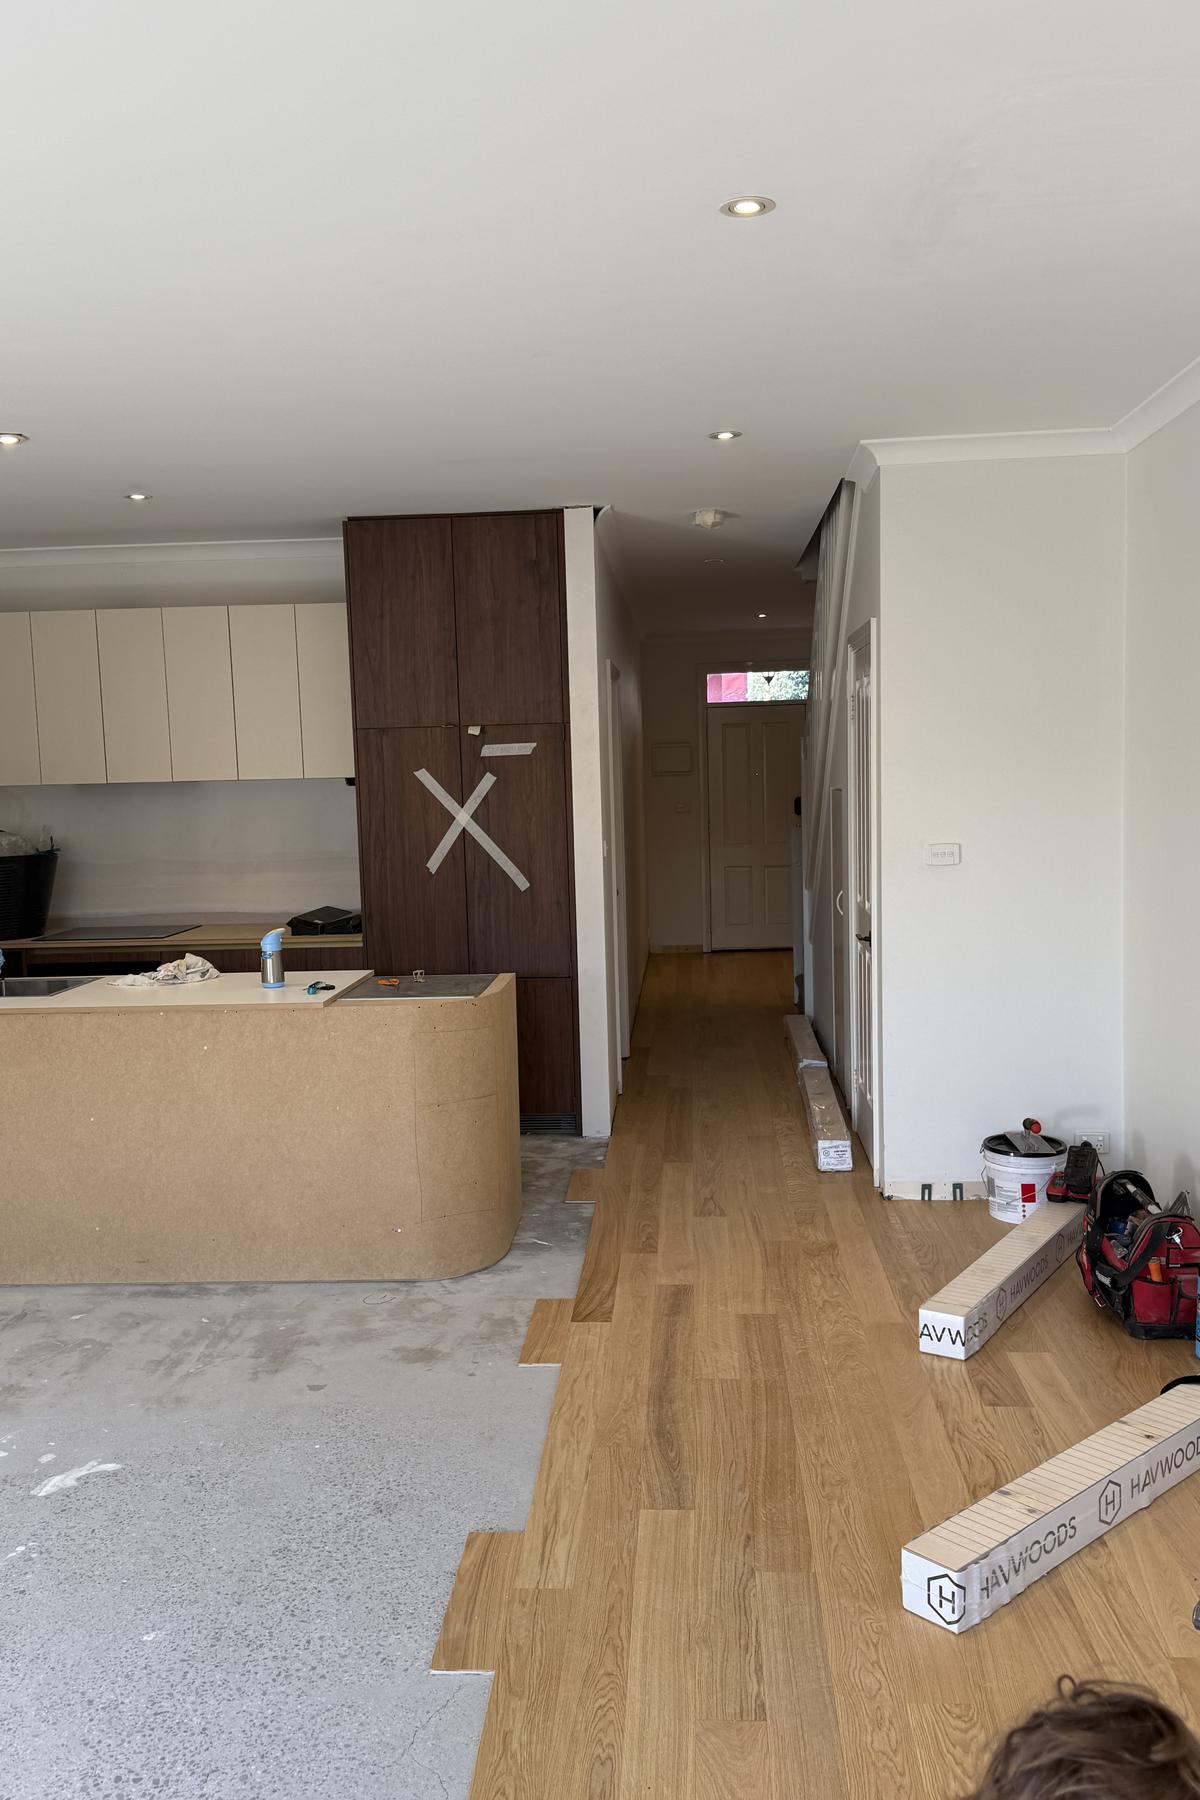
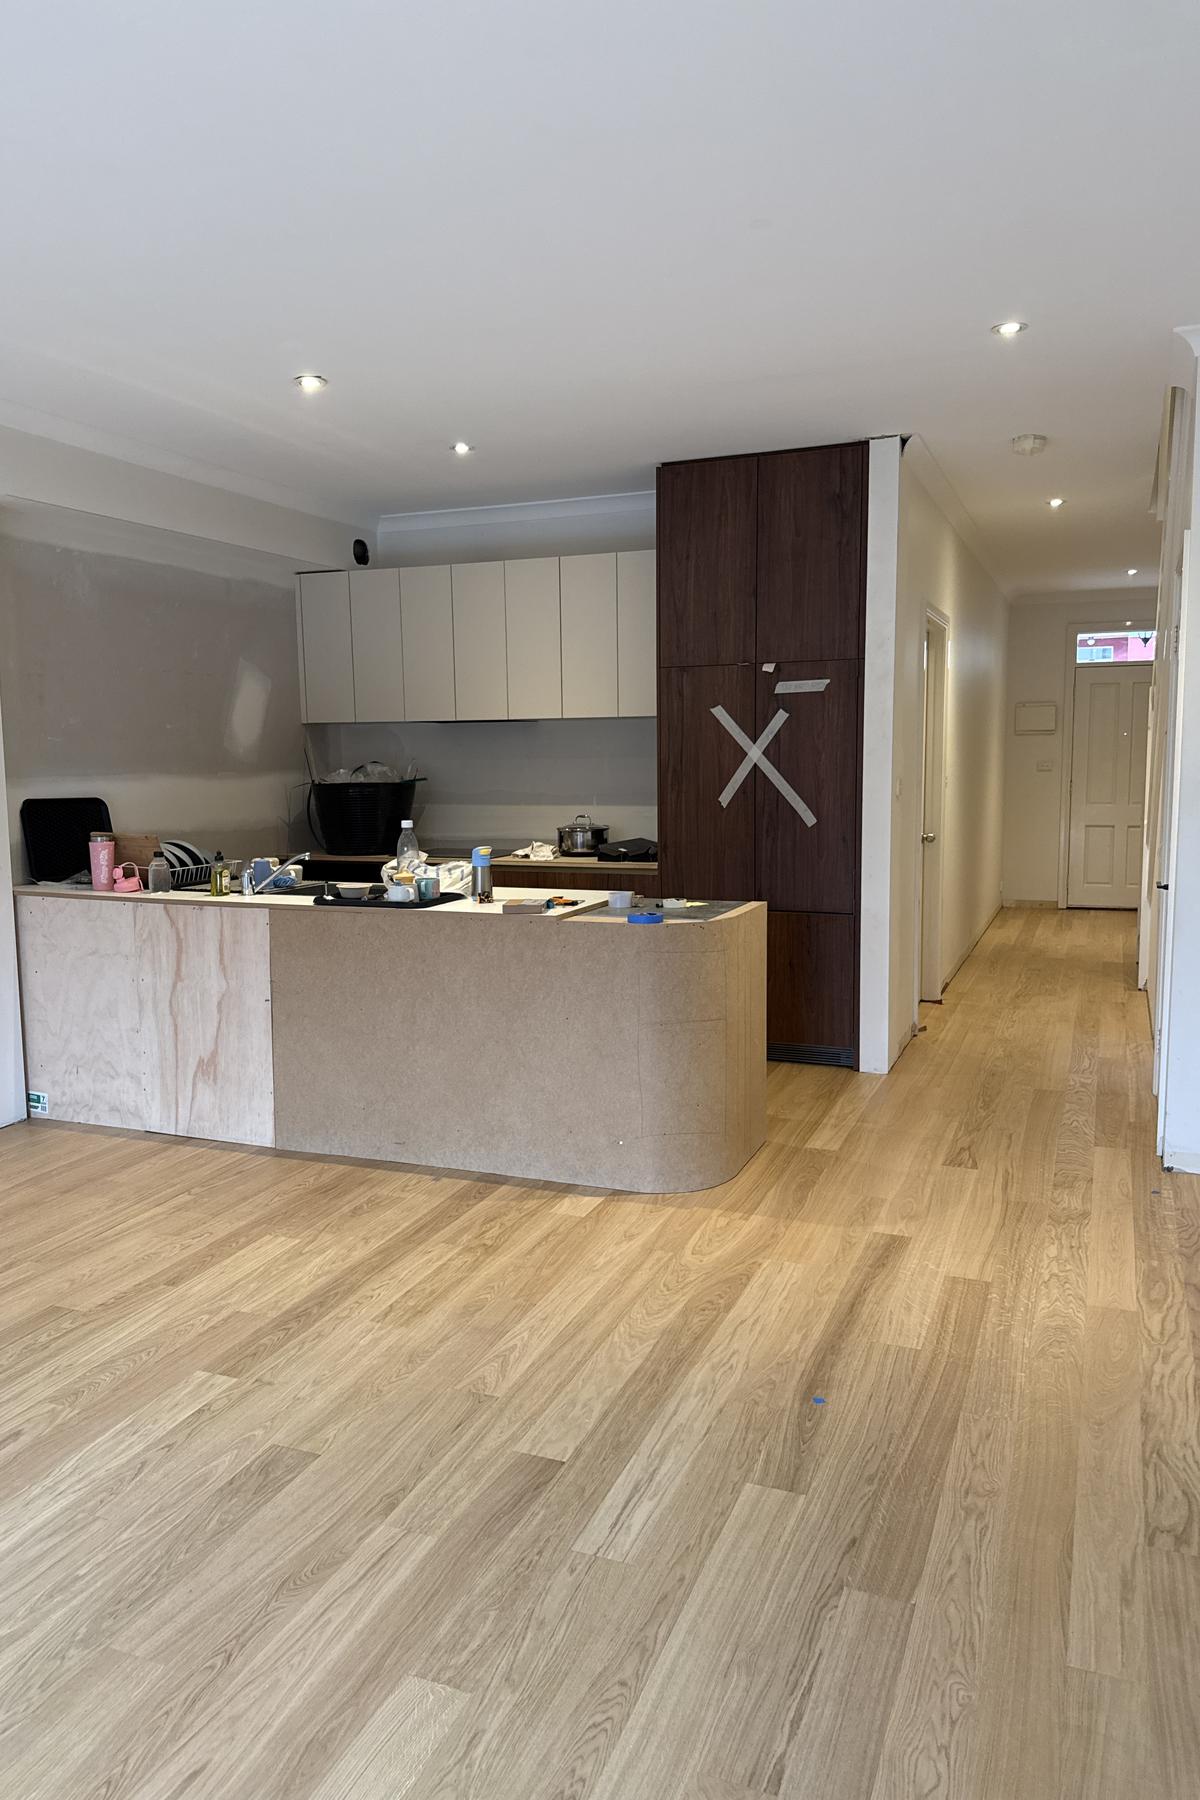
Now ngl I did have a slight panic when the boards were going down. I’d been imagining a very simple, plain oak plank floor but the boards have a lot more character and grain than I was picturing. I was losing a bit of sleep over it at first, but I’ve since come to terms. I still think it looks very pretty, and once furniture is on top, I think the variation won’t be so noticeable.
One happy accident was that we have the boards running perpendicular to the island rather than parallel with it, and there’s something that feels so satisfying about that intersection. The grain of the walnut column moving upwards feels like a board grew up out of the floor and kept running towards the ceiling or something haha.
The temp fit off = game changer
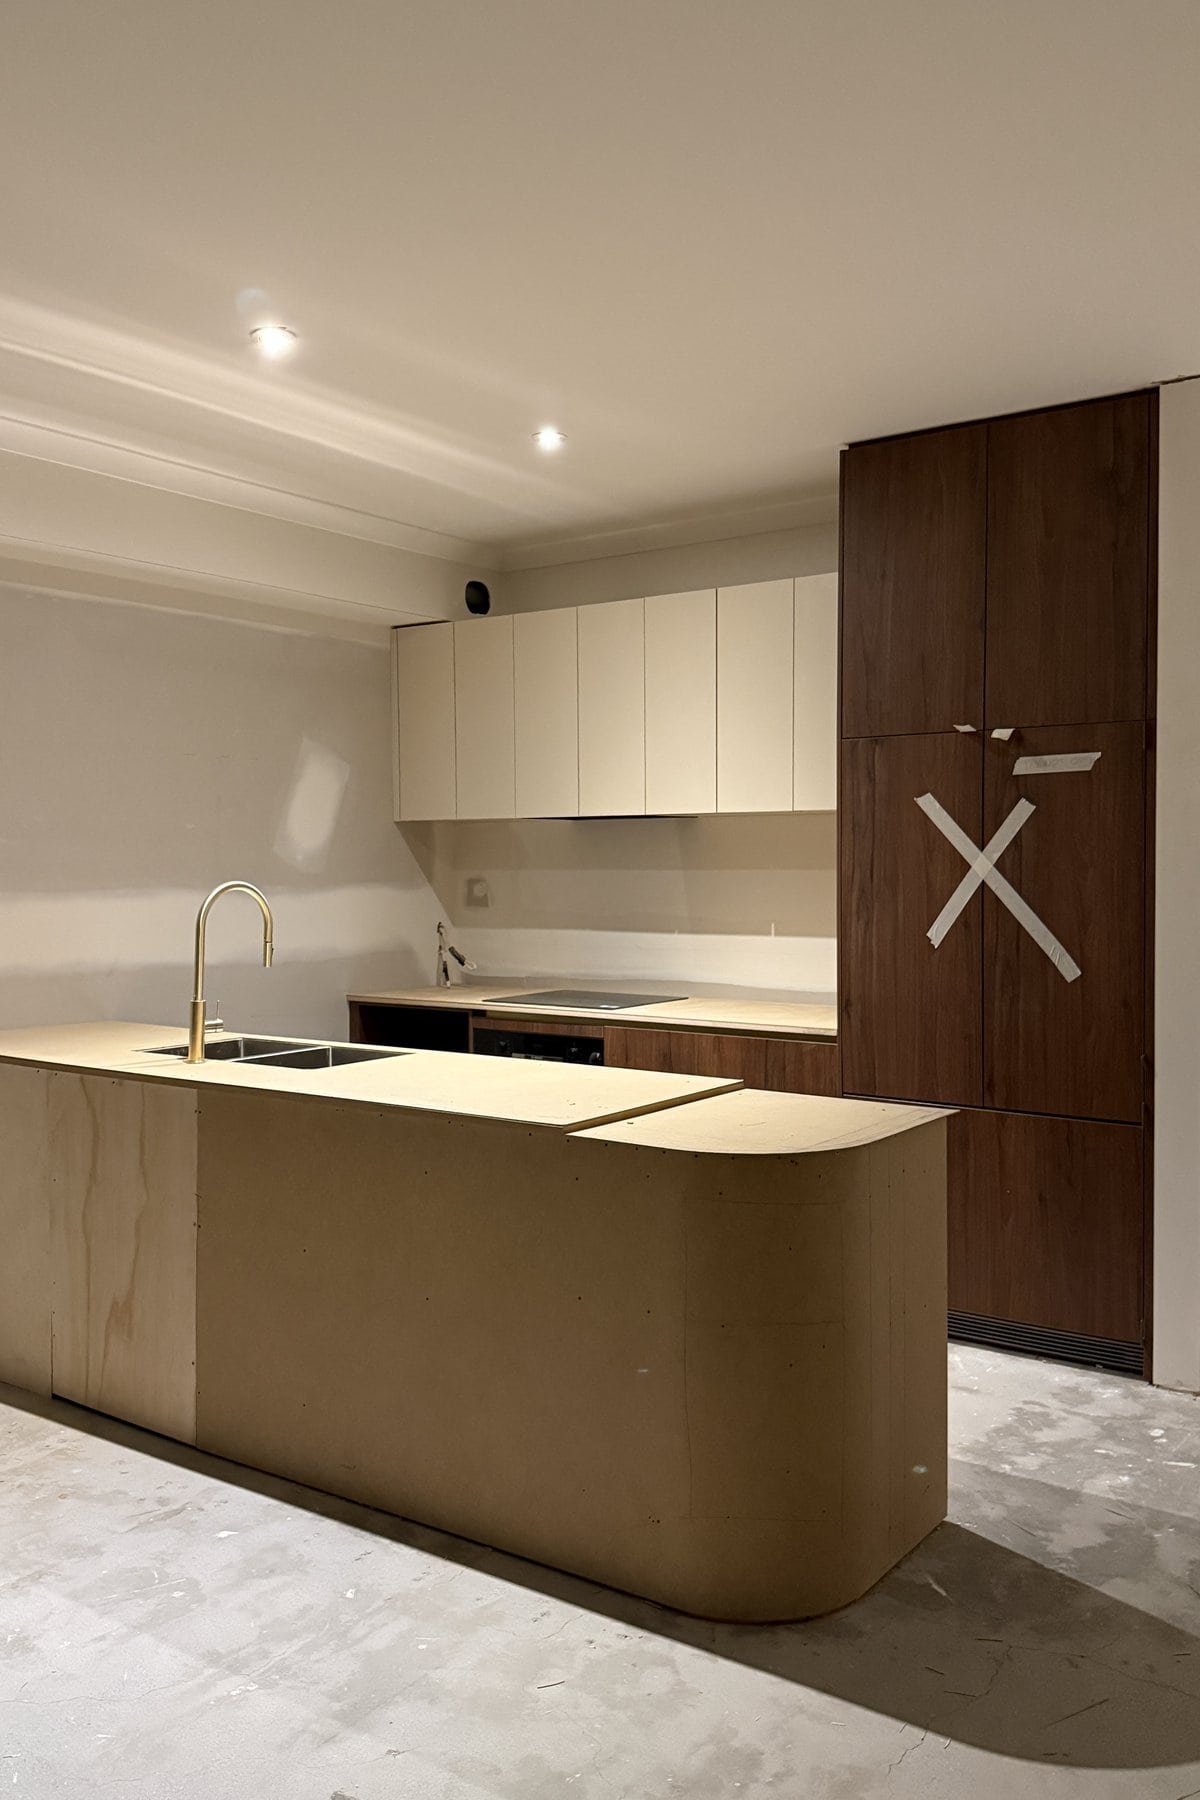
One thing I’m very glad the Häcker team suggested was a temporary fit off, so we had a working sink and stove again for a couple of weeks while we entered what I now call the lull. The stone slab takes up to two weeks to cut, so this is your chance to reclaim a bit of normality with a temporary MDF topper on the cabinets.
Stone
This is the Mahal Ivory from YDL. I love the movement, it feels like a feature without being overpowering, and it cools down the warmth of the bone cabinetry. I read somewhere that this stone takes on the colours around it, and it really does feel like it blends in perfectly.
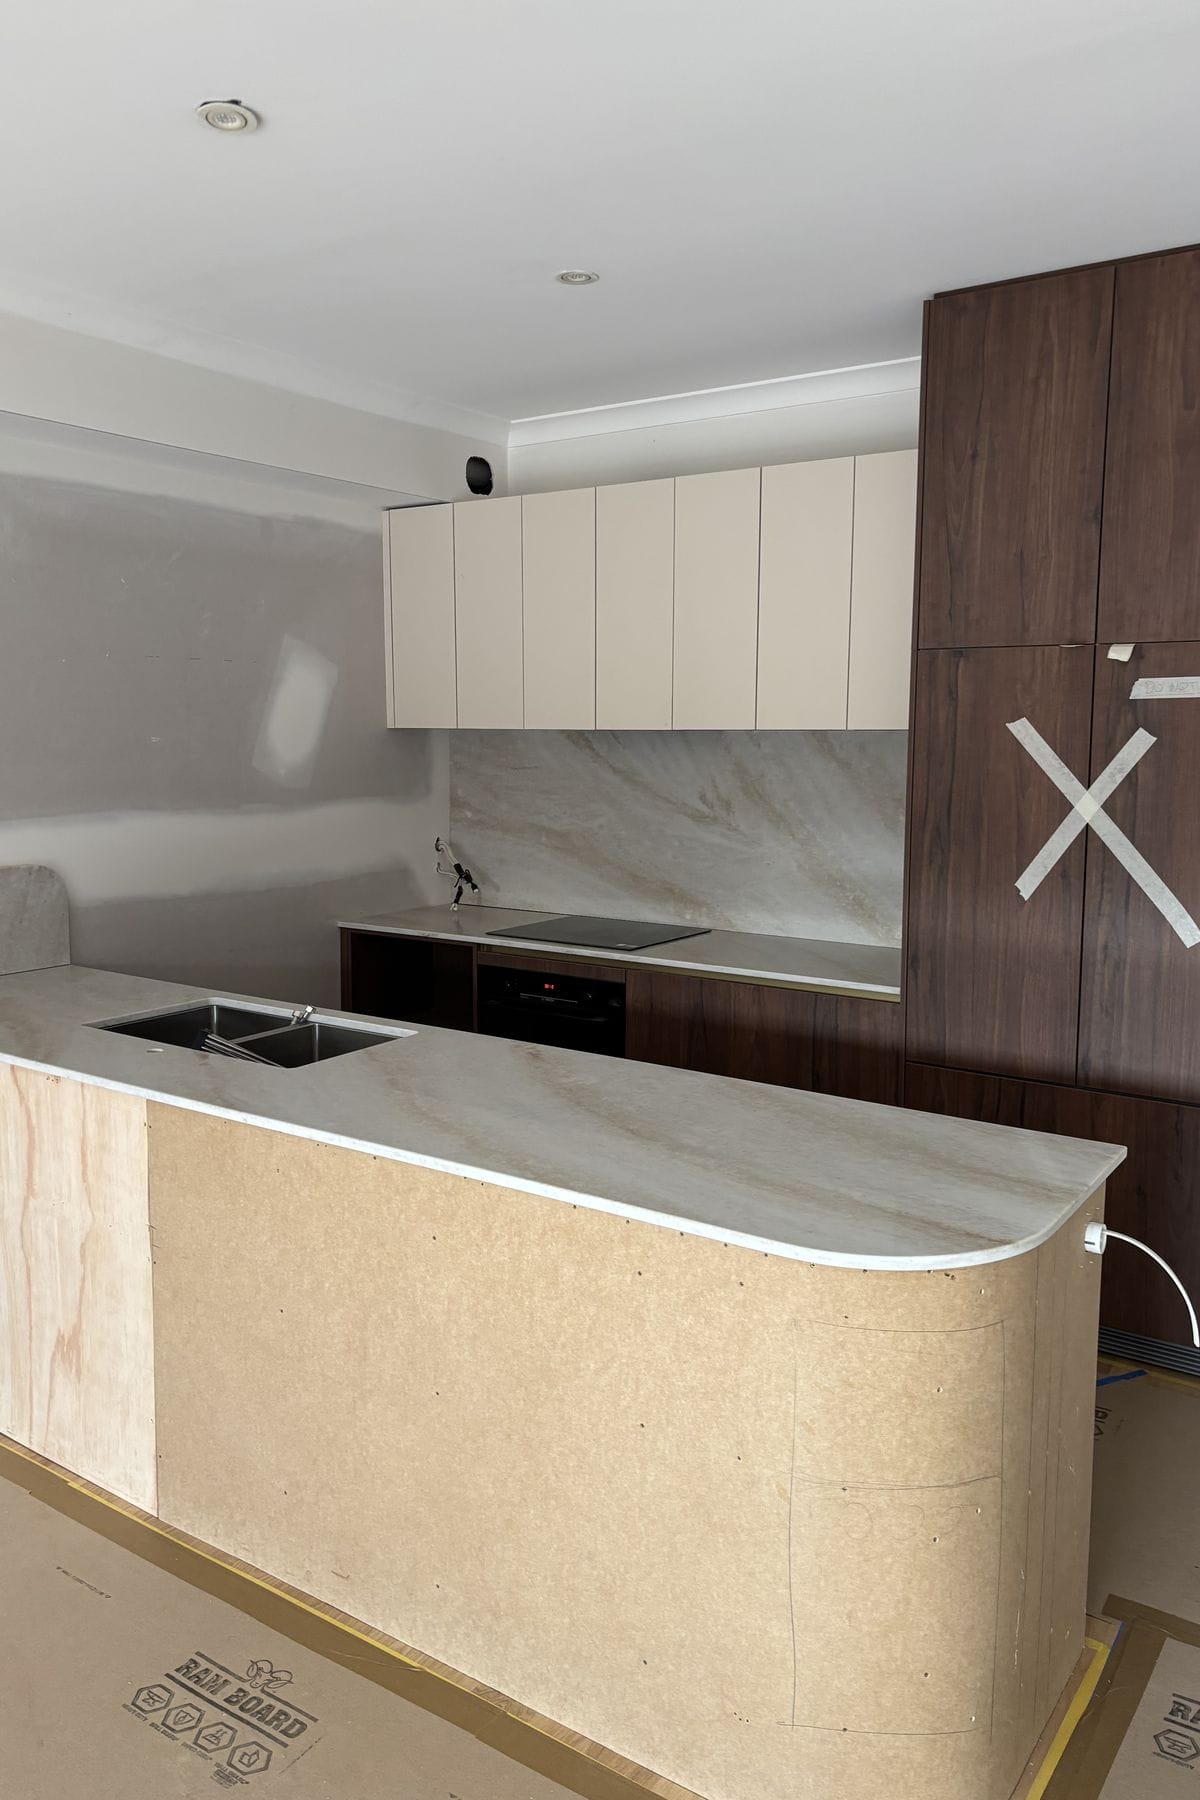
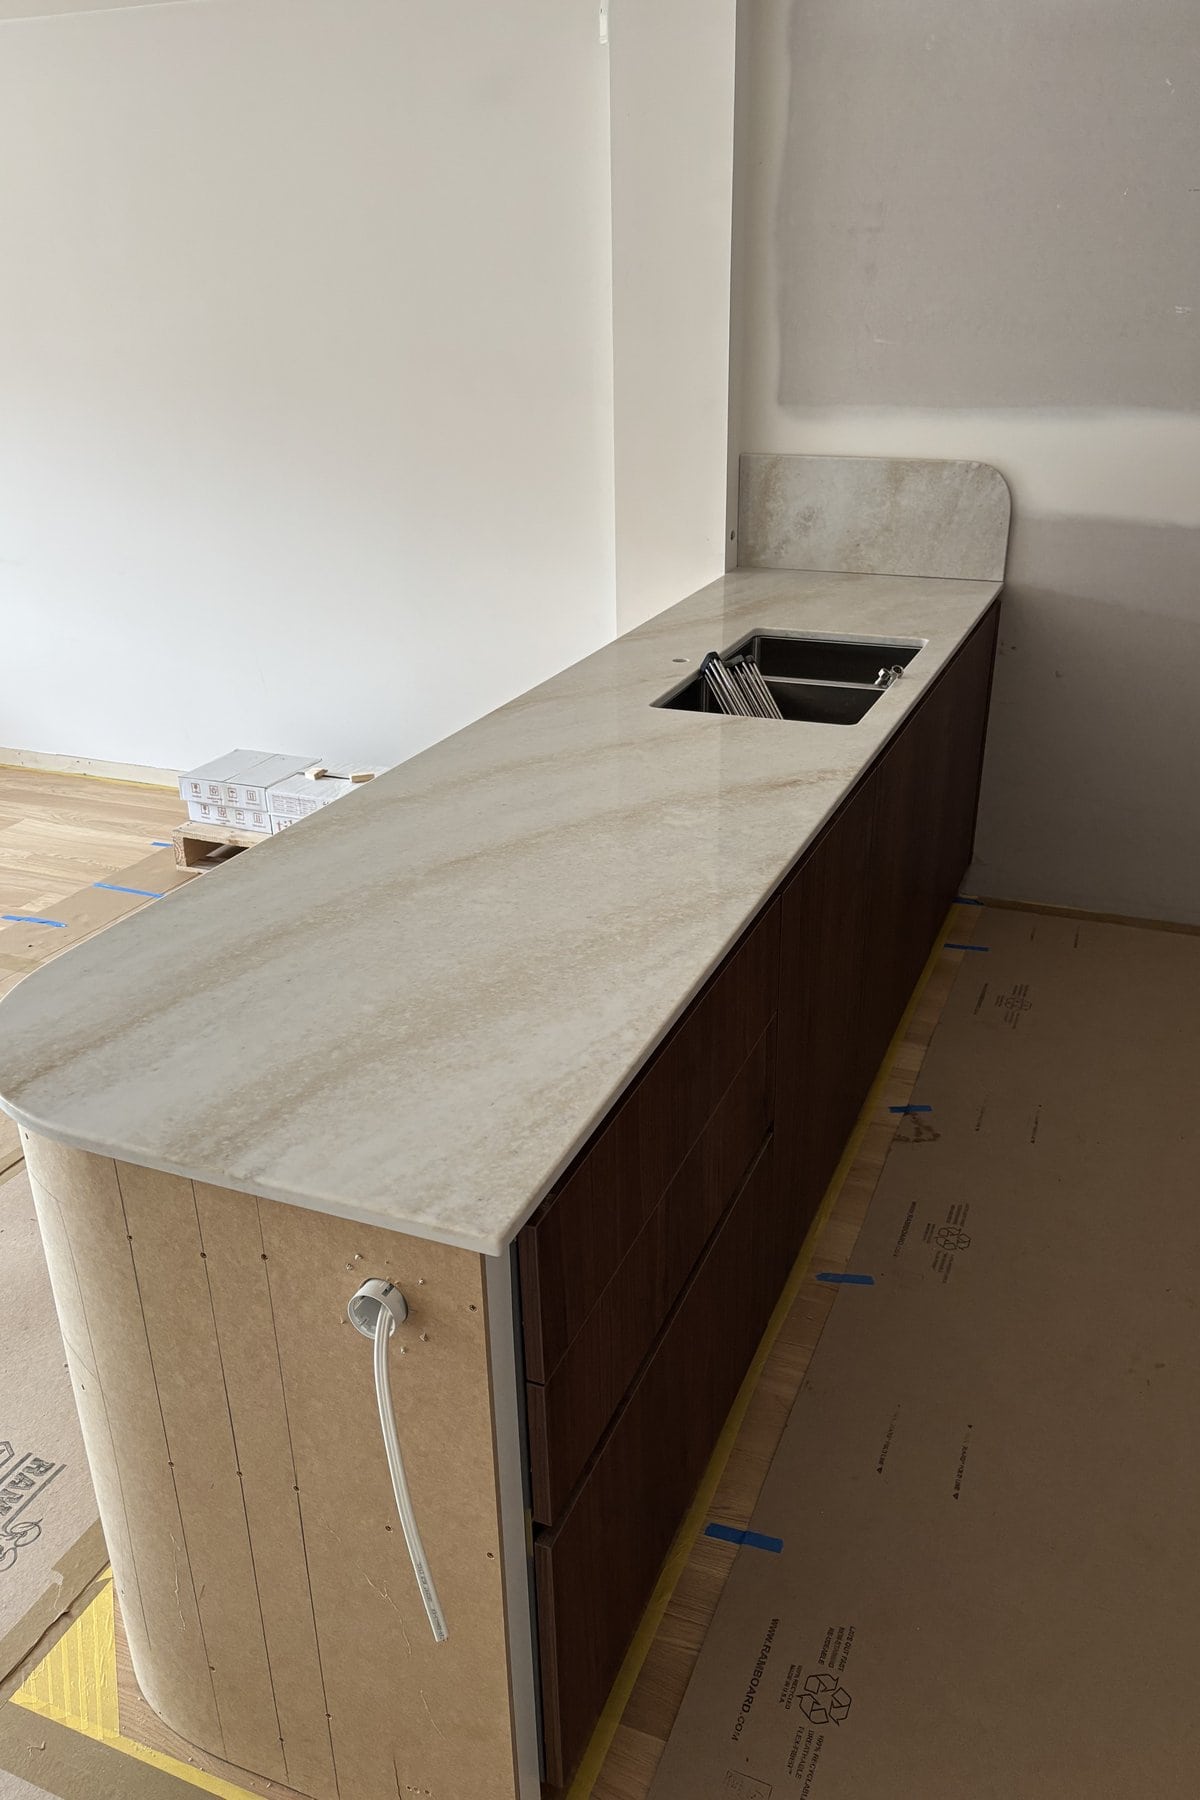
A tricky detail… not sure if we can do it
Now as you know from Part 3, Sezzy’s beautiful tiled island was our inspiration, so we’re running a square mosaic around the back of ours.
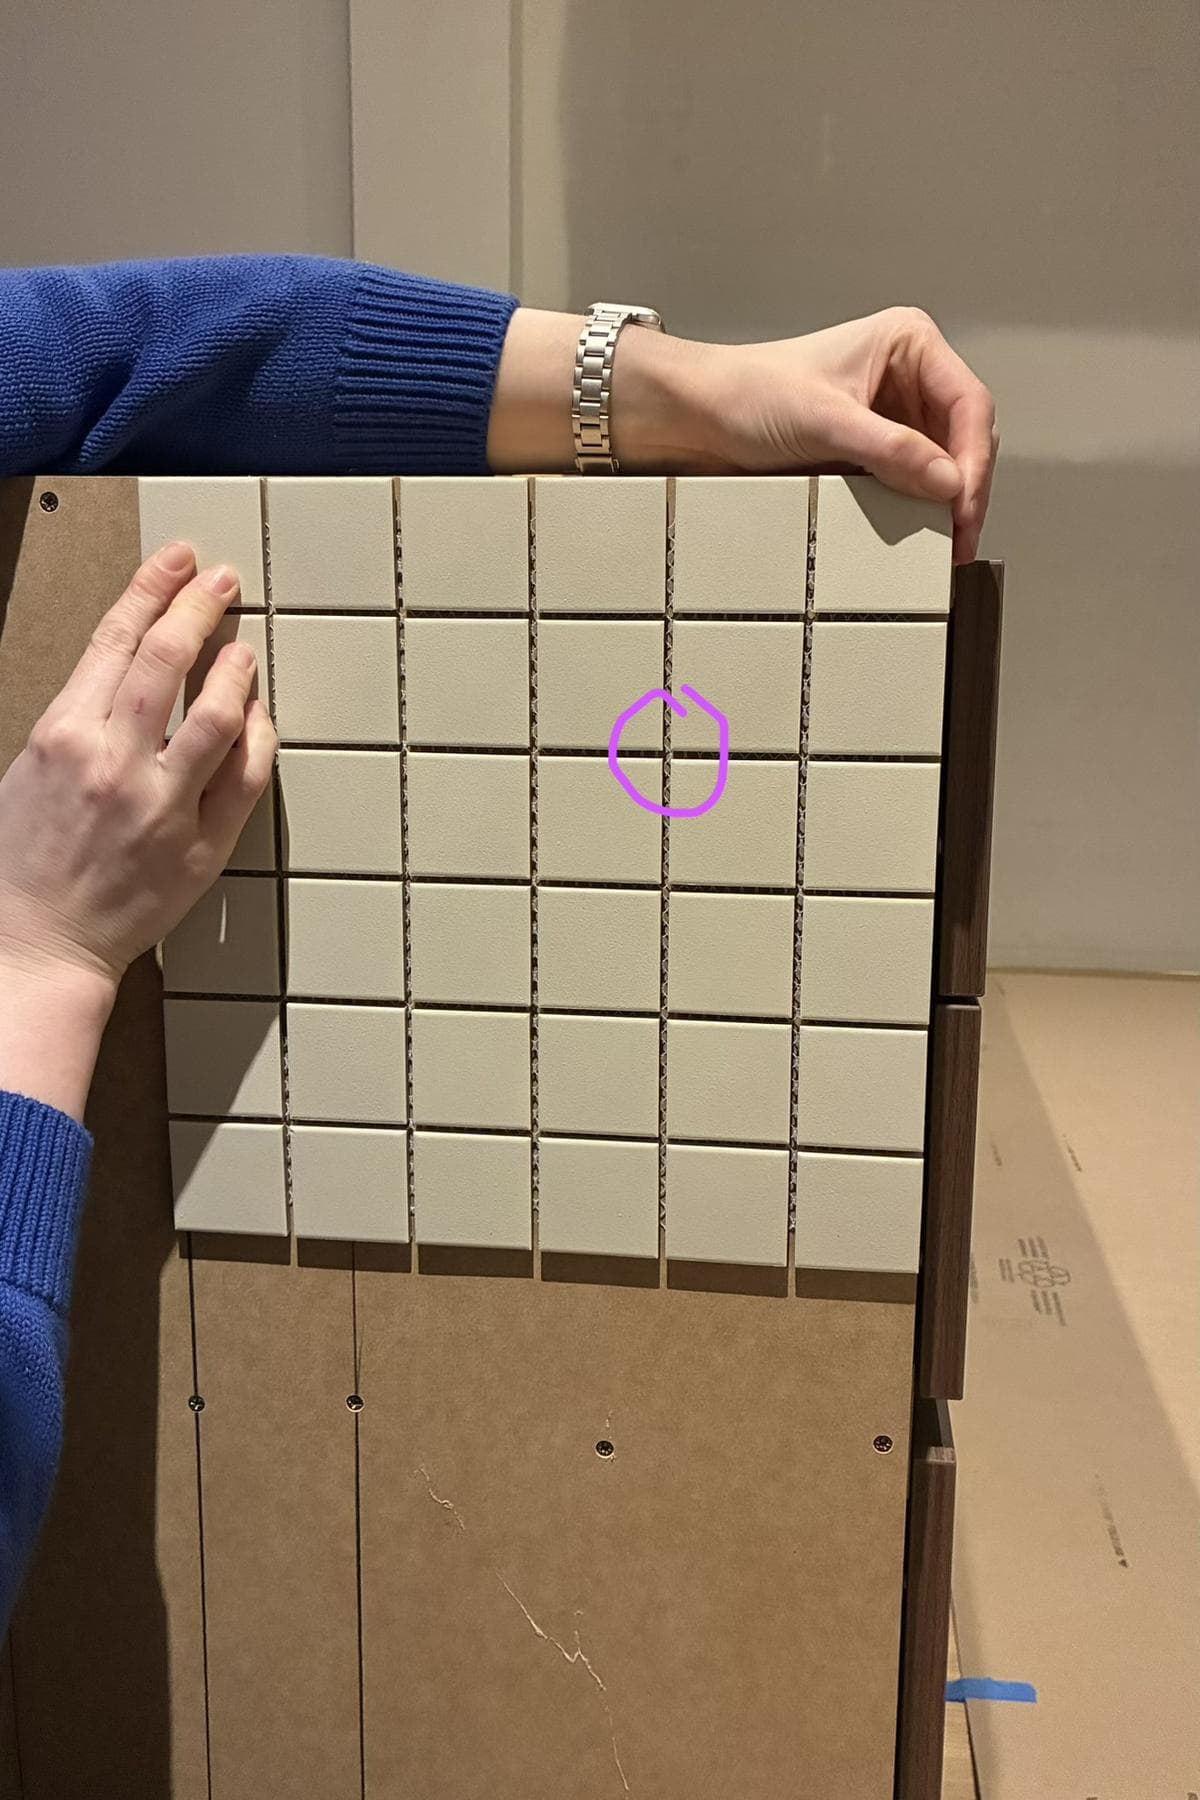
BUT this is still TBC on whether we can actually achieve it. I hope we can because we reeeeallllyyy want the ZETR flush point to be a bit of a feature in the island.
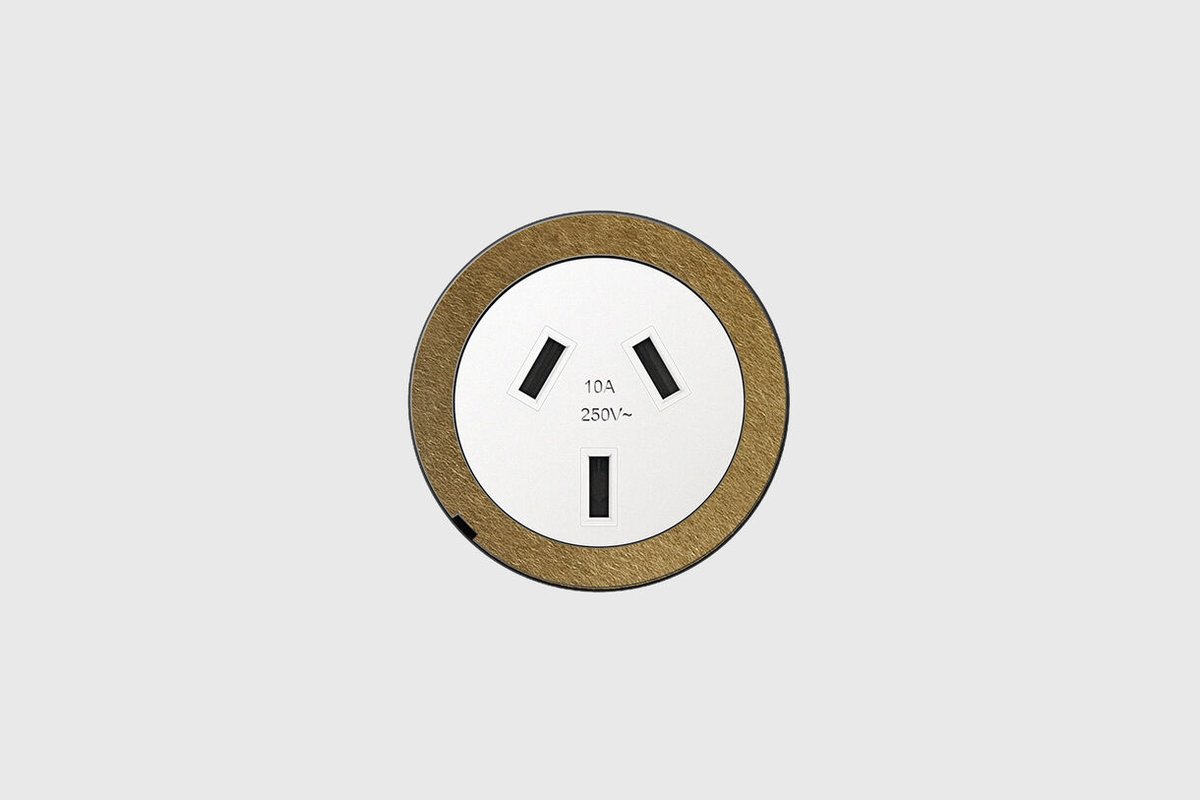
Will update you next time.
Can we pull off the final touches?
The devil is in the details and the tiling, plastering, caulking and cabinetry touch ups are what I’ll be keeping a close eye on this week!! Can we get the mosaic and the flush point to work together on the island, and if we can’t, can I live with it? Ask me again when the tiler is standing there haha
Also still to come:
- Putting the pretty gold mixer tap back on
- Billi tap with instant boiling/chilled water (sooo excited for this)
- Gold appliance pulls on the fridge – we have these beautiful solid brass Pedro Pull handles from Passio and I can’t wait to see how they look with the gold taps
- Kickboards
- Skirting and architraves – I’m also looking to replace the doors if we have the willpower left to do it
- Cleaning and then moving our furniture back into the space
Then Part 5 is the big reveal! I’ll share it on email and Instagram too.


Leave a Reply