Need a dairy-free alternative to regular sweetened condensed milk? This easy and quick vegan recipe only requires 2 ingredients. You can make it using any plant-based milk, almond, soy, coconut, or whatever you have!

Jump to:
- Why Make Your Own Sweetened Condensed Milk?
- Why You’ll Love This Recipe
- Key Ingredients
- How to make Vegan Sweetened Condensed Milk
- Which milk works best?
- Expert Tips for the Perfect Vegan Sweetened Condensed Milk
- FAQs
- Storage Instructions
- Recipes that use sweetened condensed milk
- Vegan Sweetened Condensed Milk (2 ingredients)
- Author
Why Make Your Own Sweetened Condensed Milk?
So many classic treats require sweetened condensed milk, and there is no substitute ingredient! I’m lucky to live in Australia, where you can buy coconut condensed milk at the supermarket; however, there aren’t such convenient options available in many parts of the world, or they might be very expensive. Plus, you may not want to use coconut-based sweetened condensed milk, as it imparts a strong coconut flavor. It’s handy to make your own quickly and easily with your milk of choice. I’ve tried this out with oat, soy, and almond milk successfully, but it should also work with other plant-based milk. Rice milk would also be very nice and mildly flavored if you want an allergen-free option.
Why You’ll Love This Recipe
- Versatile – you can use any plant-based milk you like
- Affordable – you only need two basic ingredients.
- Quick & easy – one pot and ready in 30 minutes
- There are many ways to use it – coffee, bars and slices, fudge, icing, sundae toppings – so many possibilities as a sweet treat.
Key Ingredients
A detailed recipe with specific quantities is listed at the bottom of this post, but here is an overview of the ingredients you’ll need:
- Plant-based milk (e.g., soy, oat, almond)
- Sugar
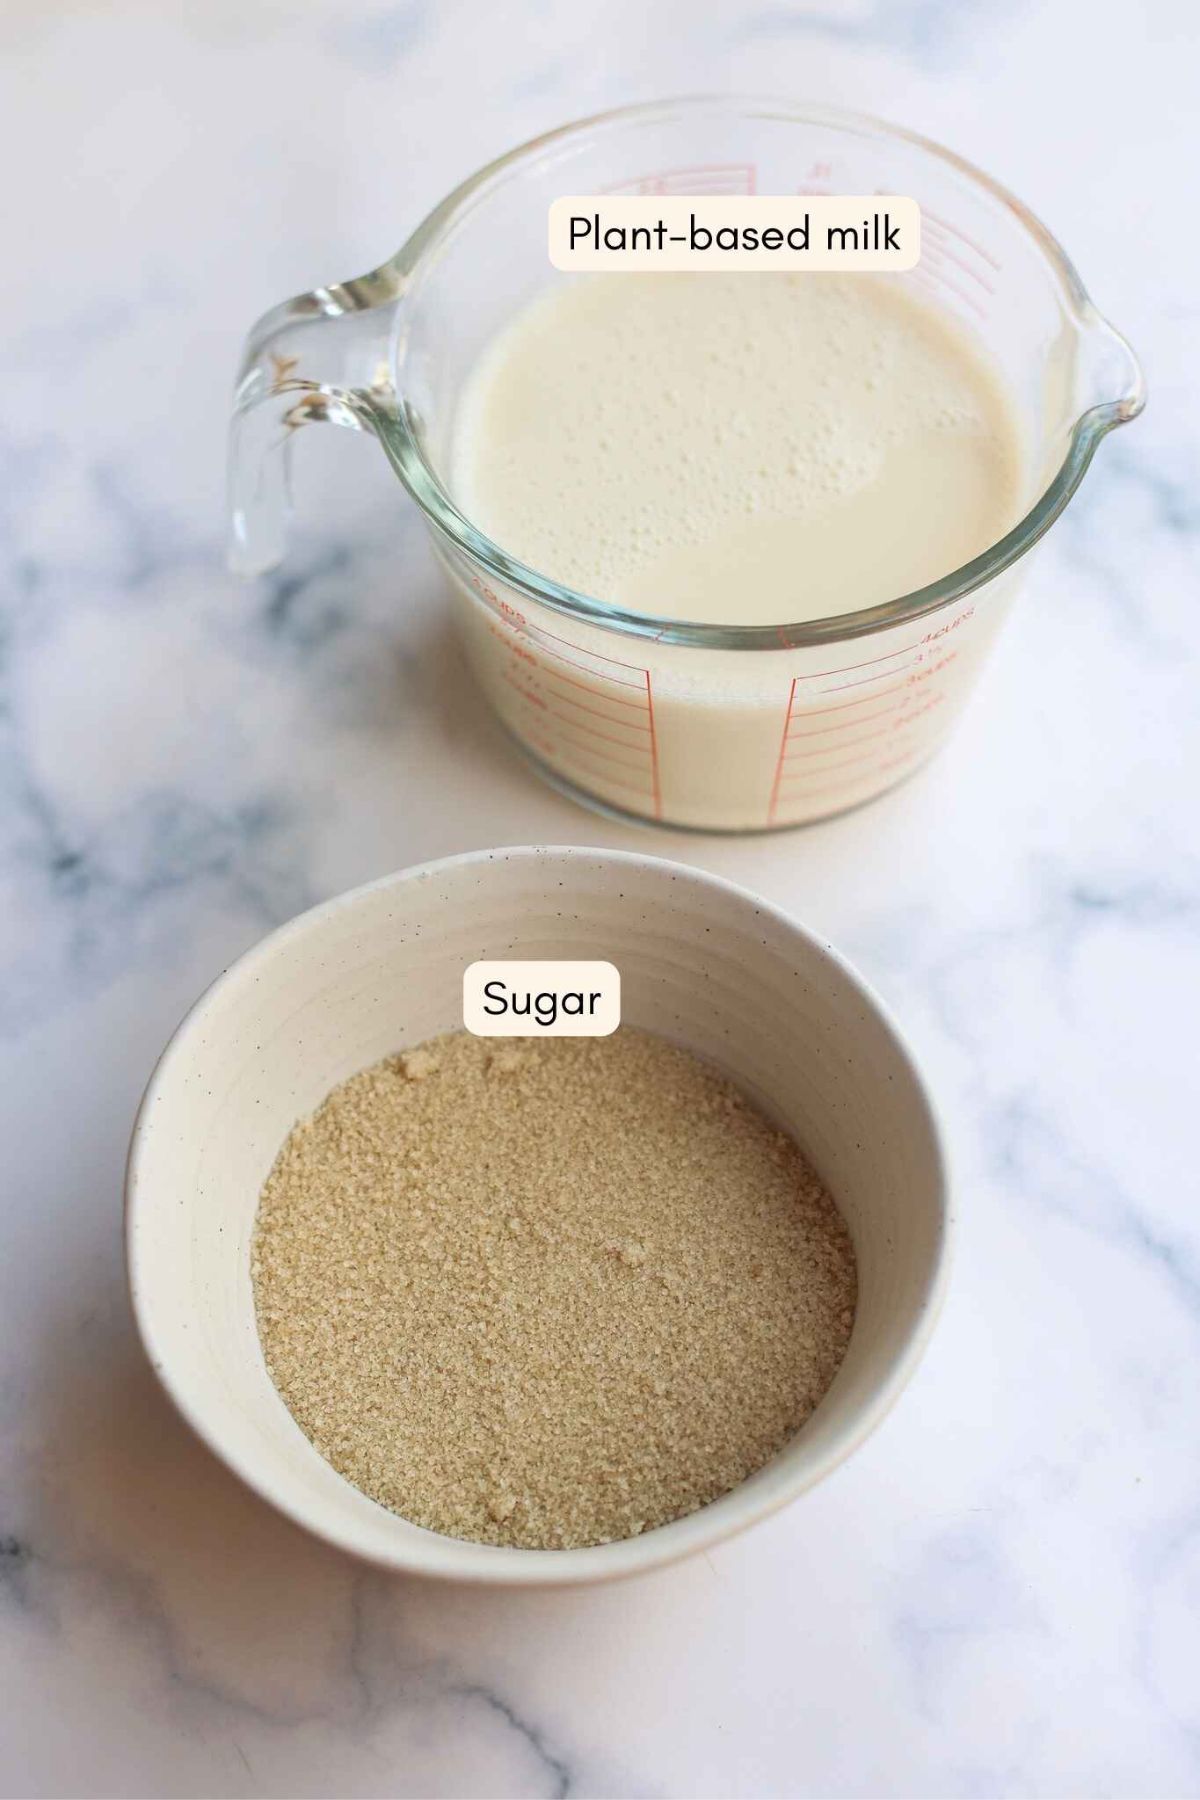
It is that simple! Some recipes online call for thickeners like cornstarch, but we can use sugar and milk by simply simmering the mixture for longer and allowing it to thicken naturally.
How to make Vegan Sweetened Condensed Milk
There’s a detailed recipe card at the bottom of this post, but here is a high-level step-by-step overview with images. Making sweetened condensed milk is so simple:

- Combine sugar and milk in a large saucepan

2. Whisk and bring to the boil

3. Simmer until reduced by half. That’s it!
Hint: whisk occasionally to prevent burning, and keep a close eye on your condensed milk. After boiling, simmer gently for 25-30 minutes until the volume is reduced by roughly half. It will look more caramelized but still thin enough to pour. Don’t wait until it is noticeably thick; this is too late, and will firm up so much it becomes toffee.
Which milk works best?
That depends on your requirements and preference for flavor and consistency. I have tried this successfully with four different types of milk (pictured in the image below):
- Soy
- Canned coconut milk
- Oat milk
- Almond milk
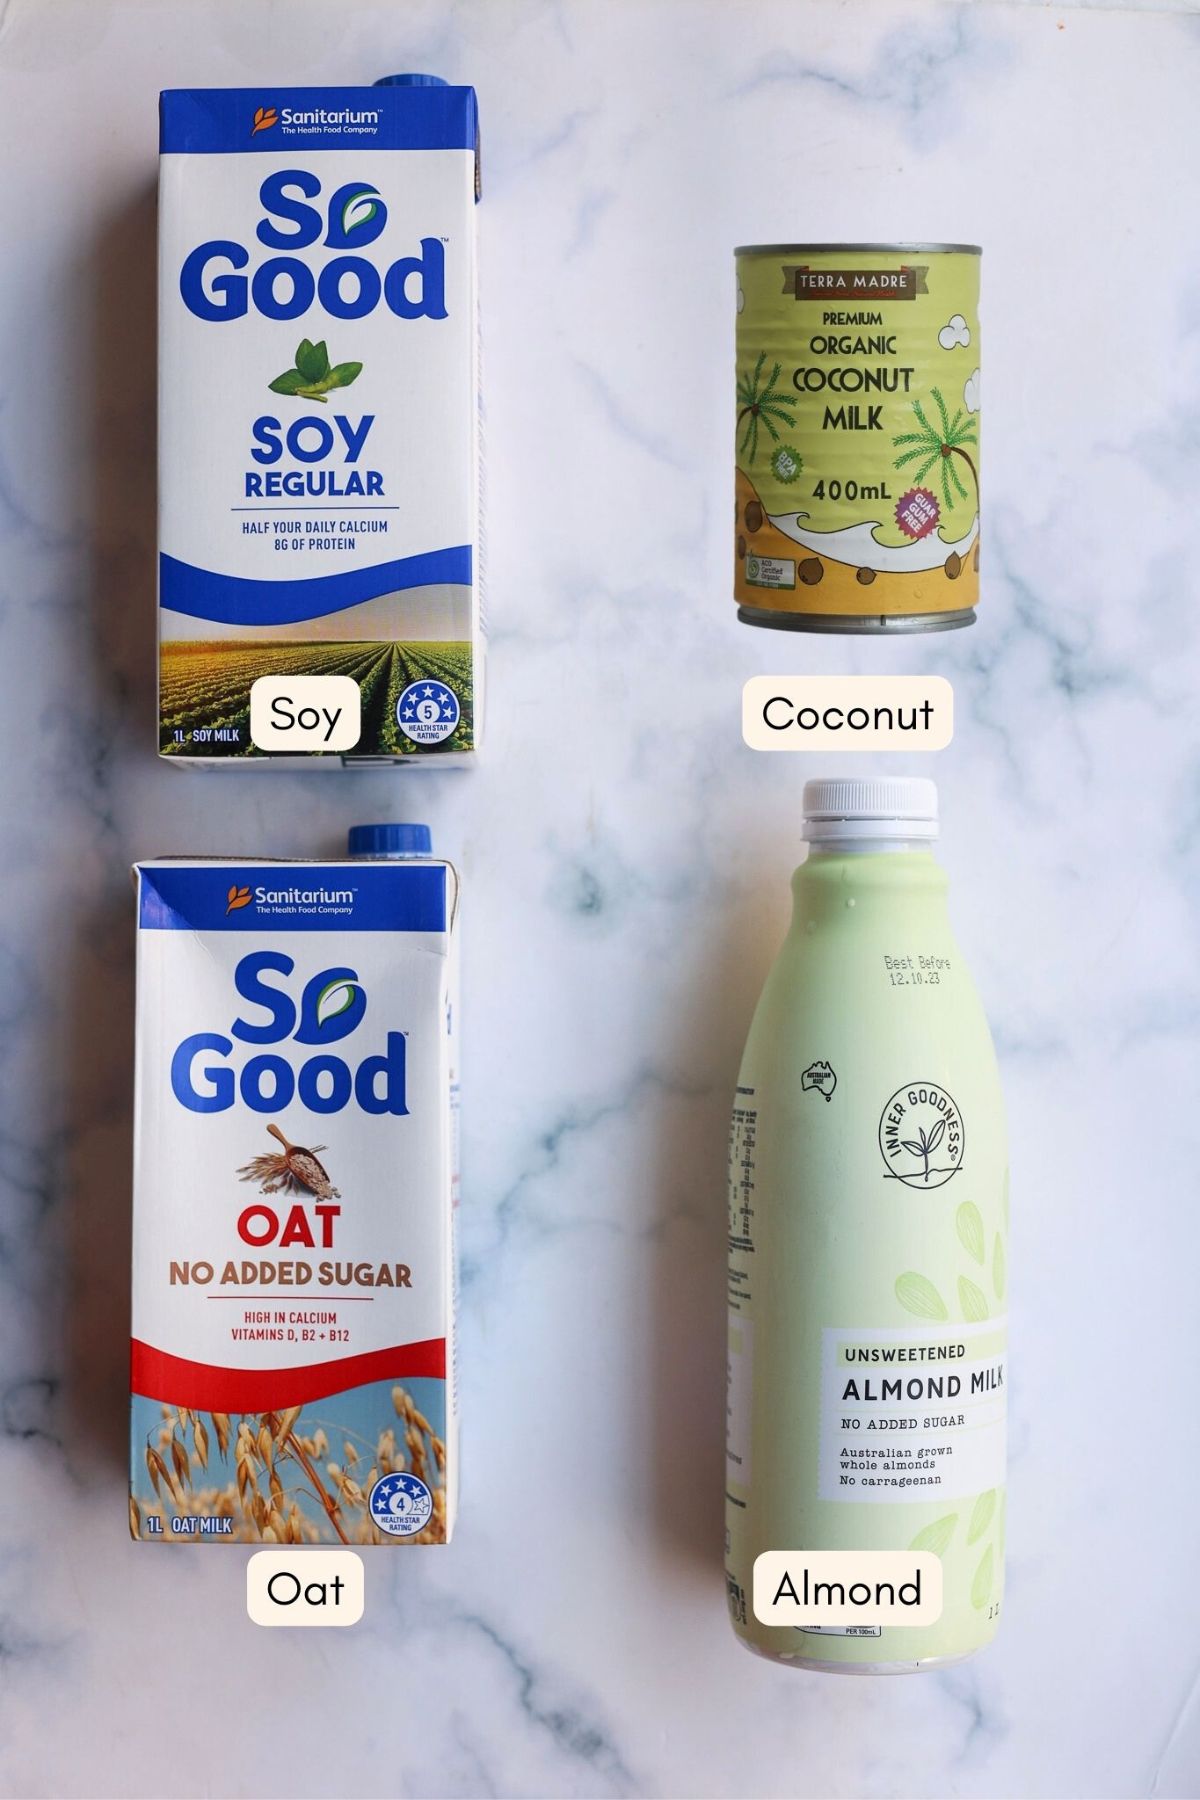
My preference is soy, as it is typically creamy and thicker than nut milk, and it is more neutral in taste than coconut. Oat and nut milk will generally have a thinner consistency and a more yellow/less creamy appearance. Canned coconut milk will have the creamiest and thickest consistency, but it does have a distinctive flavor. I would not recommend using coconut milk from a carton, though, as it is too watery.
As a guide, try the milk you like best for regular consumption and see how it turns out. You might like it on the first go or need to experiment with another milk you wouldn’t usually use for everyday consumption. The good thing is that this recipe doesn’t take much effort and is inexpensive, so why not try a few variations until you find your perfect option 🙂
Expert Tips for the Perfect Vegan Sweetened Condensed Milk
- Use a Large Saucepan: When combining the milk and sugar, it’s crucial to use a large saucepan. As the mixture heats up, it tends to froth and expand significantly, increasing the risk of overflow. A larger saucepan prevents any messy accidents.
- Don’t overdo it: Be careful not to overcook, and determine when to turn off the heat based on the volume of liquid. We are aiming to reduce the volume by 50%. It should still look runny when you turn off the heat and will thicken as it cools. If you continue to reduce the milk, waiting for the consistency to thicken, you’ll find that it will be like a chewy toffee or thick caramel sauce by the time it cools.
- Use a skewer to measure the volume: Now, you can determine the volume visually, but to make it easy, dip a skewer into the saucepan at the start. Mark the height of the liquid on the skewer. Dip this back into the saucepan while reducing the volume to check if it’s done.
- Storage and Temperature Considerations: After preparing your vegan sweetened condensed milk, store it in a glass jar in the refrigerator. When refrigerated, the condensed milk will become extra firm. If you use it in baked goods, remove it from the fridge and let it sit at room temperature for a few hours. This will make it easier to mix into your recipes.
FAQs
No, sweetened condensed milk and eggs have different properties in baking. Although sweetened condensed milk *can* help bind things together (as it is very sticky), it is not a like-for-like replacement for eggs. The major difference is that sweetened condensed milk is very sugary and does not contribute to leavening. A flax egg would be a better vegan substitute for an egg than sweetened condensed milk.
Sweetened condensed milk is a versatile ingredient or topping. I love to add it to coffee or tea, drizzle it over waffles or pancakes, or heat it as a sundae sauce for ice cream. Some popular recipes include fudge, dulce de leche; tres leches cake, key lime pie, rum balls, lemon slices, and coconut macaroons.
Storage Instructions
Store your sweetened condensed in the fridge in a clean, airtight glass jar. The high sugar content is a natural preservative, so keep it for 7-10 days and possibly more. Note that the milk will firm up significantly in the fridge, so you may need to let it sit at room temperature to soften before mixing it into baking recipes.
Recipes that use sweetened condensed milk
Here are some recipes I’ve found online (not all are my own) that look delicious and would be a great way to use your homemade sweetened condensed milk 🙂
I hope you love this easy pantry staple recipe. It’s especially handy if you have allergies or intolerances to coconut or soy, as it’s fully customizable using your preferred milk. Let me know how you go in the comments section below; I’d love to hear what milks you use and what you use sweet treats you use it for!

Vegan Sweetened Condensed Milk (2 ingredients)
Ingredients
- 3 cups plant-based milk soy, oat, or almond; approx. 24 fl oz (710 mL)
- 1 cup granulated sugar approx. 7 oz (198 g)
Instructions
- In a large, heavy-bottomed saucepan, whisk together the plant-based milk and sugar over medium-low heat.
- Bring just to a bare simmer, whisking constantly so the sugar dissolves and the milk doesn’t scorch or foam over.
- Reduce heat to low and simmer gently, whisking every 5 minutes, until the mixture has reduced by half—about 25–30 minutes. The color should deepen slightly, and the texture should be thick but still pourable.
- Remove from heat and let cool slightly. Transfer to a clean glass jar, seal, and refrigerate.


Tyler says
Thank you for this! I can’t eat coconut, so I’m always completely lost with most baking recipes. Much appreciated!
Liz says
Ahhh that must make it trickier for you with vegan recipes in general, it’s coconut overload sometimes haha I’m not allergic but sometimes it’s nice to have neutral flavours. Thank you so much for taking the time to leave a review 🙂
Sophie says
Had no idea it was so easy to make!! Game changer
Cassie Callard says
So much cheaper than buying
Liz Douglas says
Totally!! 🙂
Tiffany Castle says
WOW. I thought I’d lost condensed milk when I went vegan. Thanks for posting
Gwenda Phillips says
Amazingingly simple and delish! I love coconut but so many store bought treats taste of coconut so this was a lovely way to change things up 🙂
Gareth Tan Yiam Leem says
Just so darn tasty.
Sarah says
Prepared this for a pal and she requested the recipe 🙂
sarah says
So delightful, thanks Liz.
Hong Nguyen says
This was great! I just made it this week
Anna says
Looks like a great and simple recipe. I will probably be making it soon! About how much condensed milk do you end up with?
Liz Douglas says
hey Anna, you’ll end up with about 1½ cups (a small jar). it thickens as it cools, so don’t stress if it looks a bit runny at first. so excited for you to try this one 🙂
Tine says
i use it in my coffee and as a sweetener, and it’s sooo good. i love that it’s plant-based and so easy to make ♥️